Give your friends £10 off their first order!
Refer a FRIEND








A project from our live show ONE DAY SPECIAL - Join Toni for her brand new CHRISTMAS LAUNCH - Broadcast 5th September 2025 · 05/09/2025 · watch it from 1:41:30
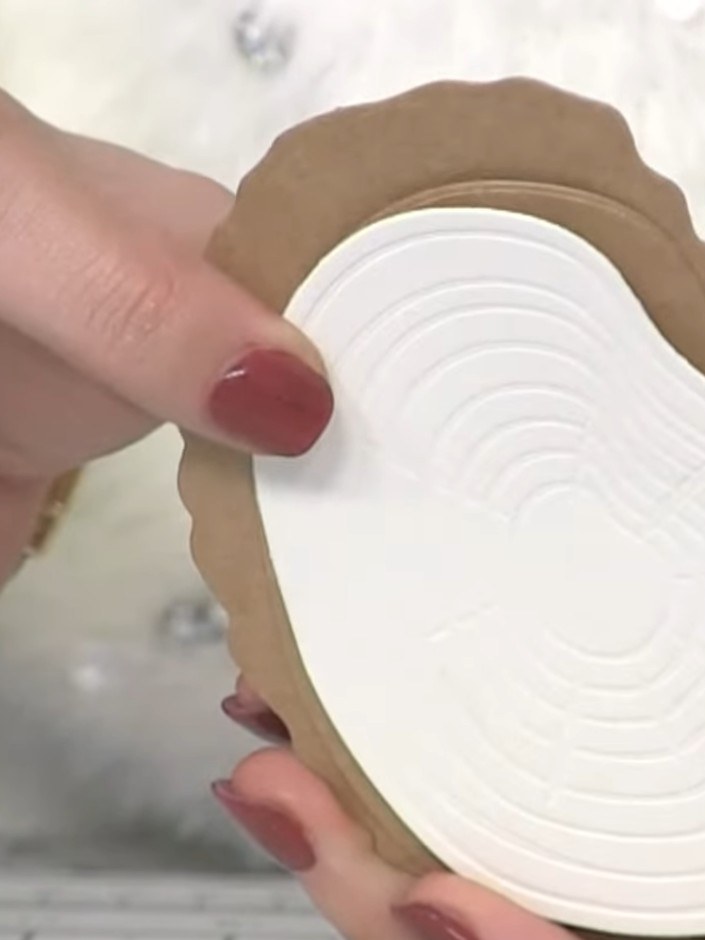
Create a beautiful rustic Christmas ornament using an oak slice die with embossed wood grain detail. The natural brown tones and textured grooves capture ink to reveal authentic wood grain patterns, perfect for adding a touch of woodland charm to your festive cards and decorations. This project combines die-cutting, embossing and inking techniques to achieve a realistic wood effect.
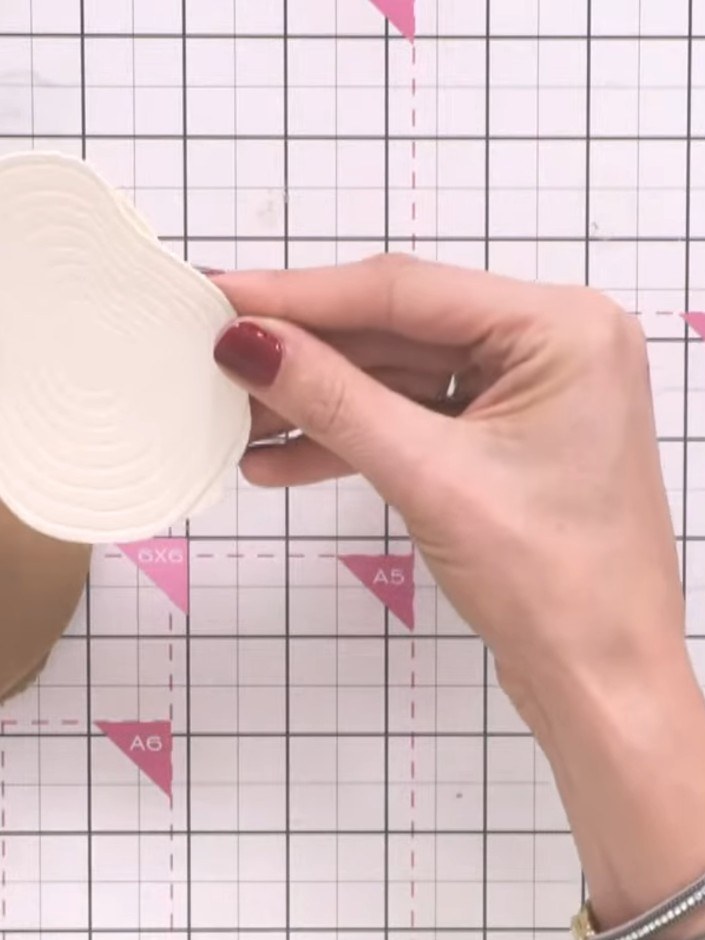
Select the oak slice die and ink it up with your chosen ink colour using an ink pad, ensuring even coverage across the die surface.
▶ watch this step (1:41:30)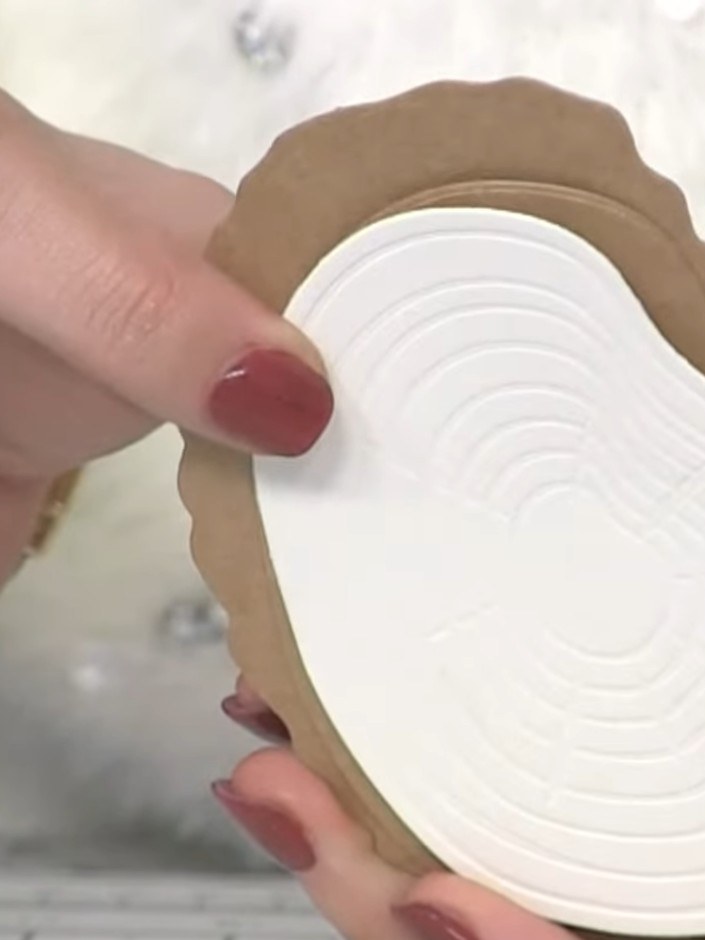
Run the inked die through your die-cutting machine to cut and emboss the oak slice shape from craft-coloured cardstock.
▶ watch this step (1:41:45)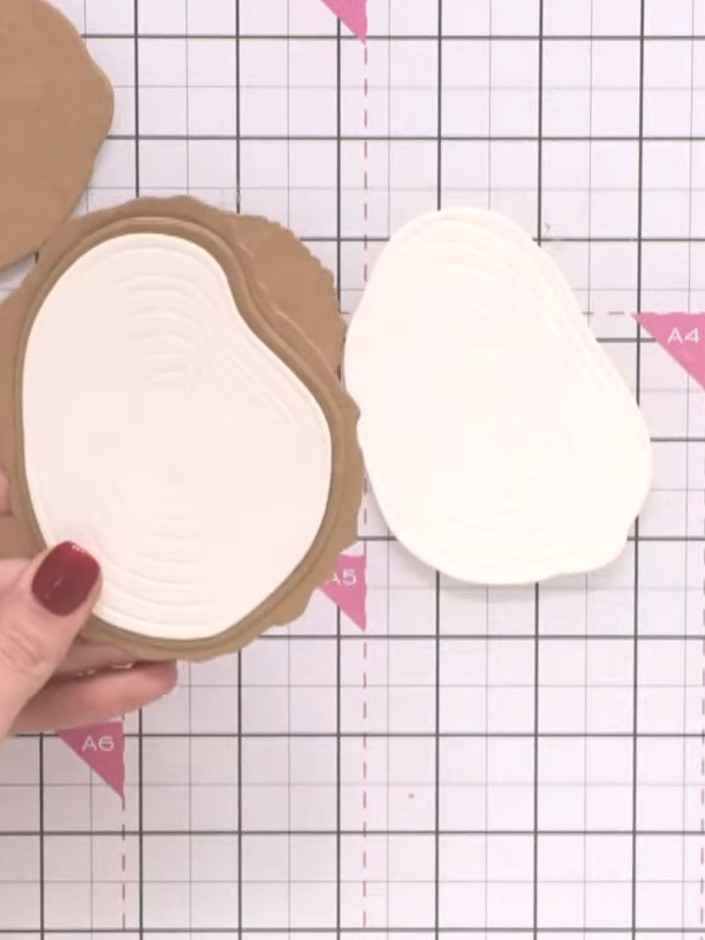
Apply distress ink to the embossed white panel, working it into the grooves to create a realistic wood grain effect on the oak slice ornament.
▶ watch this step (1:42:00)Written up from the show itself. See every guide from our shows · free how-to guides · watch live on My Telly
