Give your friends £10 off their first order!
Refer a FRIEND








 The Friday Final CutTomorrow 10am
 Community ShowcaseMon 23 Nov 10am
 Deal HuntersTue 24 Nov 1pm
Prices change straight away. Every language is our own translation, not Google.
A project from our live show MY PODCAST - Catch my latest updates broadcast 8th September 2025 · 08/09/2025 · watch it from 23:45
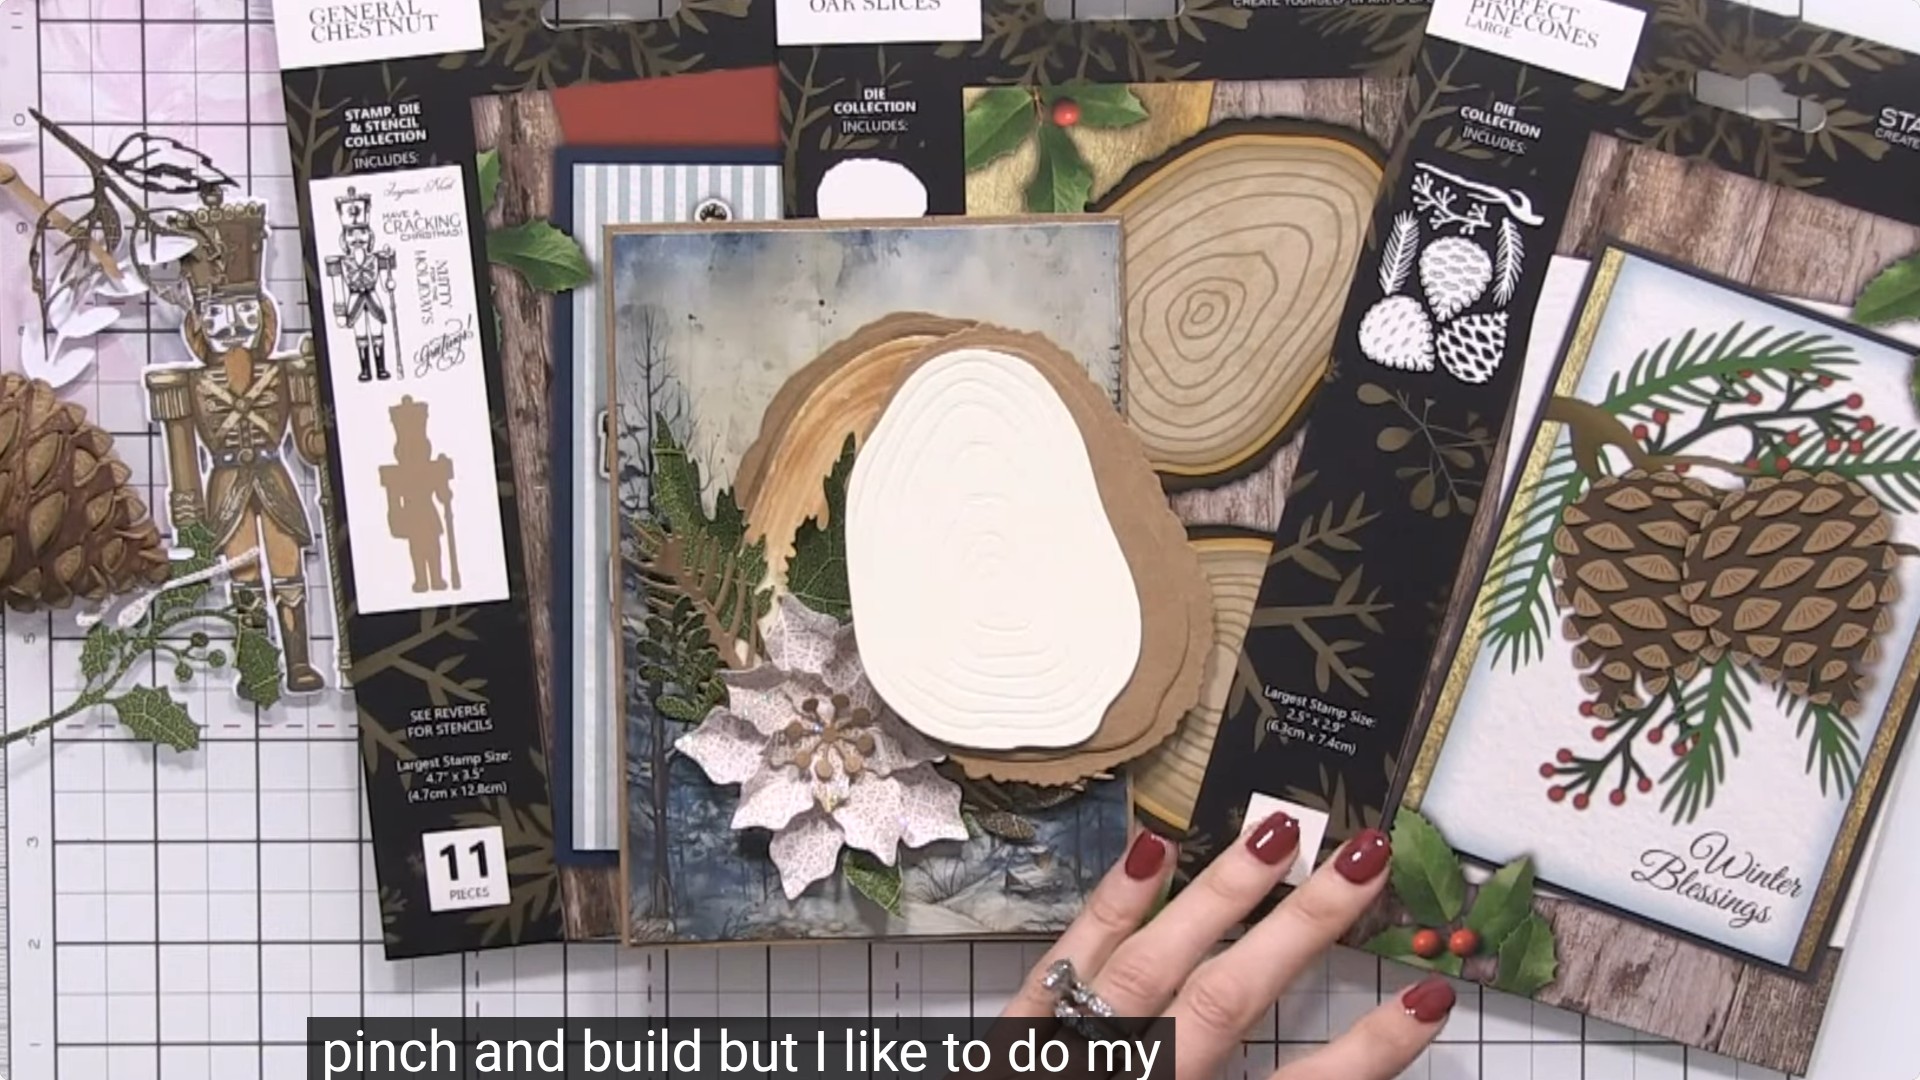
Create a rustic Christmas card featuring an embossed oak slice die-cut as the centrepiece, adorned with an elegant white poinsettia. The natural wood grain texture combined with delicate floral elements creates a warm, festive design perfect for the holiday season. This project uses die-cutting, embossing and layering techniques to achieve a dimensional, textured finish.
 Oak Slices - 121224ASEE IT
 Holly & Berry Paper Textures Pack - 7 X 7 - 031123FSEE IT
 Holly & Berry Die Collection - 050925BSEE IT
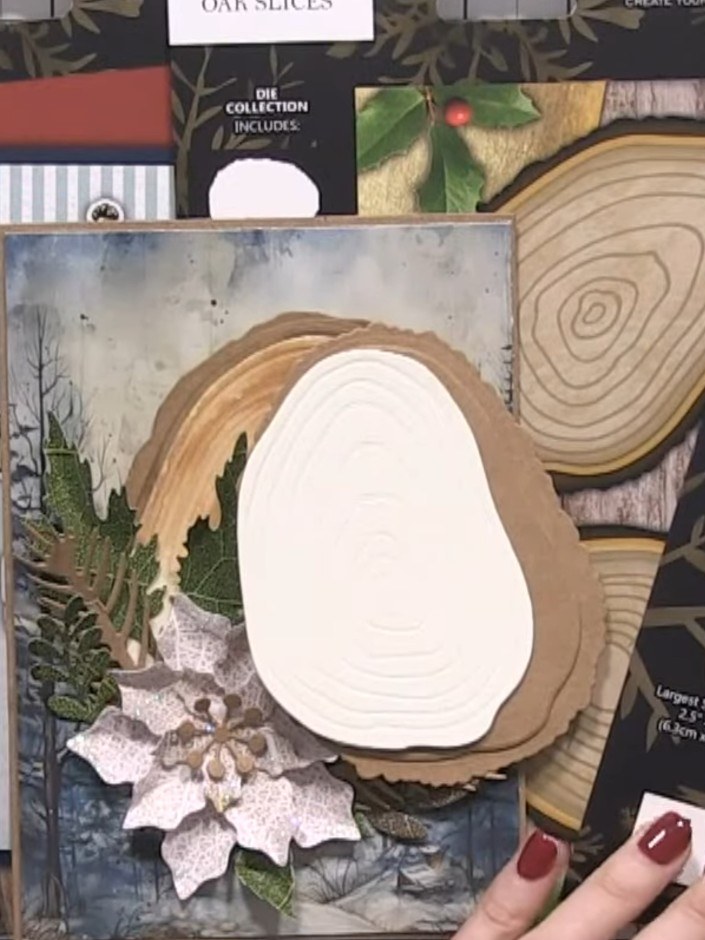
Cut a piece of cream or kraft cardstock to your desired card base size.
▶ watch this step (45:30)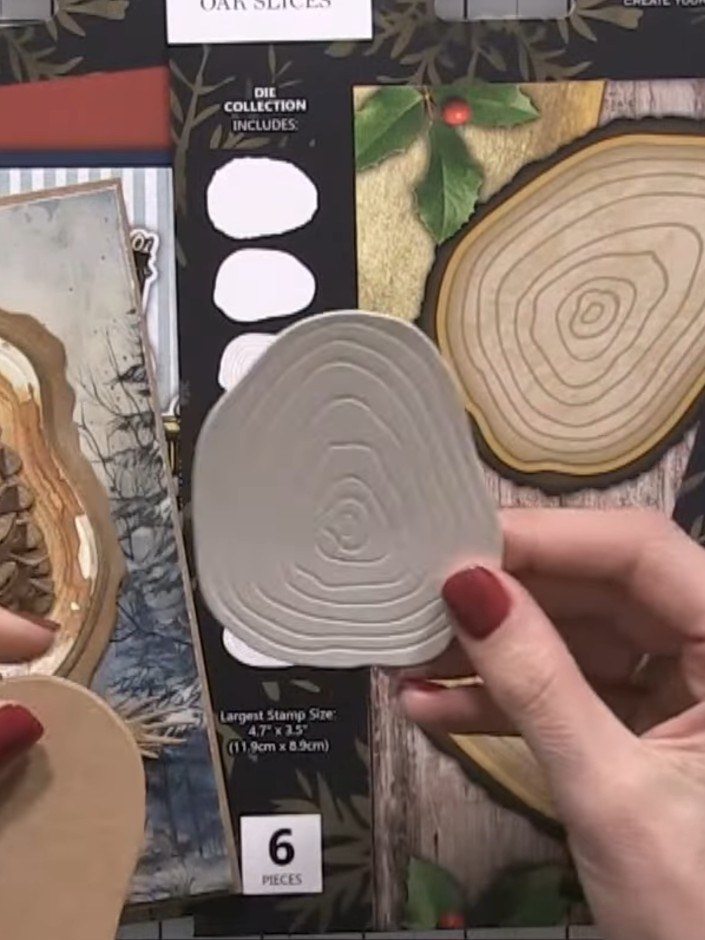
Die-cut an oak slice from the Holly & Berry paper collection using the oak slice die. The die-cut will feature embossed ring and wood grain detailing.
▶ watch this step (45:45)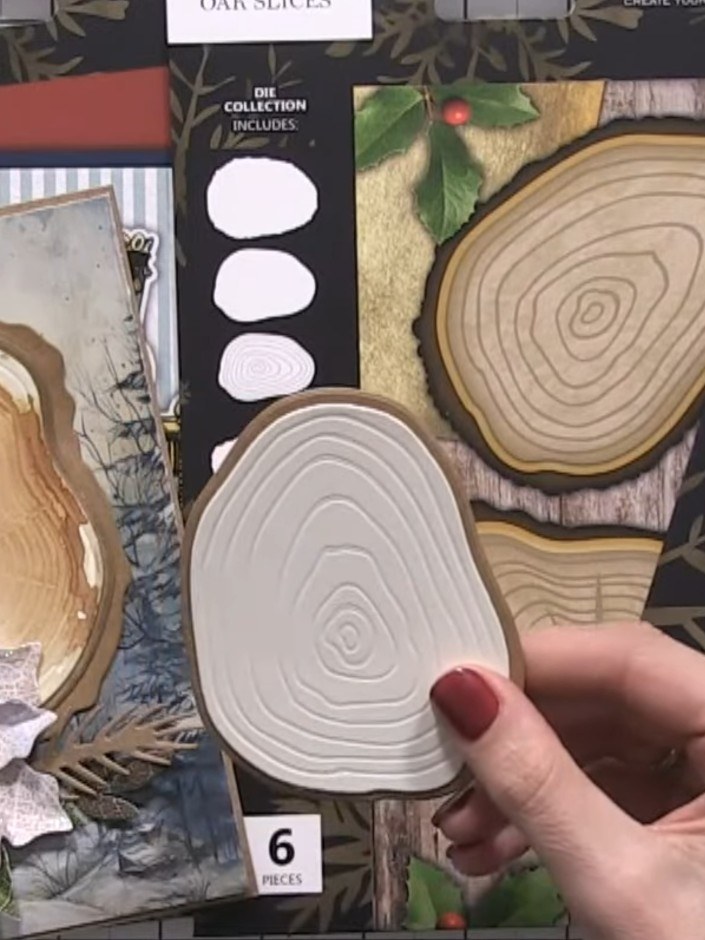
Adhere the embossed oak slice die-cut to your card base using adhesive. Position it as the focal point of your design, ensuring the wood grain rings are clearly visible.
▶ watch this step (46:00)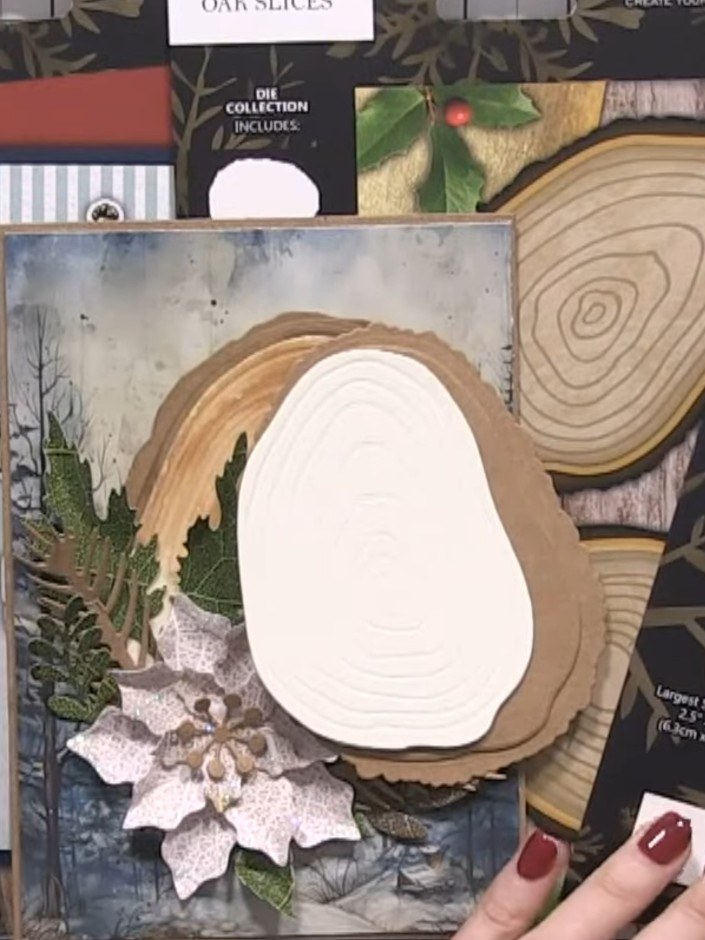
Die-cut a large poinsettia flower from the Holly & Berry paper collection. Position the poinsettia at the bottom of the card, layering it over the wood slice elements. Layer the poinsettia petals together and pinch them gently to add dimension and create a realistic flower shape.
▶ watch this step (46:15)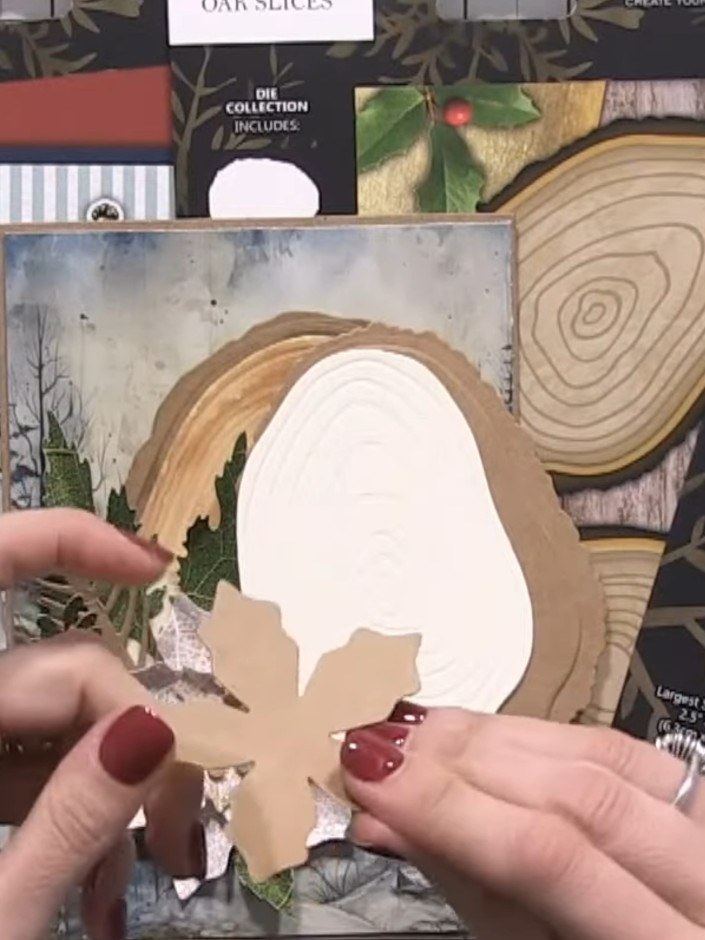
Glue the poinsettia flower next to or overlapping the oak slice on your card front. Position it so the flower complements the wood grain design.
▶ watch this step (46:45)Written up from the show itself. See every guide from our shows · free how-to guides · watch live on My Telly