Give your friends £10 off their first order!
Refer a FRIEND








A project from our live show MY PODCAST - Catch my latest updates broadcast 8th September 2025 · 08/09/2025 · watch it from 23:45
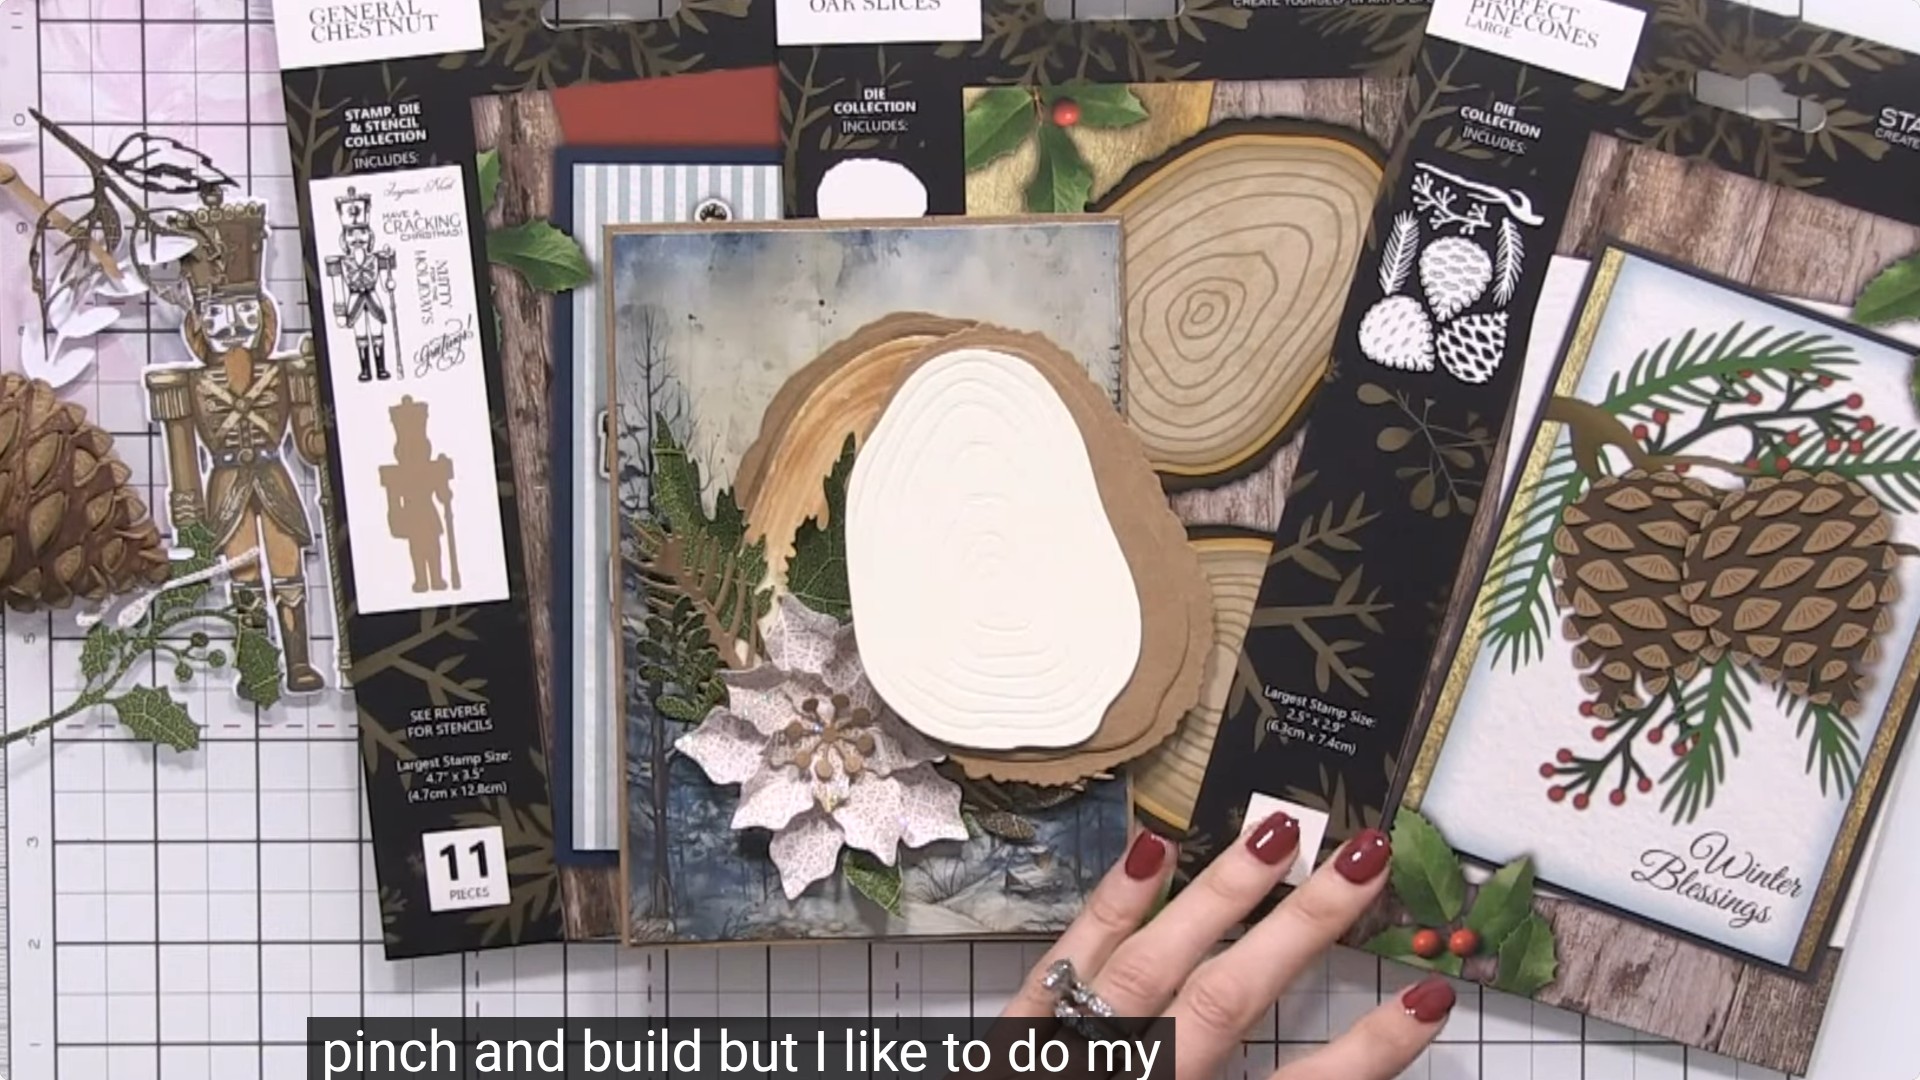
Create a rustic Christmas card featuring an embossed oak slice die-cut as the centrepiece, adorned with an elegant white poinsettia. The natural wood grain texture combined with delicate floral elements creates a warm, festive design perfect for the holiday season. This project uses die-cutting, embossing and layering techniques to achieve a dimensional, textured finish.
 Oak Slices - 121224ASEE IT
 Holly & Berry Paper Textures Pack - 7 X 7 - 031123FSEE IT
 Holly & Berry Die Collection - 050925BSEE IT
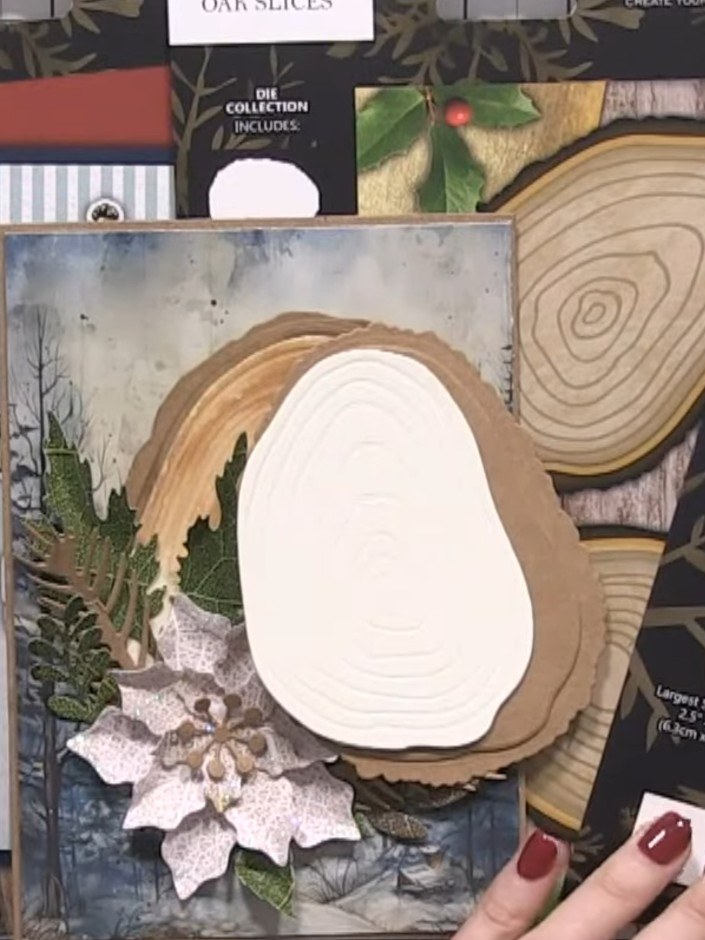
Cut a piece of cream or kraft cardstock to your desired card base size.
▶ watch this step (45:30)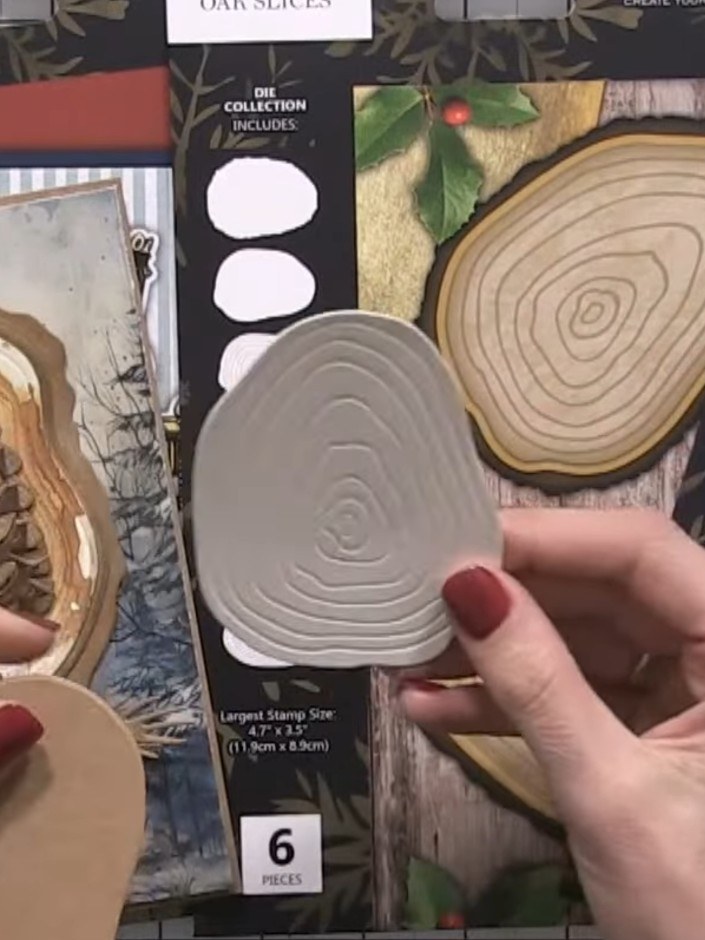
Die-cut an oak slice from the Holly & Berry paper collection using the oak slice die. The die-cut will feature embossed ring and wood grain detailing.
▶ watch this step (45:45)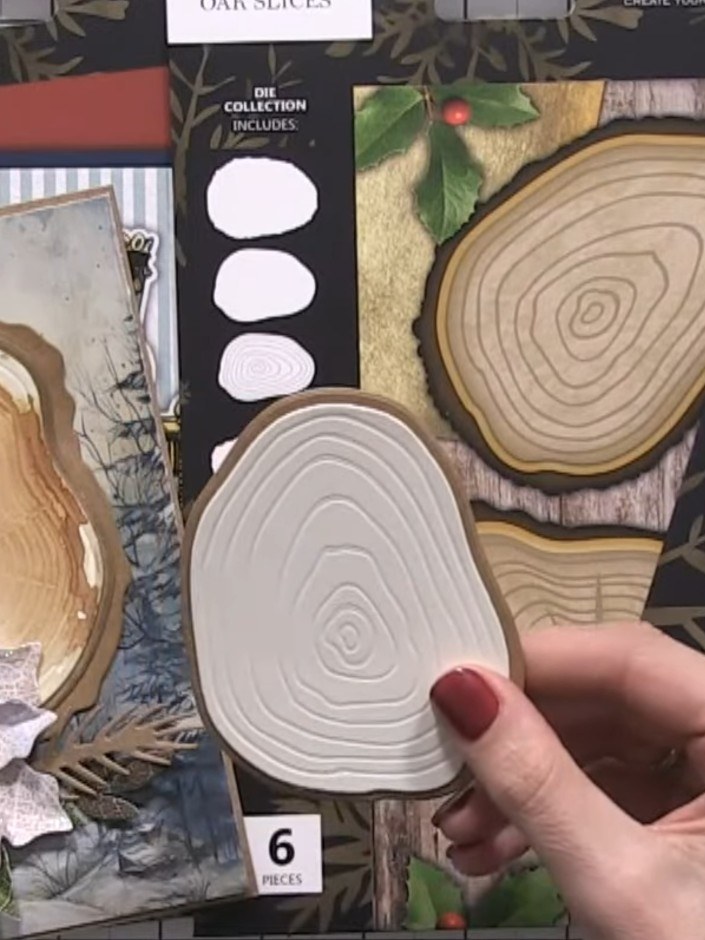
Adhere the embossed oak slice die-cut to your card base using adhesive. Position it as the focal point of your design, ensuring the wood grain rings are clearly visible.
▶ watch this step (46:00)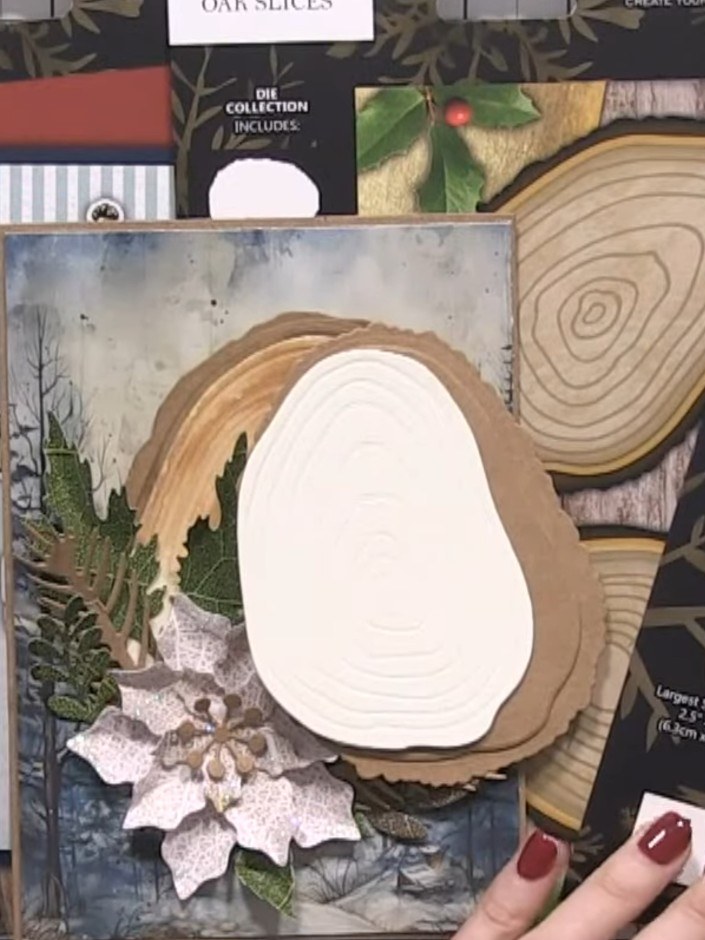
Die-cut a large poinsettia flower from the Holly & Berry paper collection. Position the poinsettia at the bottom of the card, layering it over the wood slice elements.
▶ watch this step (46:15)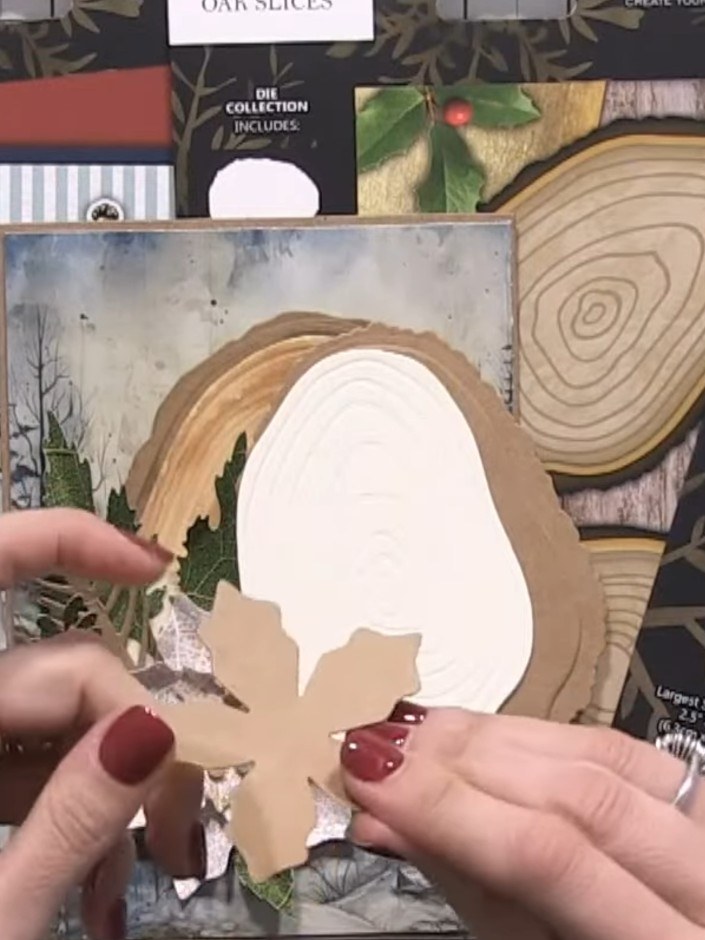
Glue the poinsettia flower next to or overlapping the oak slice on your card front. Position it so the flower complements the wood grain design.
▶ watch this step (46:45)Written up from the show itself. See every guide from our shows · free how-to guides · watch live on My Telly