Give your friends £10 off their first order!
Refer a FRIEND








A project from our live show HSN PRODUCT INSPIRATION - Join me for a fun filled show broadcast 29th September 2026 · 29/09/2026 · watch it from 36:00
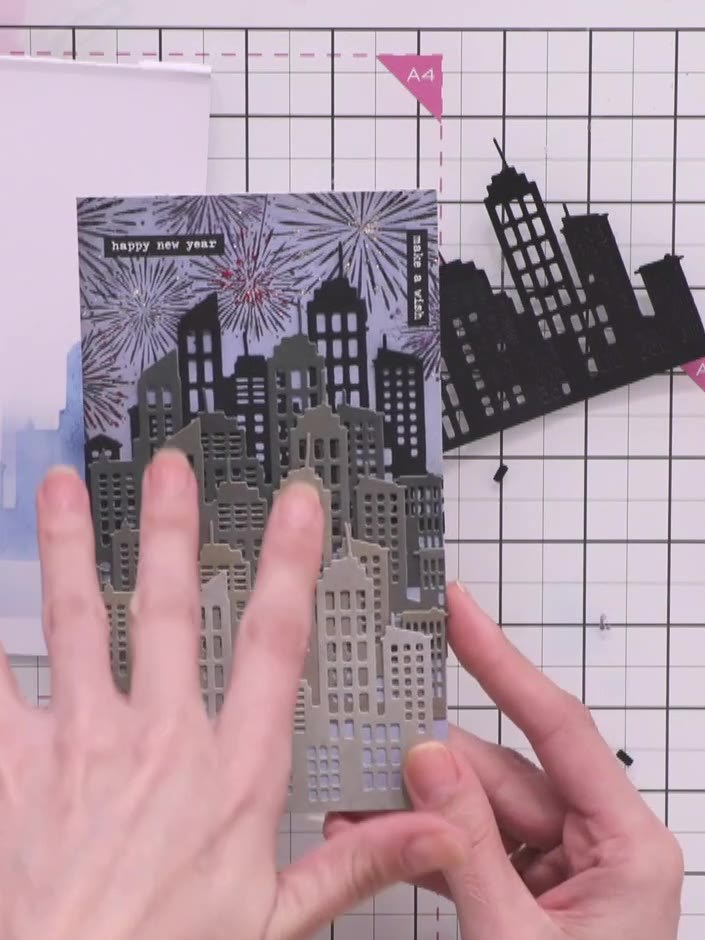
Create a striking landscape card featuring a dramatic cityscape silhouette against a colourful twilight sky. Using die-cut black card stock layered over watercolour-effect backgrounds in blues and pinks, you'll build depth and atmosphere with stamped fireworks and sparkle details. This contemporary design combines stamping, die-cutting and layering techniques to produce an eye-catching night scene perfect for celebrations.
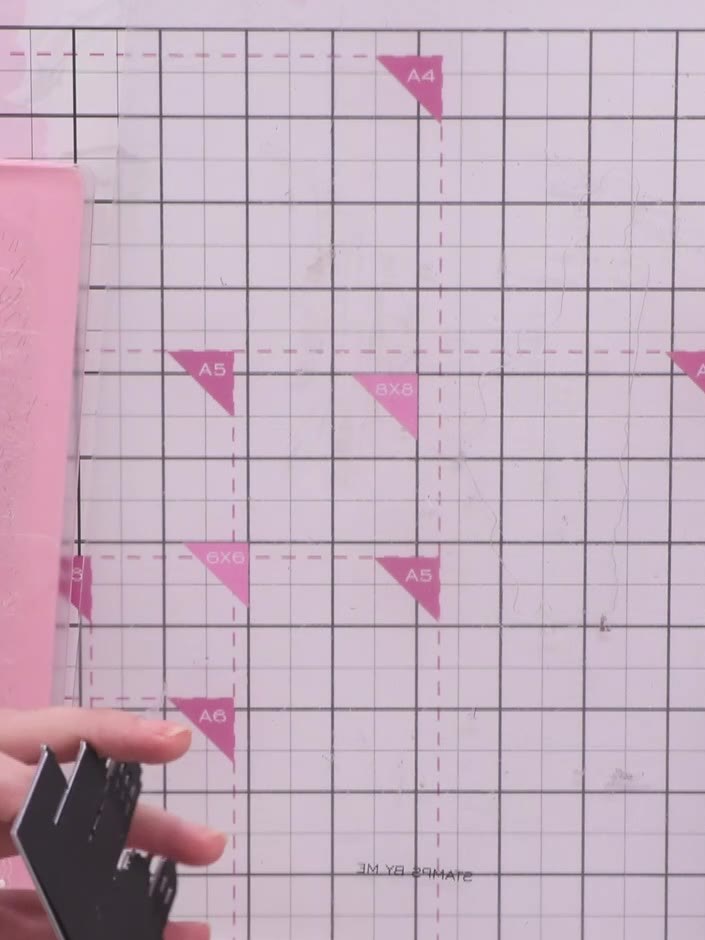
Use the waste (negative space) from the die-cut as a stencil by placing it on white card stock. Secure it in position with low-tack tape to prevent it from moving whilst you work.
▶ watch this step (38:30)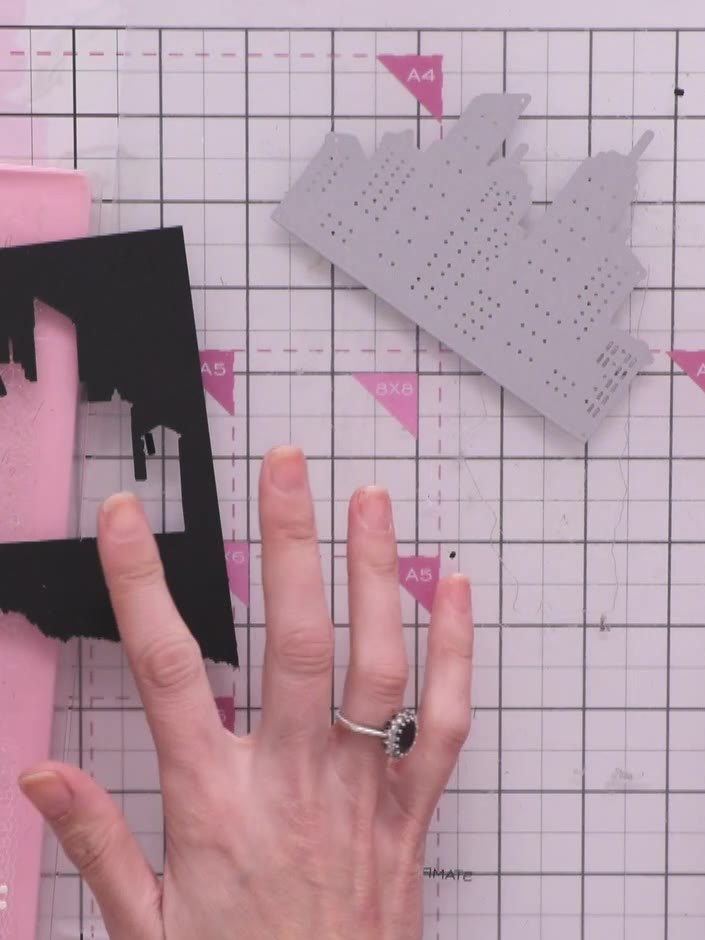
Using a blending brush, blend ink through the stencil to create a coloured background behind the skyline silhouette. Work the ink gently through the stencil openings to build up the colour gradually.
▶ watch this step (39:00)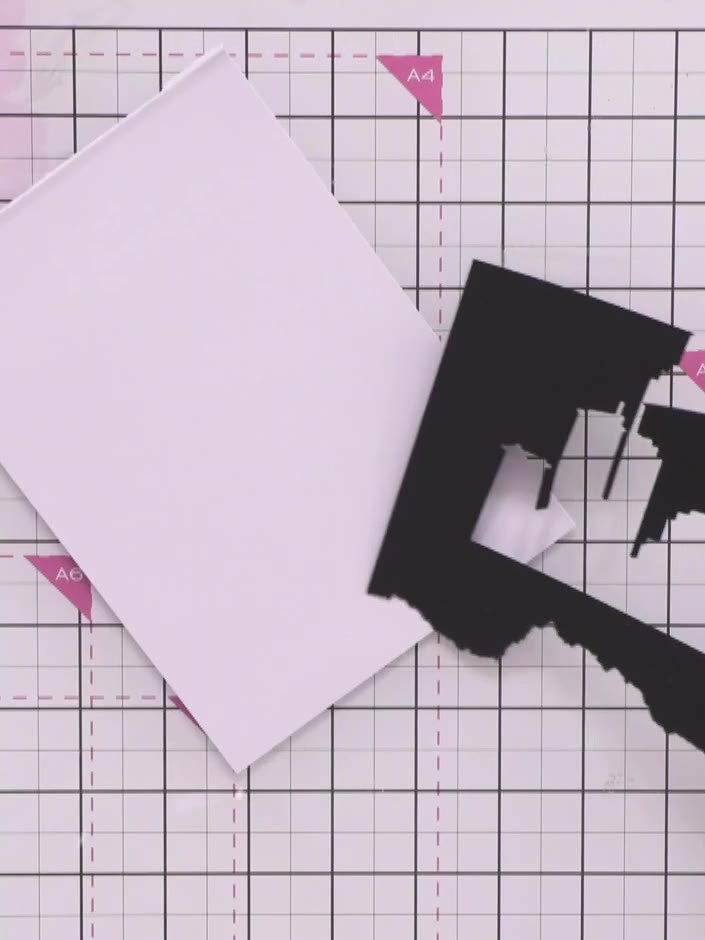
Cut a second skyline die from black card stock. This will be layered behind the first skyline to create depth in your scene.
▶ watch this step (40:00)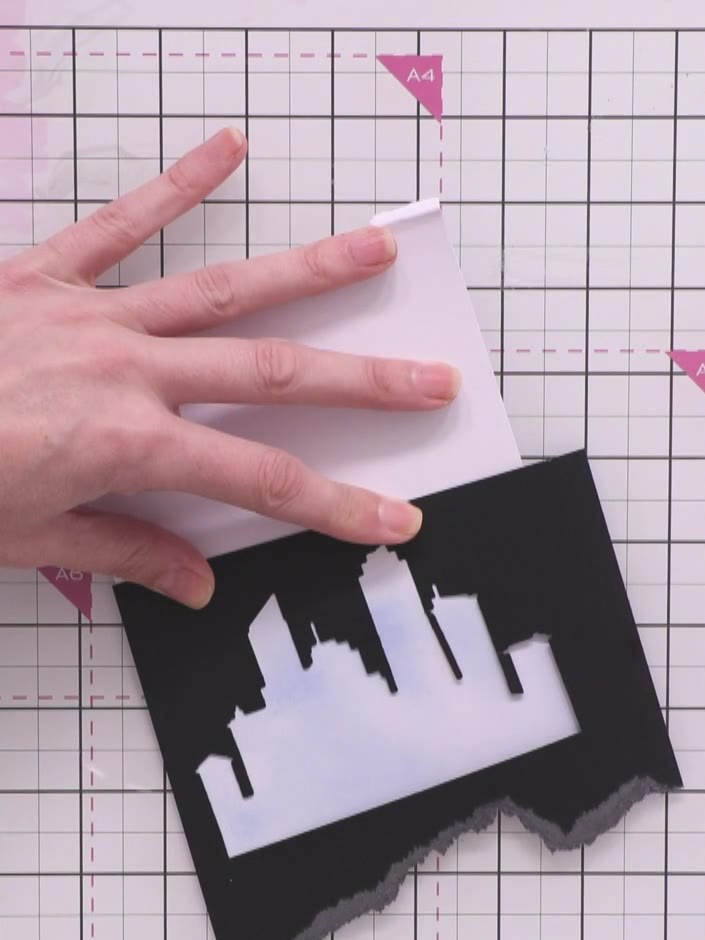
Stamp the reflection, fireworks and sparkle details onto the white background panel using the cityscape stamp set. Position the stamps carefully to create the desired effect on your night sky scene.
▶ watch this step (42:00)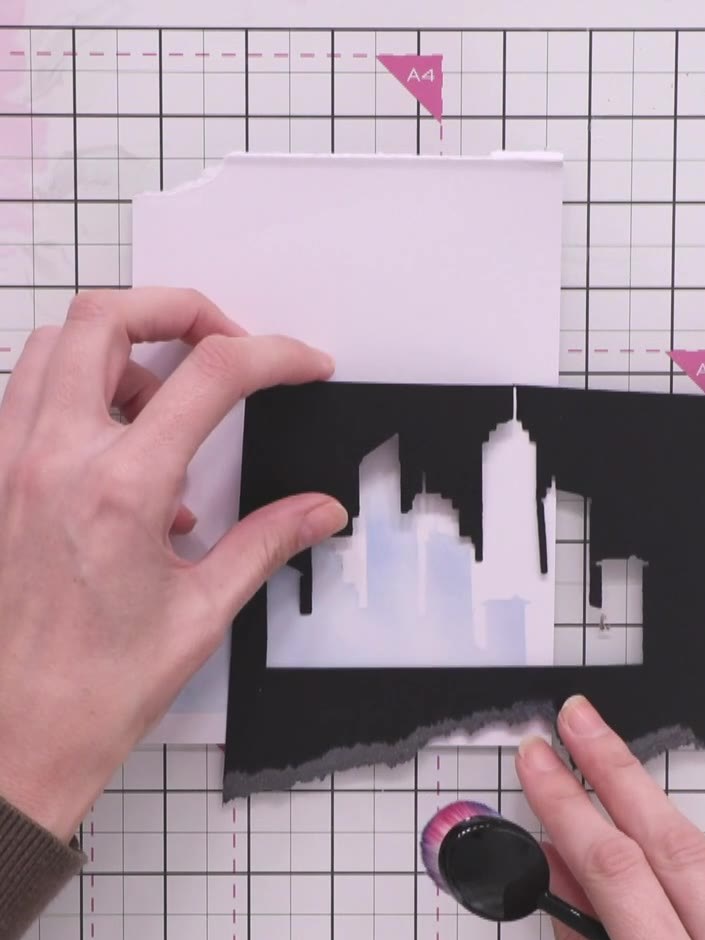
Layer the black cityscape silhouette pieces at different heights on your card to create depth and dimension. Position the buildings at varying levels, with some higher and some lower, to achieve a realistic skyline effect.
▶ watch this step (42:30)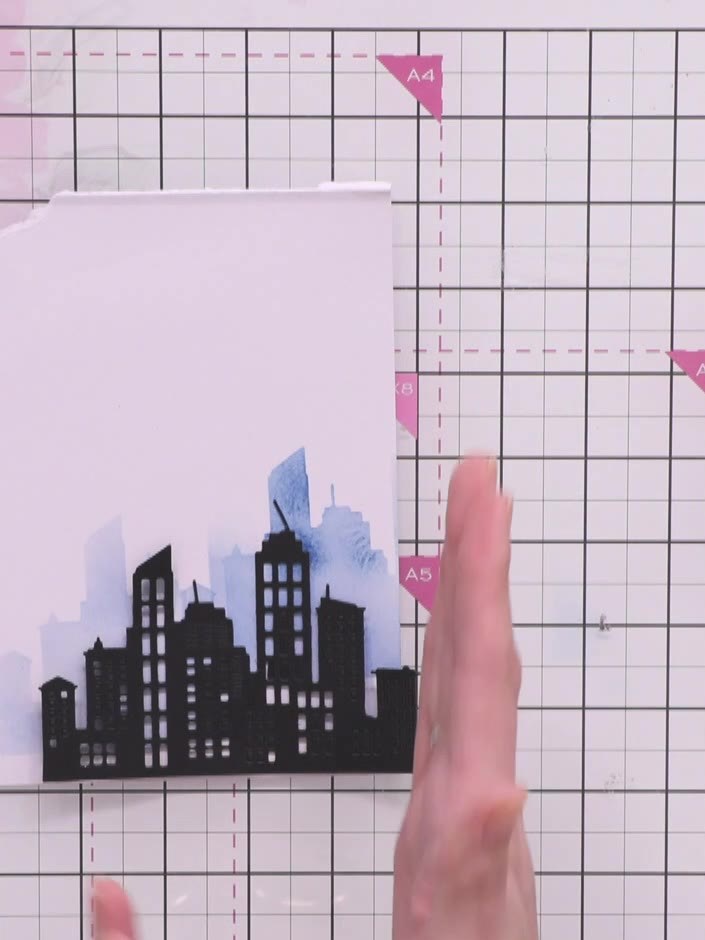
Add sparkle accents to the water and sky areas using a dauber or sponge applicator to enhance the night-time effect. Apply the sparkle medium gently over the blue watercoloured areas to create a shimmering finish.
▶ watch this step (43:00)Written up from the show itself. See every guide from our shows · free how-to guides · watch live on My Telly