Give your friends £10 off their first order!
Refer a FRIEND








 The Friday Final CutFri 20 Nov 10am
 Community ShowcaseMon 23 Nov 10am
 Deal HuntersTue 24 Nov 1pm
Prices change straight away. Every language is our own translation, not Google.
A project from our live show ONE DAY SPECIAL - Join Toni for her brand new launch - Broadcast 3rd October 2025 · 03/10/2025
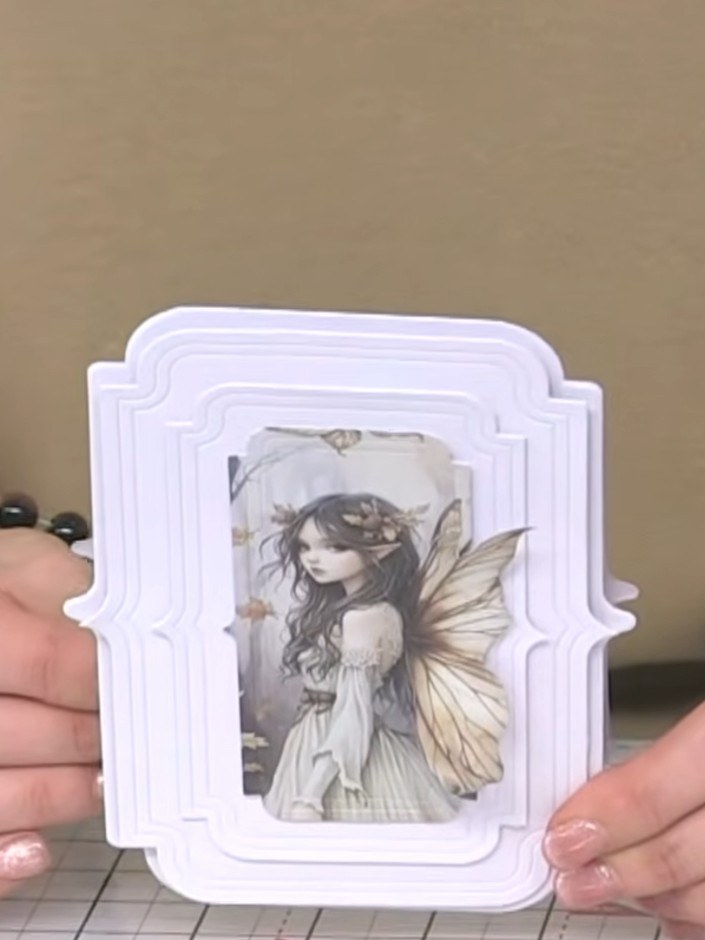
Create an elegant shaped card featuring a beautiful fairy illustration with delicate wings that are cut out to reveal layers beneath. Using traditional decorative border dies, you'll score and fold the card to add dimension, then layer patterned papers and fussy-cut elements to build a whimsical three-dimensional design in soft neutrals and golds.
 1
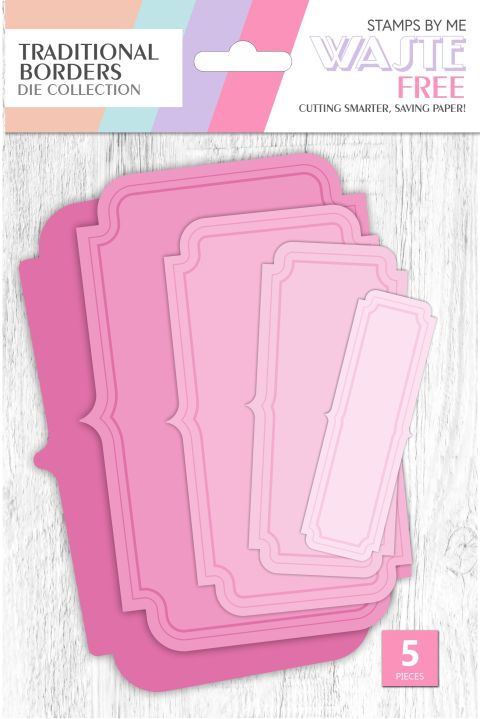
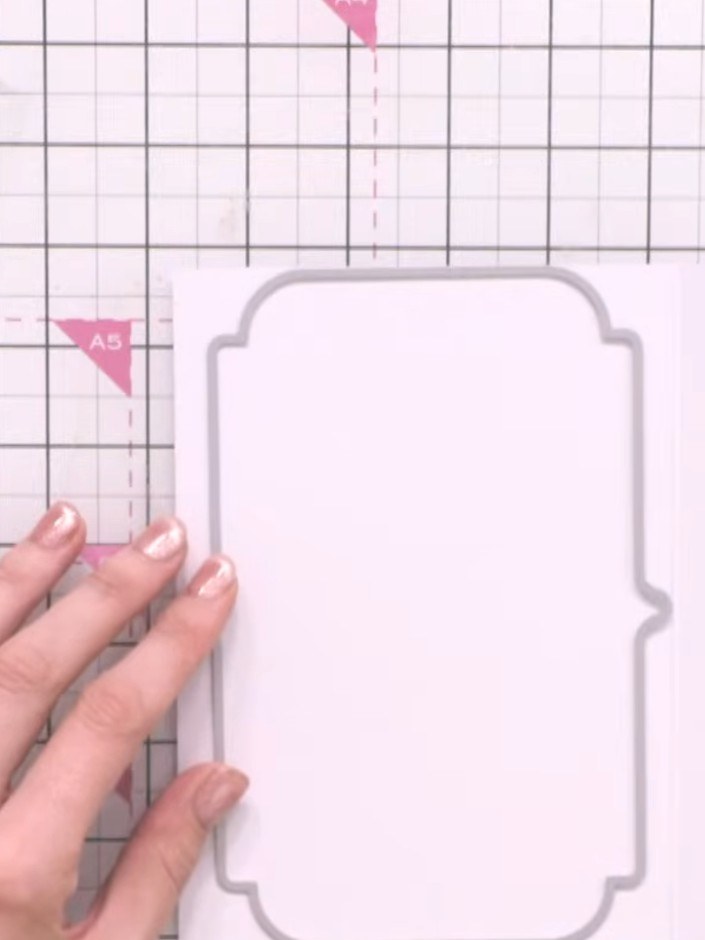
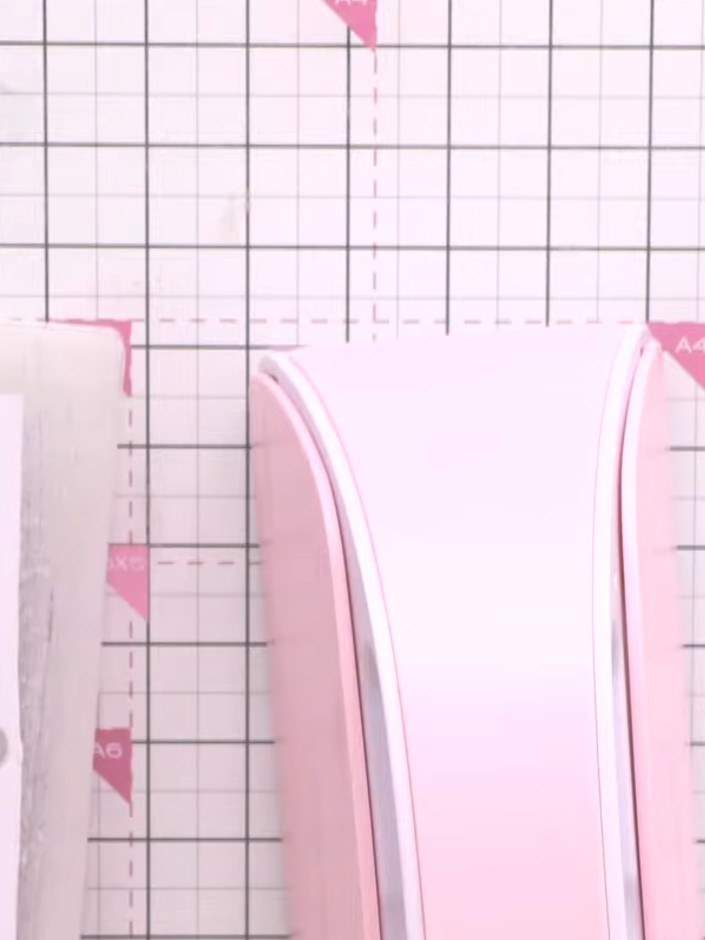
Cut two pieces from white cardstock using the traditional borders die. Position the die on the cardstock and run through your die-cutting machine.
 2
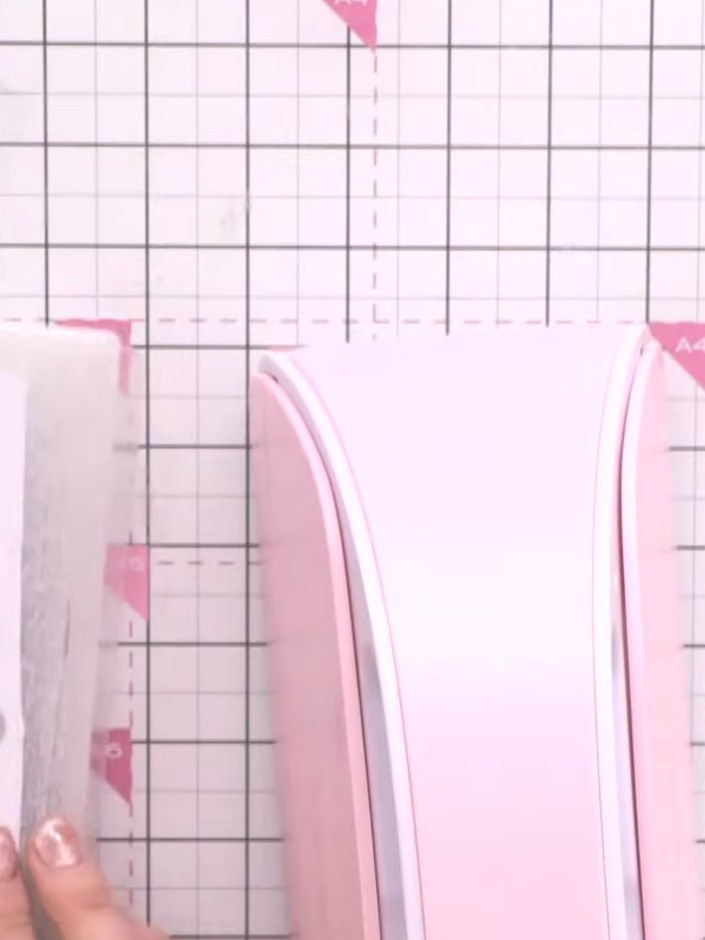
Score the top edge of one of the cut pink pieces using a scoring tool on your craft mat.
 3
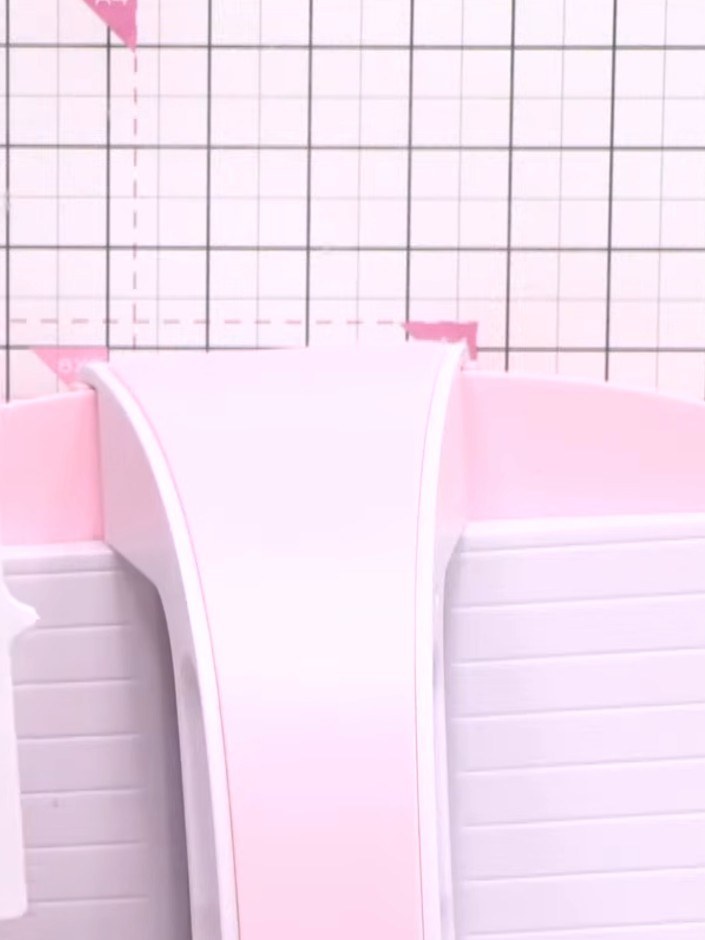
Fold along the scored line to create a crease in the pink card. Adhere the folded piece to the back of the card base using tape or glue to create dimension. Position it carefully to ensure the shaped edge is visible when the card is viewed from the front.
 4
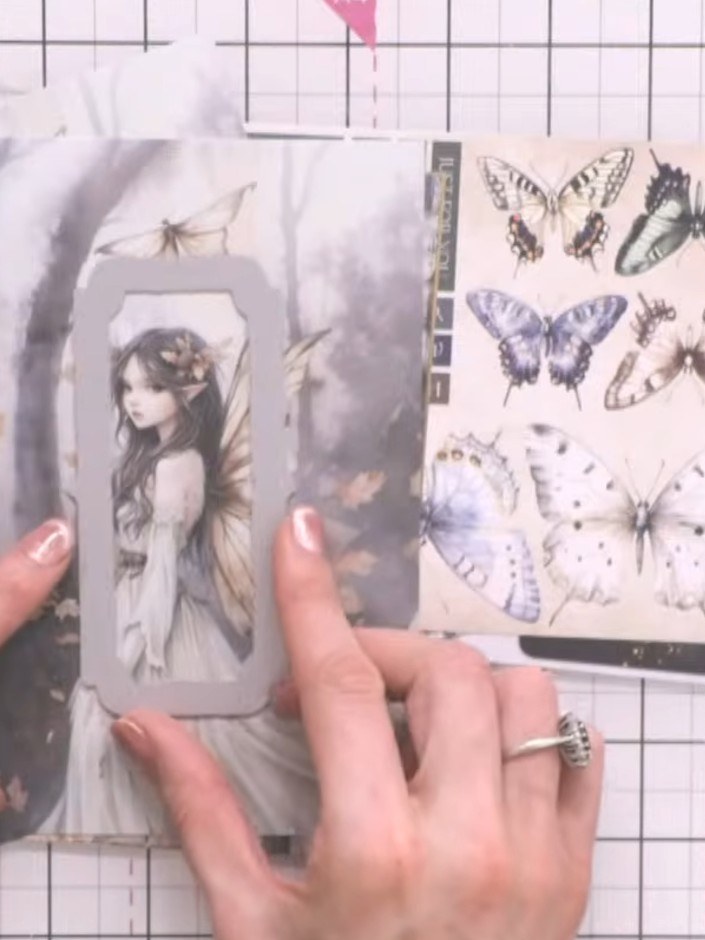
Layer the second cut piece on top of the first using adhesive foam pads to add dimension and height to your card front. Fussy cut a small fairy motif from your patterned paper. Carefully cut around the outline of the fairy design to create a detailed embellishment for your card.
 5
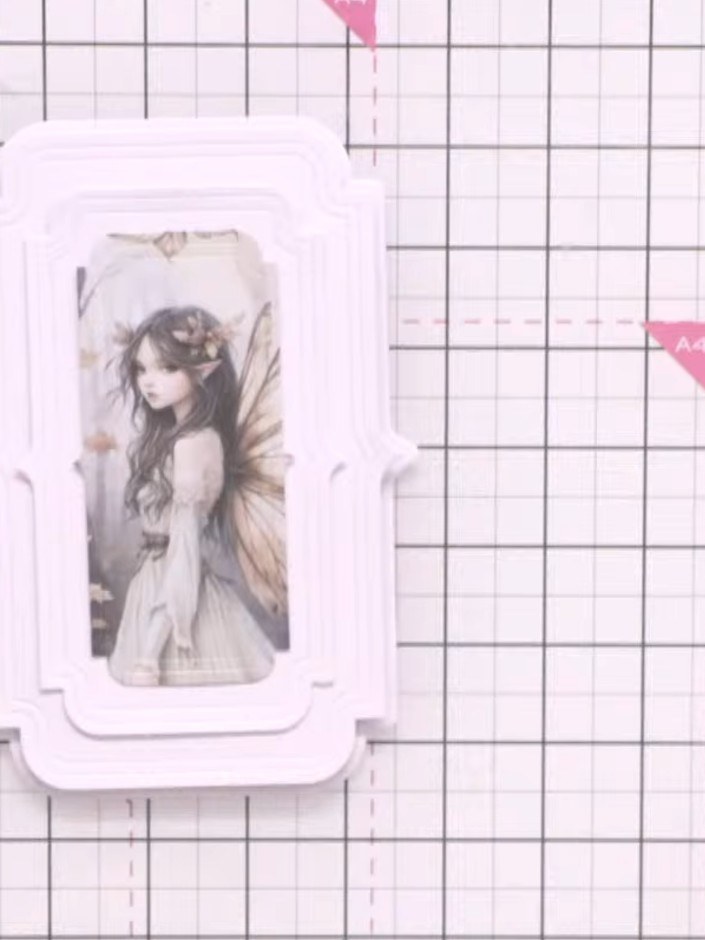
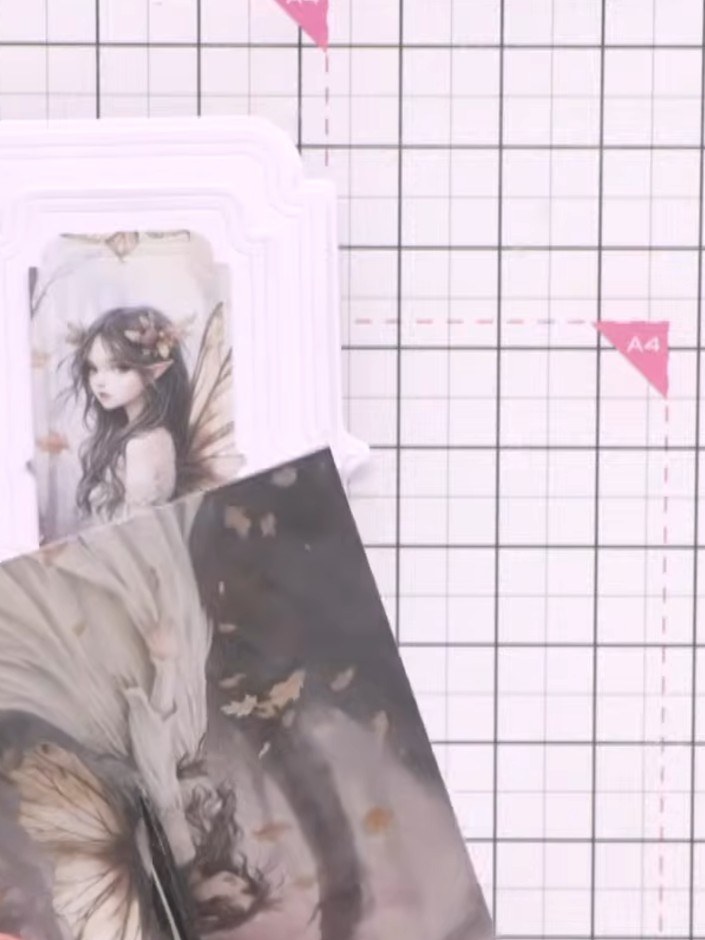
Carefully fussy cut around the fairy wings from the patterned paper using scissors or a craft knife. Take your time to cut precisely around the wing shapes to create clean edges.
 6
Apply adhesive to the back of the white layered fairy frame and attach it to the front of your card base, positioning it centrally.
 7
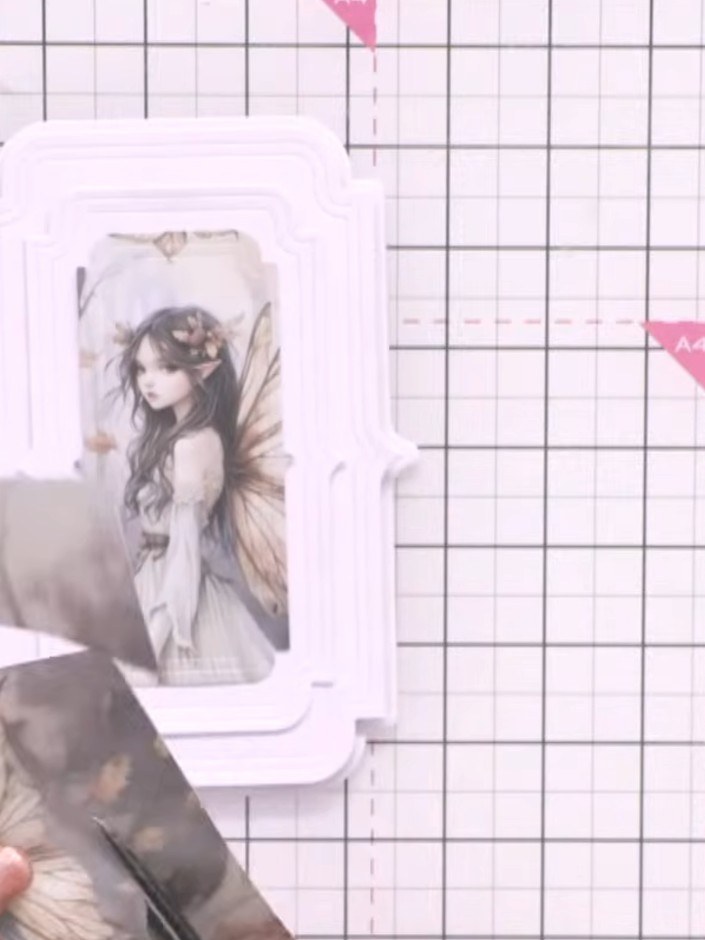
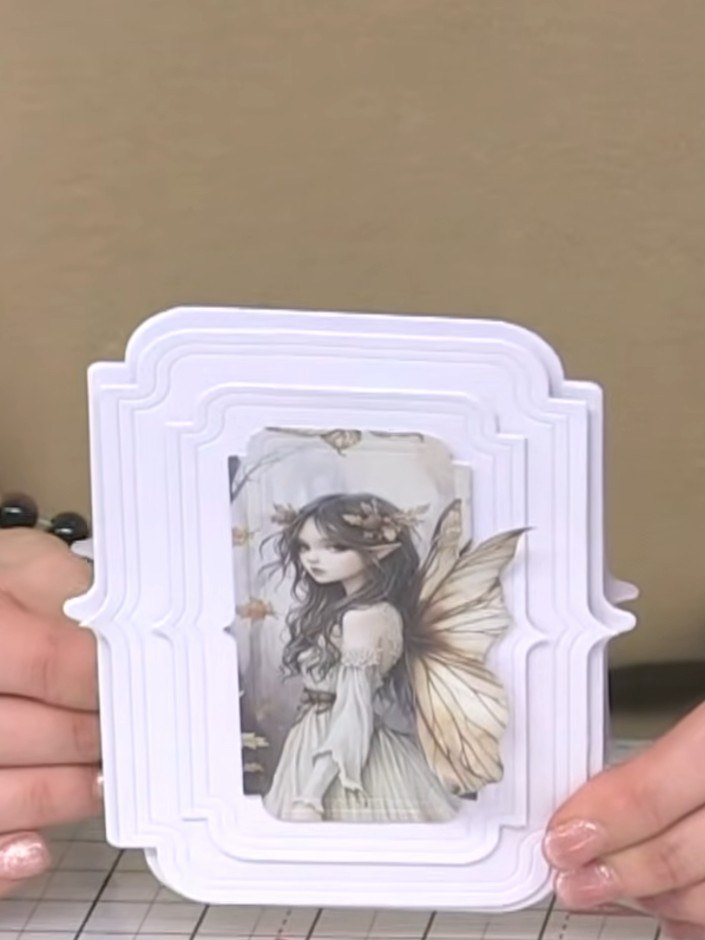
Adhere the die-cut fairy wings to the back of the fairy image topper, positioning them so they extend outward from her shoulders.
 8
Add optional embellishments from the paper pad, such as butterflies or preprinted words, to enhance your card design.
 9
Optional: Add sparkle around the edges of the card using a sparkle pen or glitter for extra shine and dimension.
Share your make with the Stamps By Me community - and keep this guide for next time.
Written up from the show itself. See every guide from our shows · free how-to guides · watch live on My Telly · the previous layout