Give your friends £10 off their first order!
Refer a FRIEND








 The Friday Final CutFri 20 Nov 10am
 Community ShowcaseMon 23 Nov 10am
 Deal HuntersTue 24 Nov 1pm
Prices change straight away. Every language is our own translation, not Google.
A project from our live show More Inspiration - Using - Stencils From Gnome for the Holidays Collection · 10/10/2025 · watch it from 1:17:30
Create a charming festive card featuring a whimsical gnome character in Santa's sleigh pulled by a reindeer, set within a decorative purple frame. The design includes a magical crystal cave background with pink and purple hues, surrounded by stars and seasonal embellishments. This project uses stamping, colouring, and stencilling techniques to create a dimensional scene with cut-out characters.
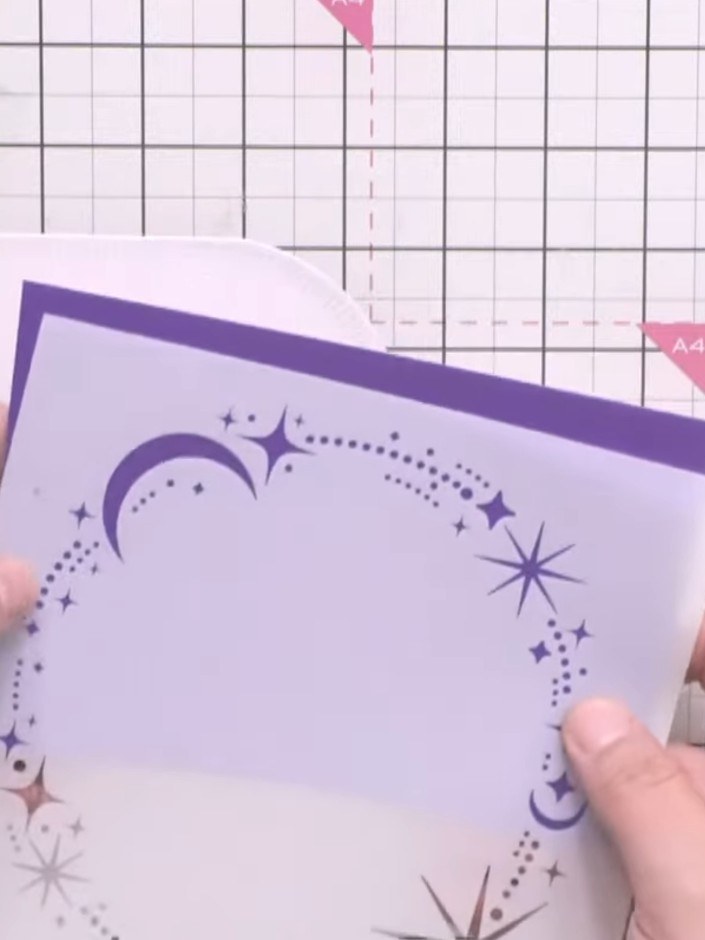
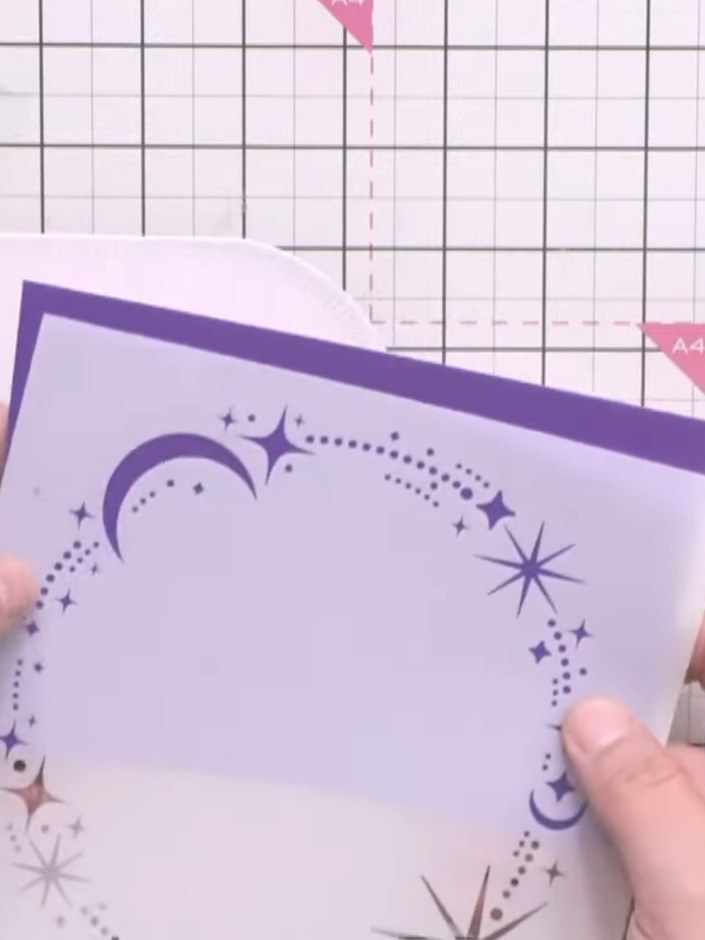
Position the 7 by 7 inch stencil on your card base. Use purple ink or sparkly paste to stencil the celestial design of moons, stars and sparkles around the edges of the card.
▶ watch this step (1:17:30)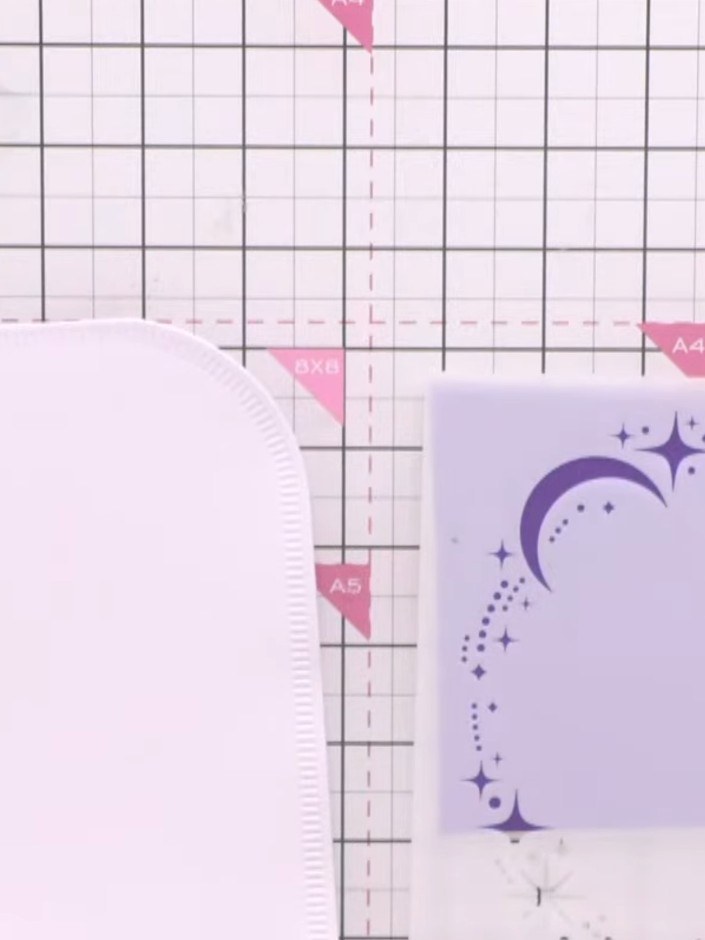
Build up the stencilled design by repeating elements like candy canes, stars and gonks around the card border using the Gnome for the Holidays stencil.
▶ watch this step (1:18:00)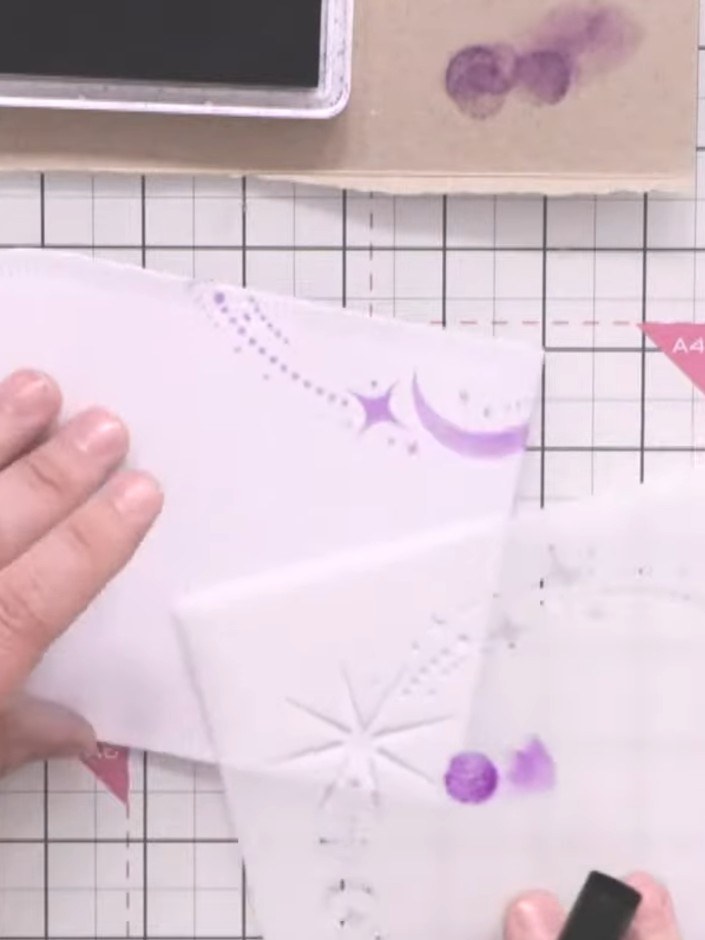
Apply sparkly paste or glitter through the stencil onto the purple stencilled areas using a sponge applicator. Press and dab the paste into the design to add festive dimension and shimmer.
▶ watch this step (1:18:45)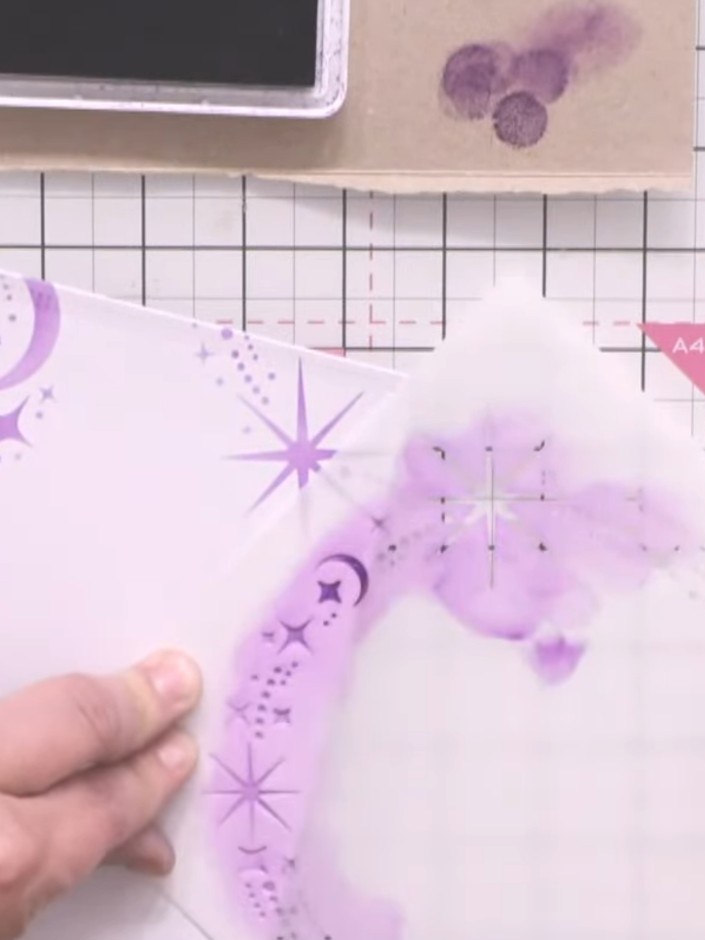
Die-cut a smaller shaped card using one of the waste-free dies to create an interesting card shape. Position the die on your stamped and stencilled background panel and run through your die-cutting machine.
▶ watch this step (1:19:15)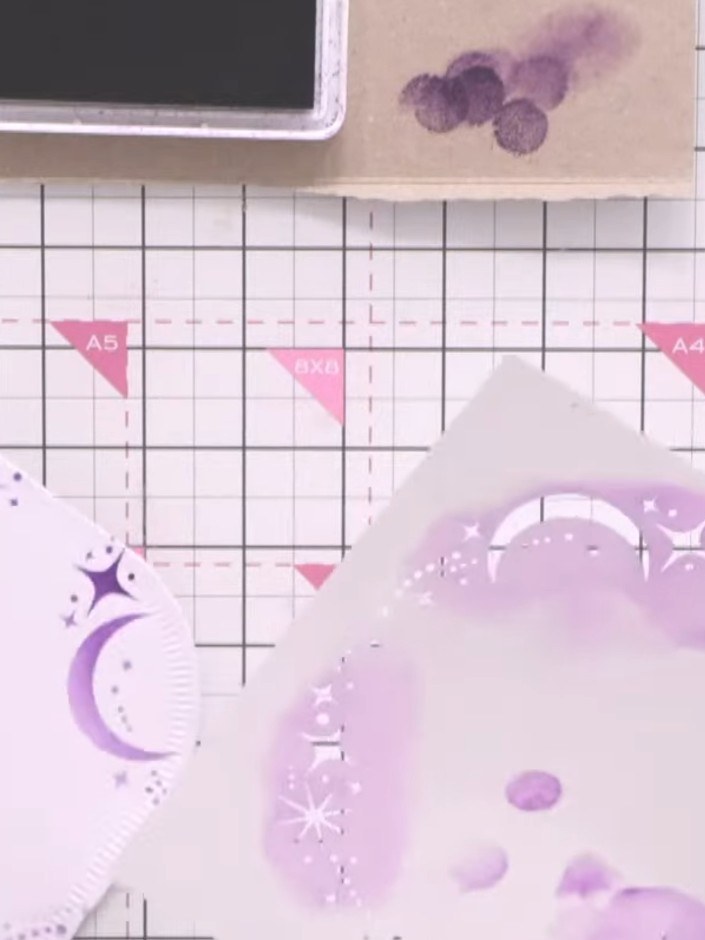
Mount the patterned paper featuring purple celestial designs (moons and stars) onto the shaped card base. Position the paper carefully to align with the card shape.
▶ watch this step (1:20:00)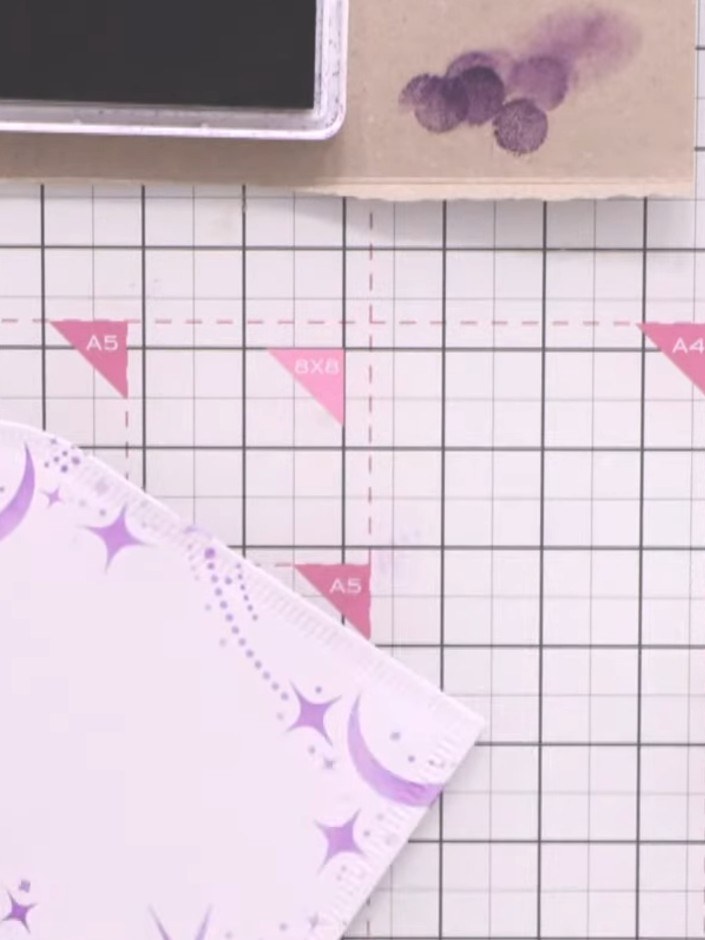
Stamp your gnome character onto a separate piece of white card stock. Colour the stamped image using your preferred colouring medium.
▶ watch this step (1:20:30)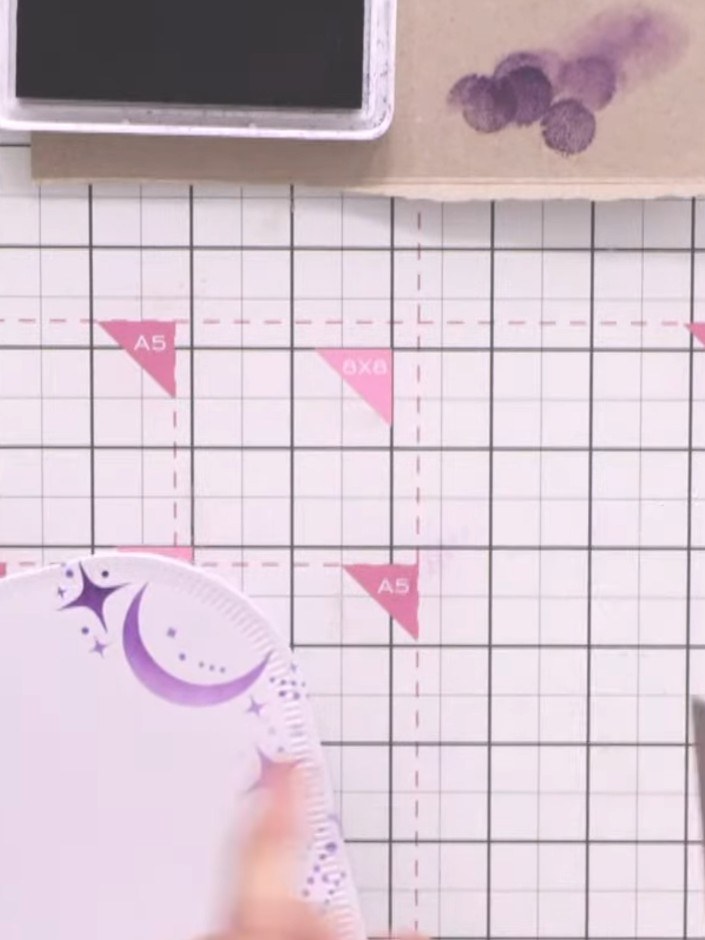
Die-cut the coloured gnome character from the decorated cardstock. Mount the die-cut gnome onto the stencilled purple background card using adhesive tape or foam pads for dimension.
▶ watch this step (1:21:00)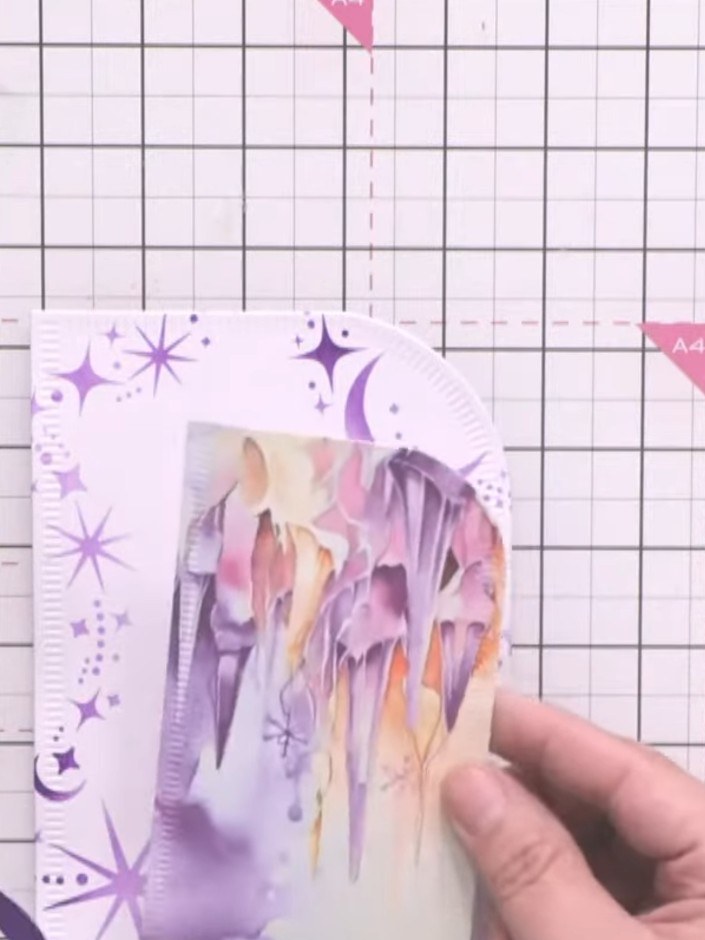
Add a sentiment plaque or decorative element to complete your card. Position it centrally on the stencilled background with the watercolour gnome image. Secure in place with adhesive.
▶ watch this step (1:21:30)Written up from the show itself. See every guide from our shows · free how-to guides · watch live on My Telly