Give your friends £10 off their first order!
Refer a FRIEND








 The Friday Final CutFri 20 Nov 10am
 Community ShowcaseMon 23 Nov 10am
 Deal HuntersTue 24 Nov 1pm
Prices change straight away. Every language is our own translation, not Google.
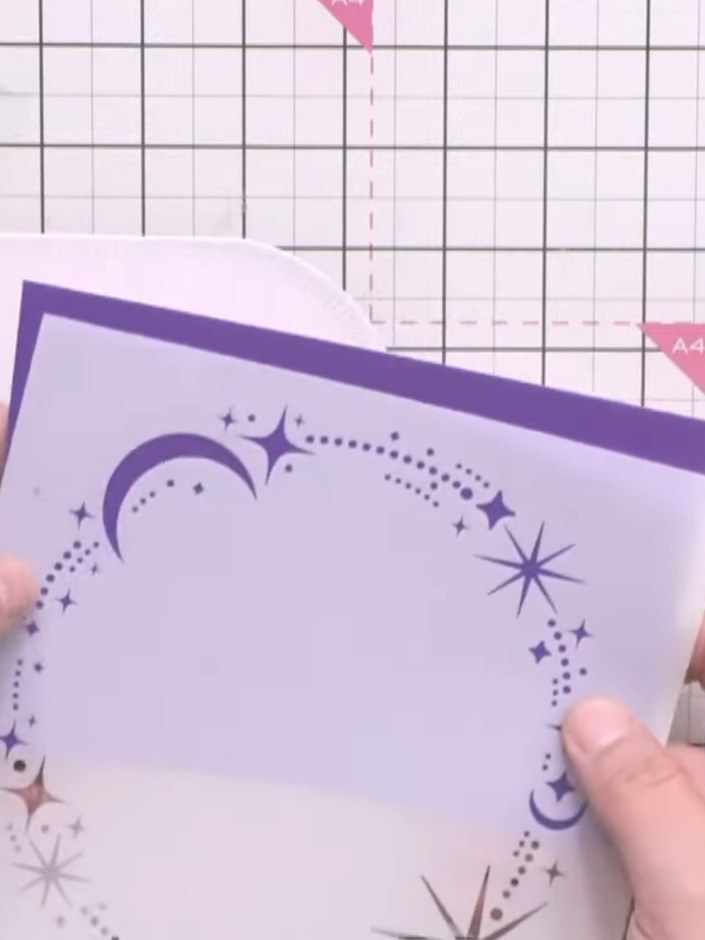
A project from our live show More Inspiration - Using - Stencils From Gnome for the Holidays Collection · 10/10/2025
Create a charming festive card featuring a whimsical gnome character in Santa's sleigh pulled by a reindeer, set within a decorative purple frame. The design includes a magical crystal cave background with pink and purple hues, surrounded by stars and seasonal embellishments. This project uses stamping, colouring, and stencilling techniques to create a dimensional scene with cut-out characters.
 1
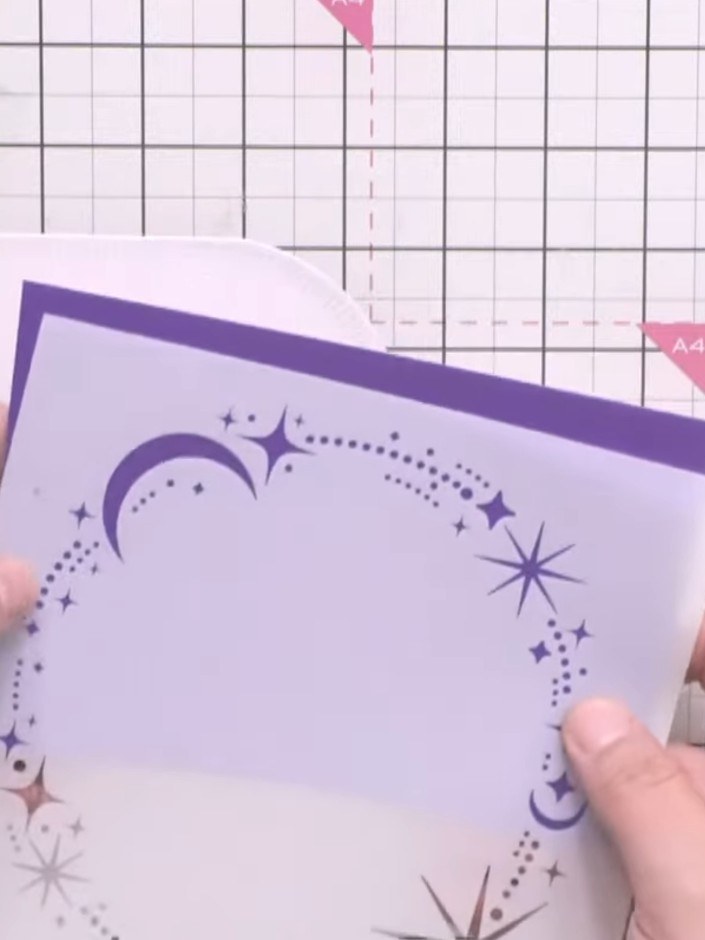
Position the 7 by 7 inch stencil on your card base. Use purple ink or sparkly paste to stencil the celestial design of moons, stars and sparkles around the edges of the card.
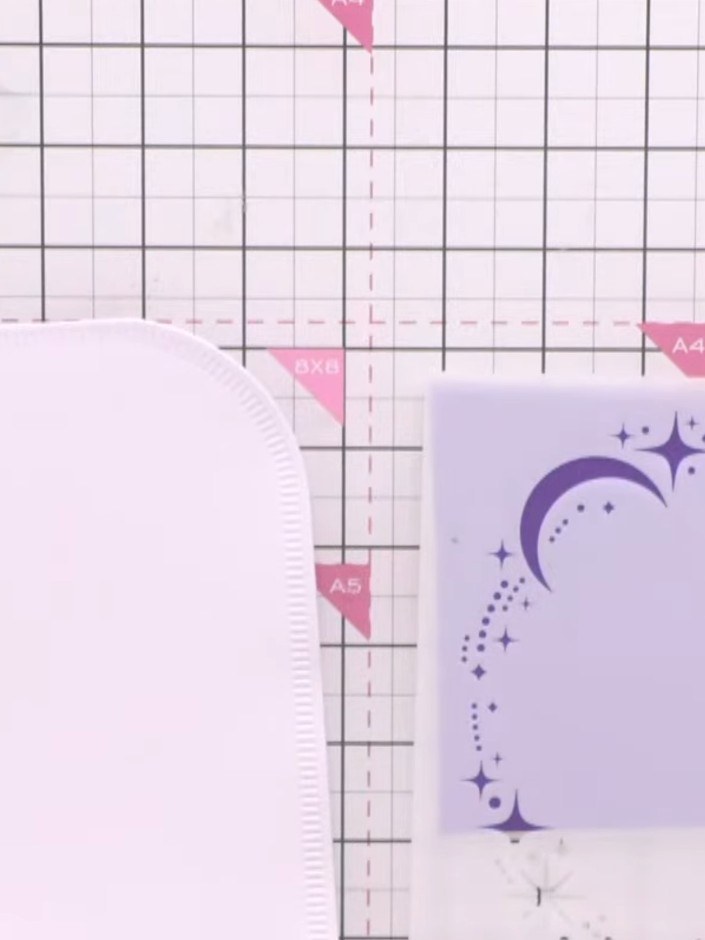 2
Build up the stencilled design by repeating elements like candy canes, stars and gonks around the card border using the Gnome for the Holidays stencil.
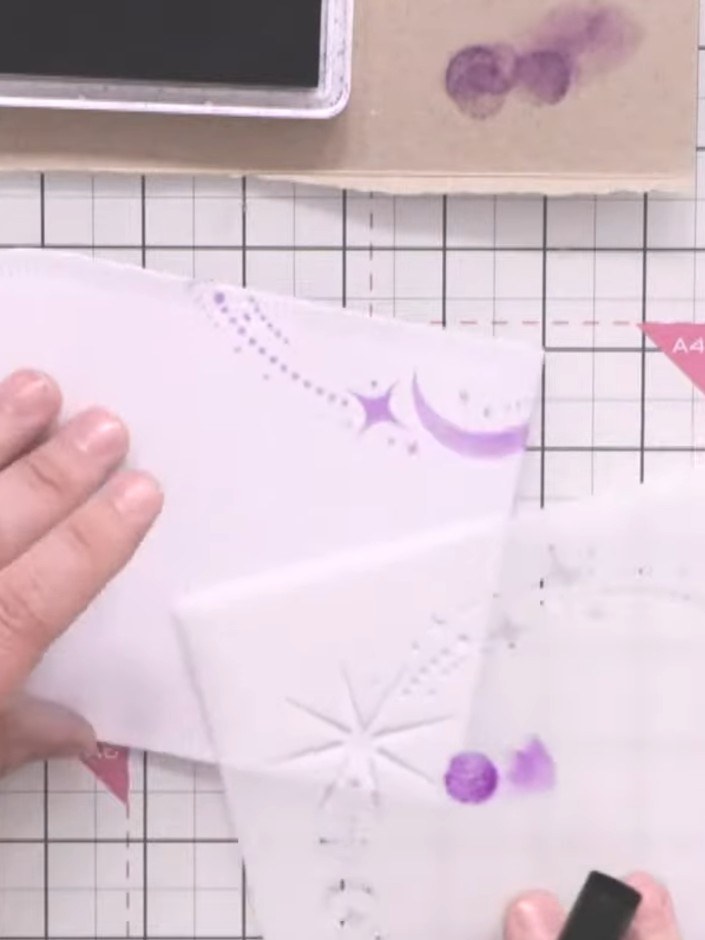 3
Apply sparkly paste or glitter through the stencil onto the purple stencilled areas using a sponge applicator. Press and dab the paste into the design to add festive dimension and shimmer.
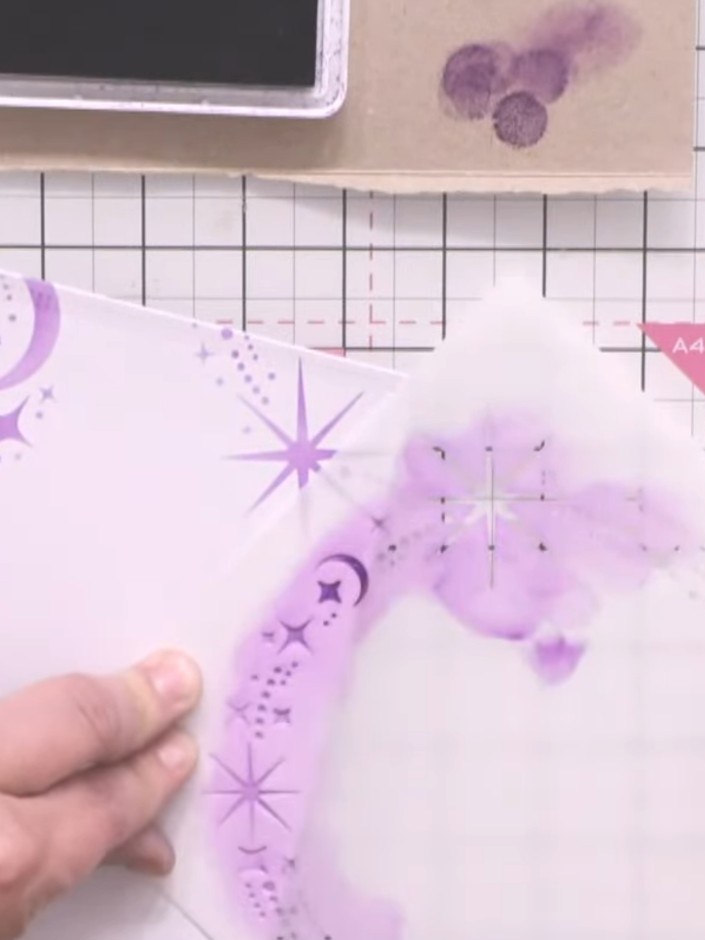 4
Die-cut a smaller shaped card using one of the waste-free dies to create an interesting card shape. Position the die on your stamped and stencilled background panel and run through your die-cutting machine.
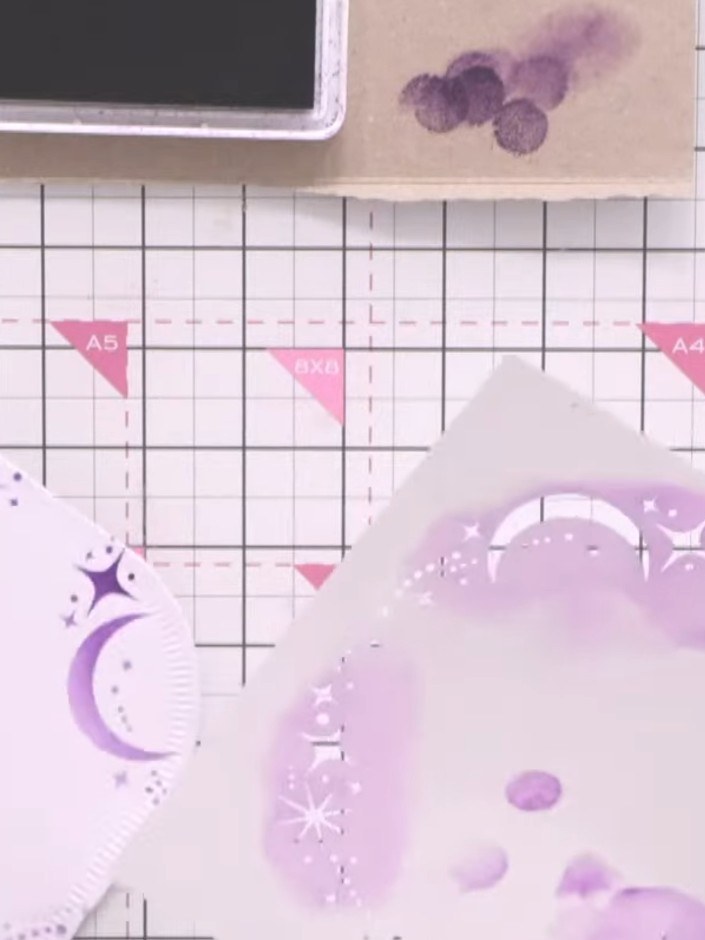 5
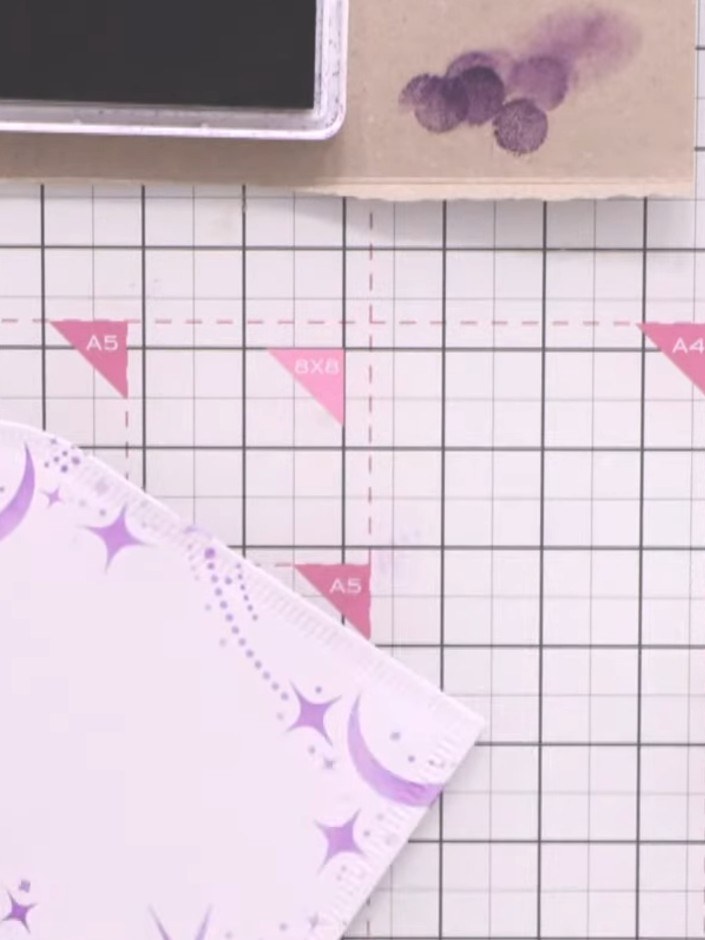
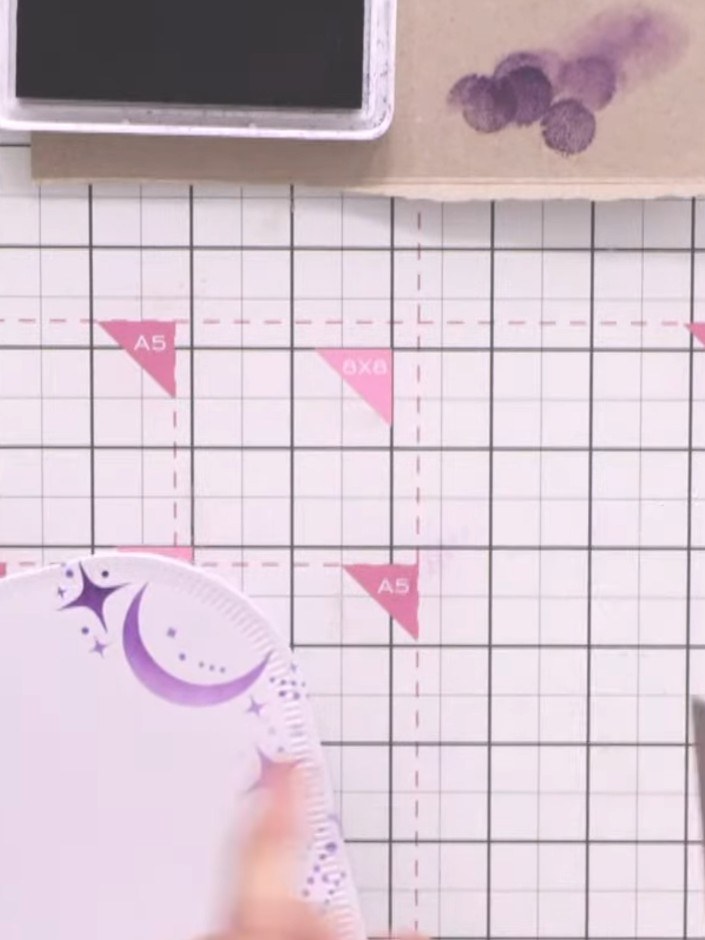
Mount the patterned paper featuring purple celestial designs (moons and stars) onto the shaped card base. Position the paper carefully to align with the card shape.
 6
Stamp your gnome character onto a separate piece of white card stock. Colour the stamped image using your preferred colouring medium.
 7
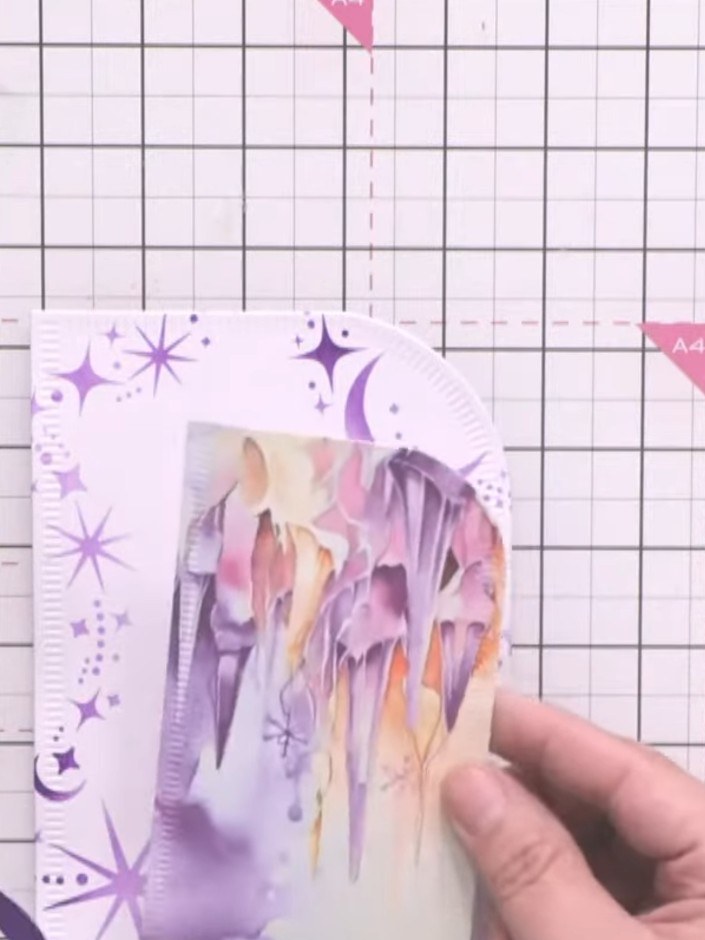
Die-cut the coloured gnome character from the decorated cardstock. Mount the die-cut gnome onto the stencilled purple background card using adhesive tape or foam pads for dimension.
 8
Add a sentiment plaque or decorative element to complete your card. Position it centrally on the stencilled background with the watercolour gnome image. Secure in place with adhesive.
Share your make with the Stamps By Me community - and keep this guide for next time.
Written up from the show itself. See every guide from our shows · free how-to guides · watch live on My Telly · the previous layout