Give your friends £10 off their first order!
Refer a FRIEND








 The Friday Final CutFri 20 Nov 10am
 Community ShowcaseMon 23 Nov 10am
 Deal HuntersTue 24 Nov 1pm
Prices change straight away. Every language is our own translation, not Google.
A project from our live show More Inspiration - Using - Gnome for the Holidays · 10/10/2025 · watch it from 1:17:30
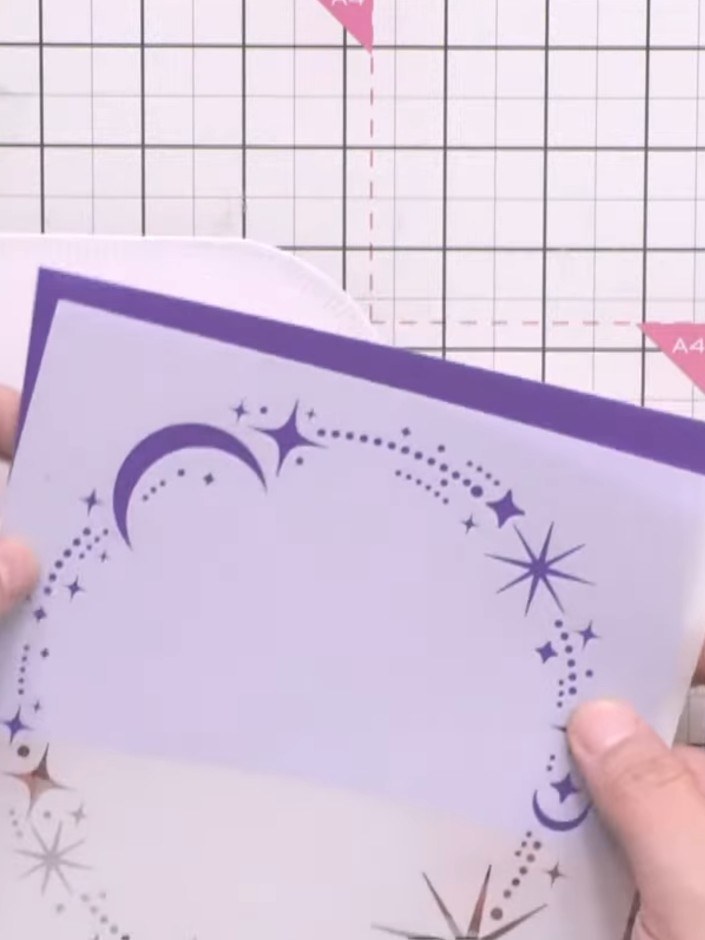
Create a festive shaped card featuring a whimsical gnome scene with a magical purple door and sparkly stencilled background. This project combines waist-free die cutting to create an unusual card silhouette, dimensional stencilling techniques for texture and shimmer, and charming gnome characters for a delightful Christmas design. The finished card showcases purple and pastel tones with glittery accents and a winter wonderland theme.
 Avago-ink Designs Stamp & Die Set - Gnome for the Holidays - 110624FSEE IT
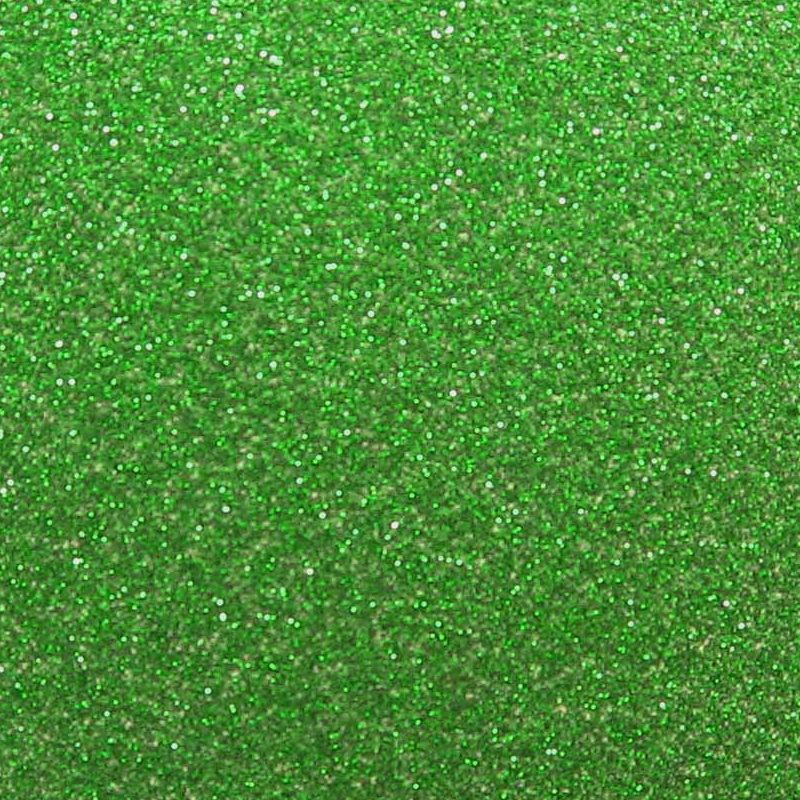 Best Creation Glitter Card Stock 12x12 Green (15 sheets)SEE IT
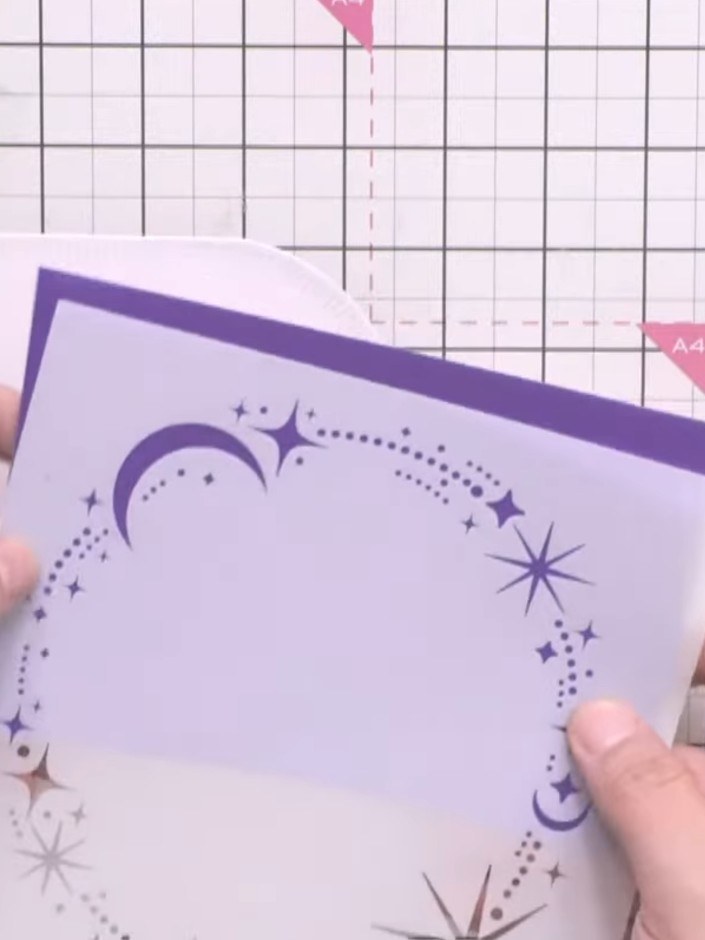
Take a white card blank with a score line down the centre. Position the card so the fold is at the top, then place it underneath the decorative stencilled panel to create a shaped card base.
▶ watch this step (1:17:30)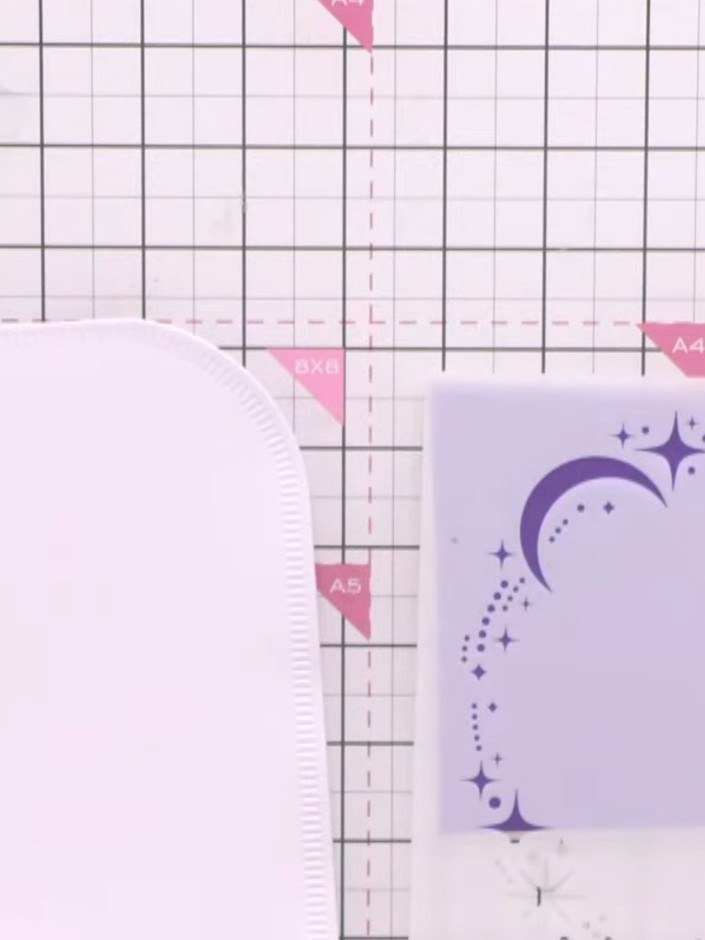
Use a 7 by 7 inch stencil to apply sparkly paste around the edges of the shaped card, creating a decorative border with the moon and stars design.
▶ watch this step (1:18:00)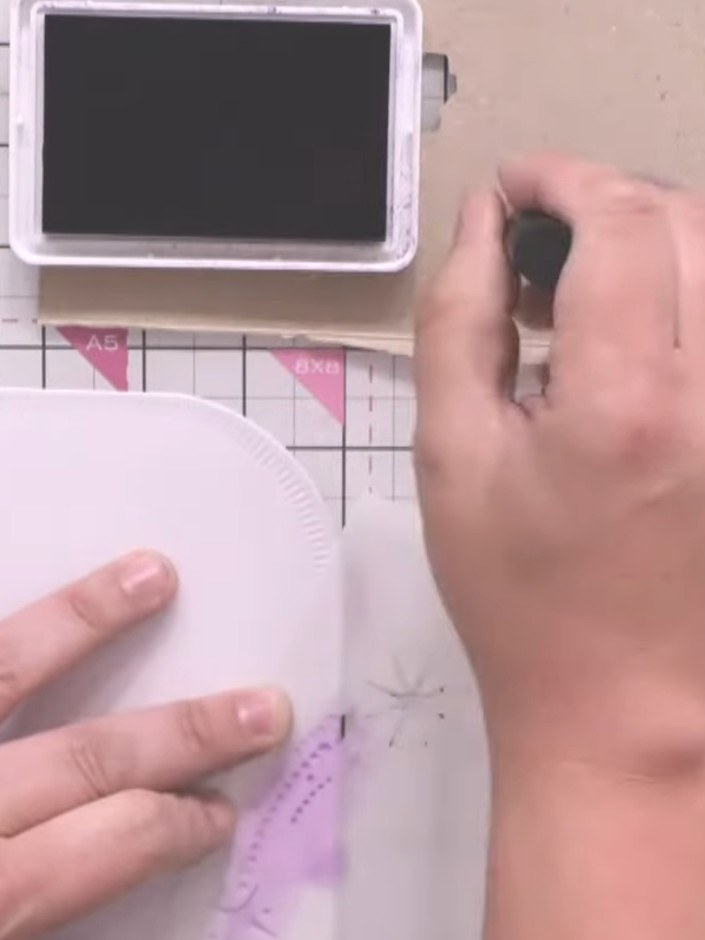
Continue building up the stencilled background by adding swirls and other design elements from the stencil around the edges of the card using purple ink.
▶ watch this step (1:18:30)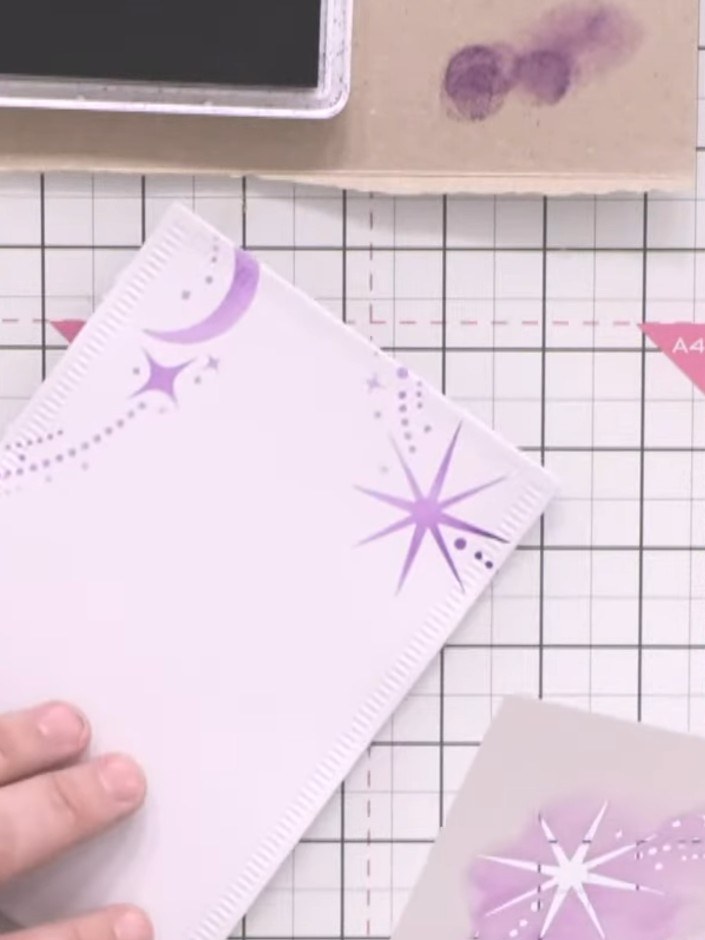
Use a smaller nesting die to cut a shape from the purple patterned paper with stars and moons. This will create a layered effect on your card.
▶ watch this step (1:19:00)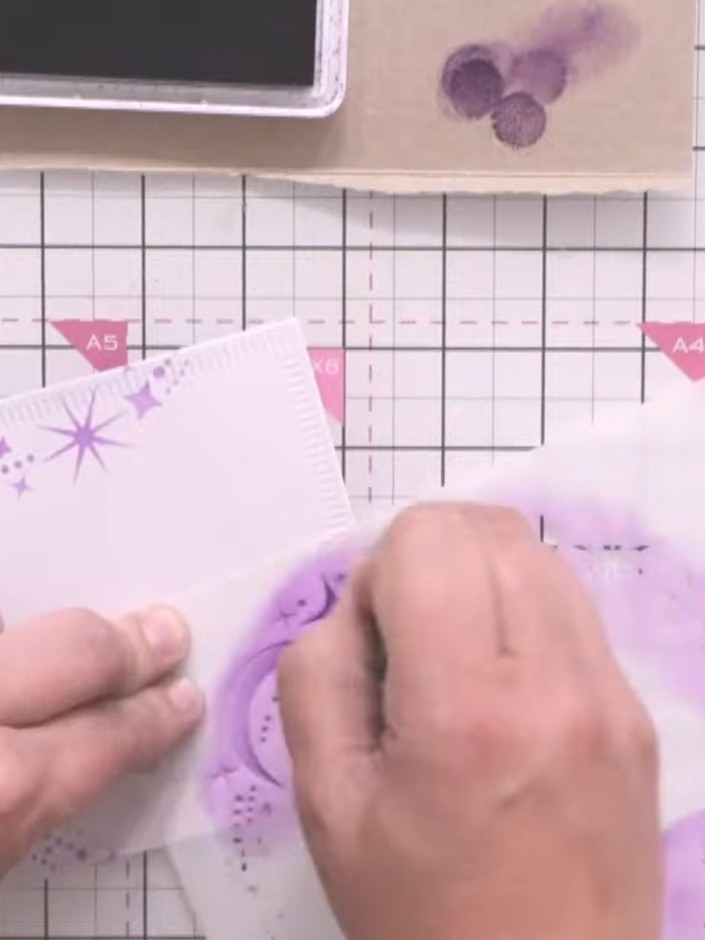
Mount the nesting die-cut panel with the purple celestial design onto the shaped card base, aligning it carefully to create a layered effect.
▶ watch this step (1:19:30)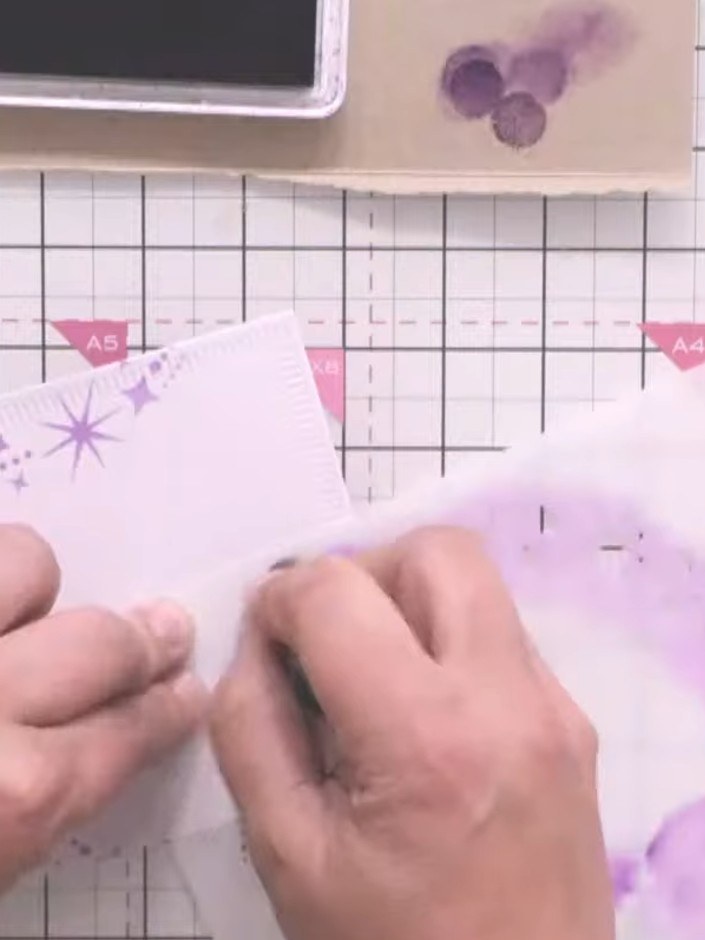
Stamp the gnome characters onto white cardstock. Colour the stamped images using purple ink or markers to match your card design.
▶ watch this step (1:20:00)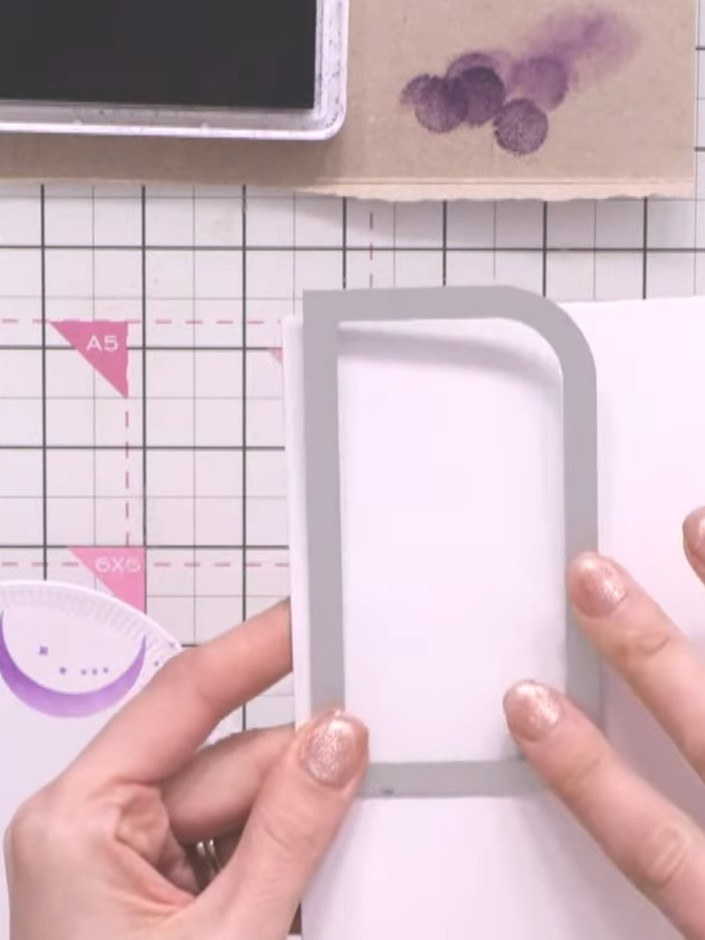
Die cut the gnome characters from the stamp and die set. Position the gnome on the front of your shaped card, allowing it to hang slightly over the top edge.
▶ watch this step (1:20:30)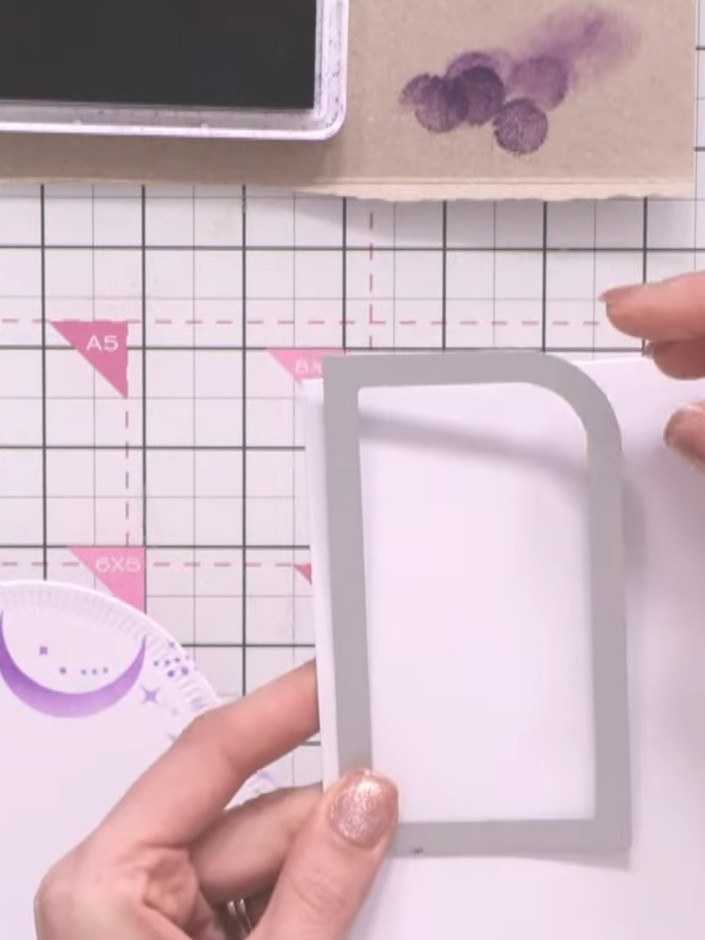
Add a sentiment plaque or text element to the top of your card to complete the design. Position it centrally and adhere it in place using adhesive.
▶ watch this step (1:21:00)Written up from the show itself. See every guide from our shows · free how-to guides · watch live on My Telly