Give your friends £10 off their first order!
Refer a FRIEND








 The Friday Final CutFri 20 Nov 10am
 Community ShowcaseMon 23 Nov 10am
 Deal HuntersTue 24 Nov 1pm
Prices change straight away. Every language is our own translation, not Google.
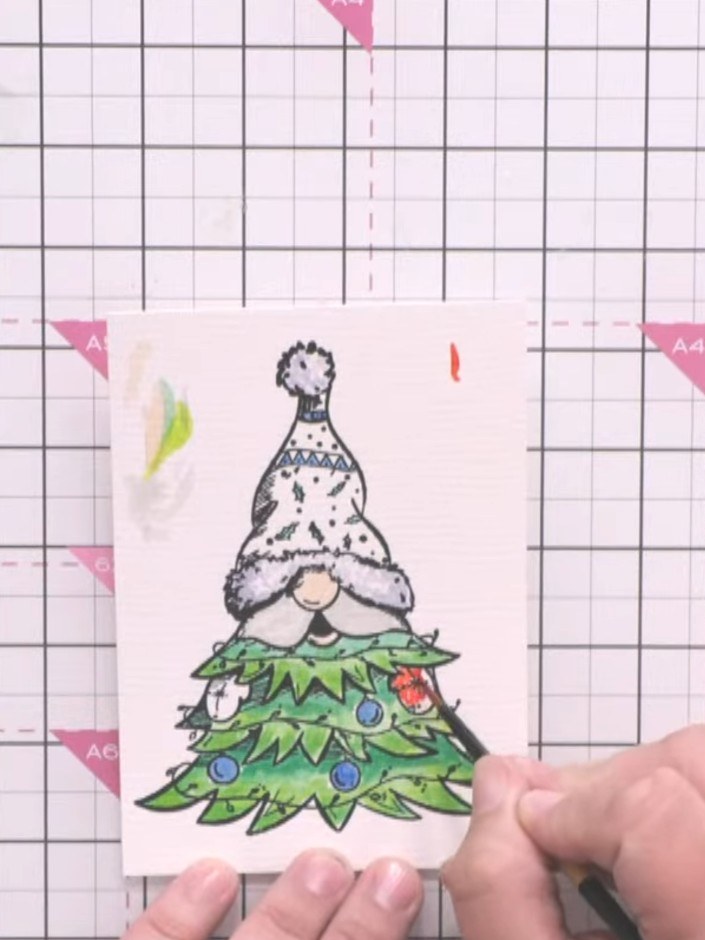
A project from our live show More Inspiration - Using - Gnome for the Holidays · 10/10/2025
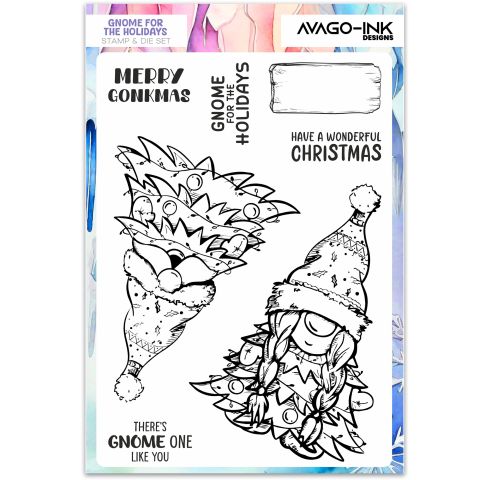
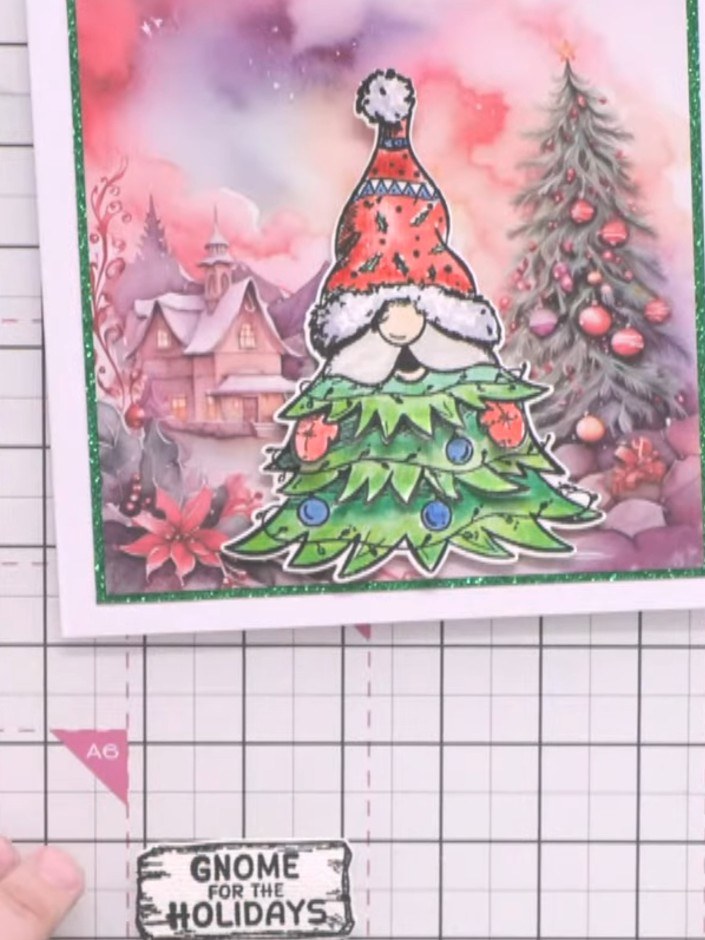
Create a charming Christmas gnome character card featuring a whimsical gnome perched atop a decorated Christmas tree. Stamp the design onto watercolour card, bring it to life with vibrant watercolours in greens, reds and blues, then add sparkle with embossed details. The result is a delightful dimensional card perfect for festive greetings.
 1
Stamp the gnome character from the Gnome for the Holidays stamp set onto watercolour card using black ink.
 2
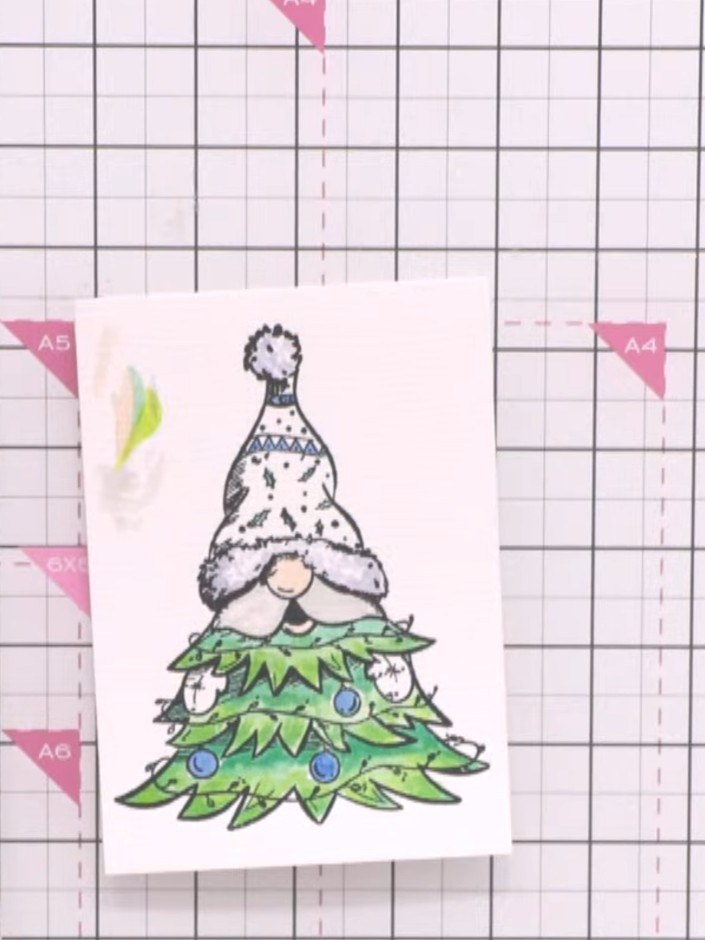
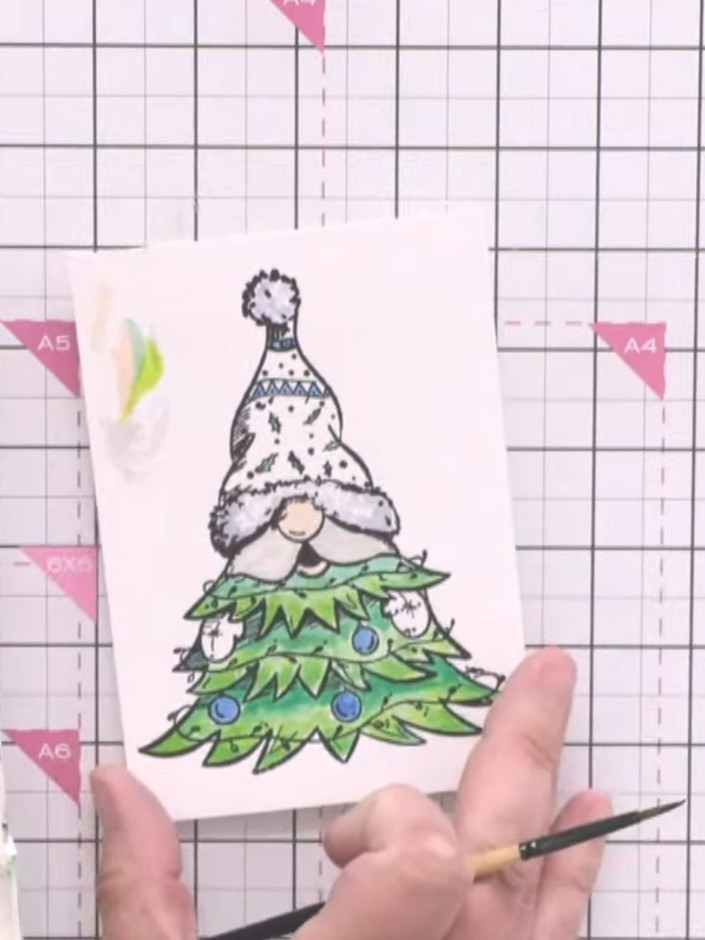
Colour the gnome's hat with red watercolour paint. Use lighter green at the bottom of the Christmas tree and darker green at the top to create dimension.
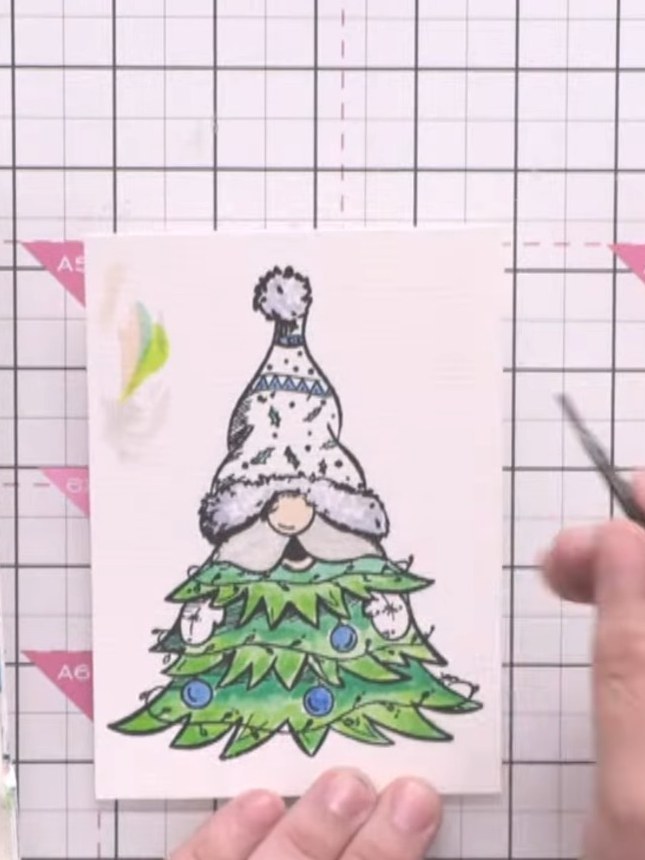 3
Add white highlights to the gnome's beard and hat details using white watercolour or white crayon. Apply the white colour loosely to create texture and dimension.
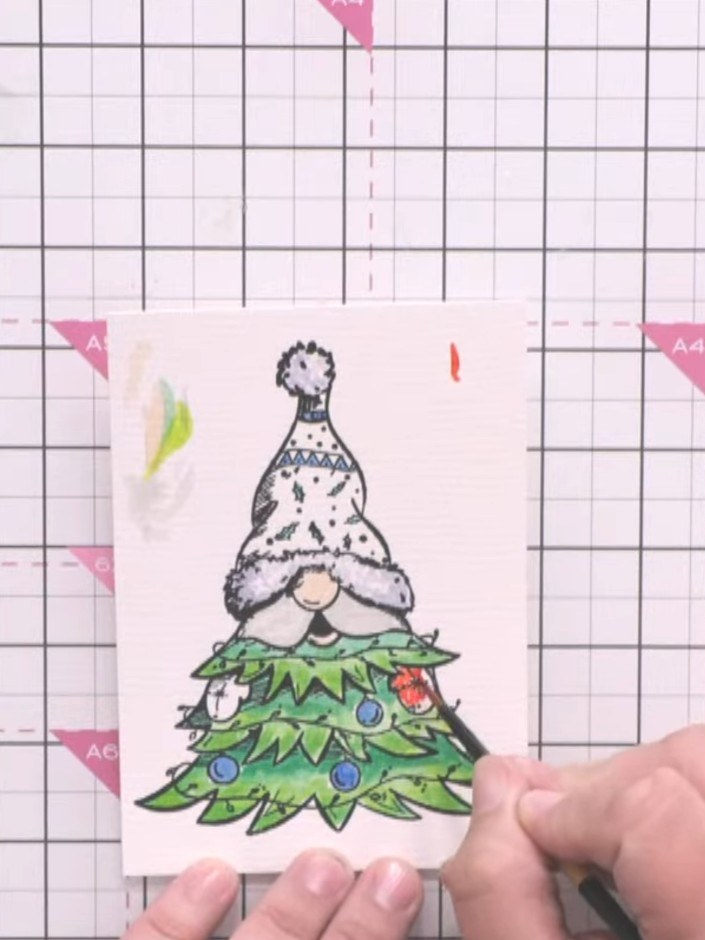 4
Add colour to the Christmas tree ornaments using watercolour paints. Paint the baubles in red and blue, keeping the colours vibrant and allowing the stamped details to show through.
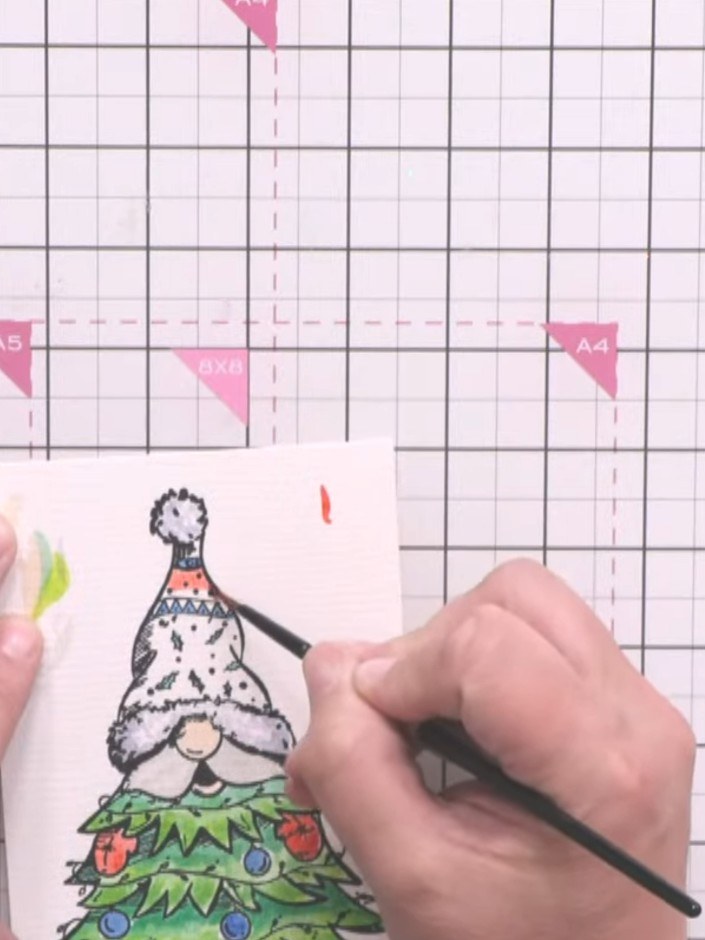 5
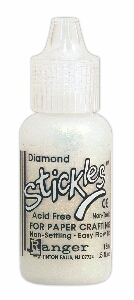
Heat the embossing powder with a heat gun until it melts and sets to create a shiny, raised finish on the gnome's hat.
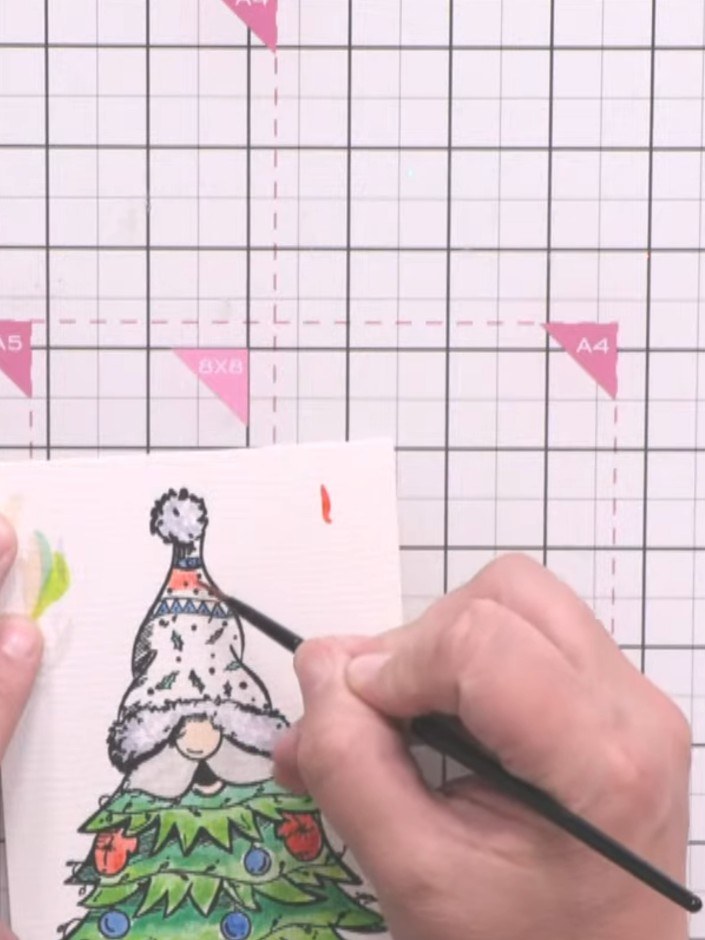 6
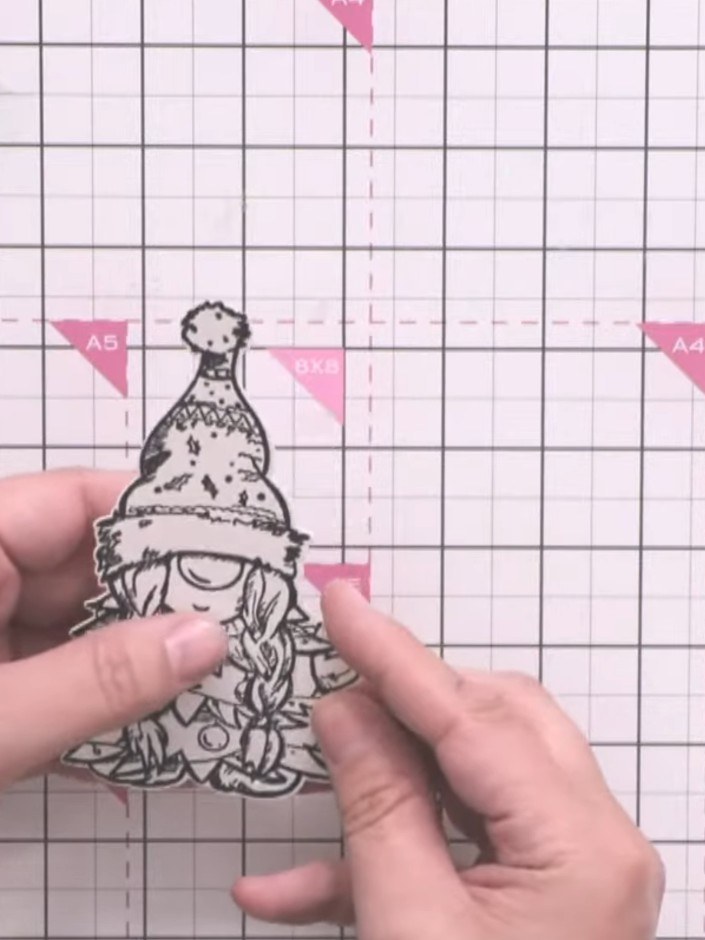
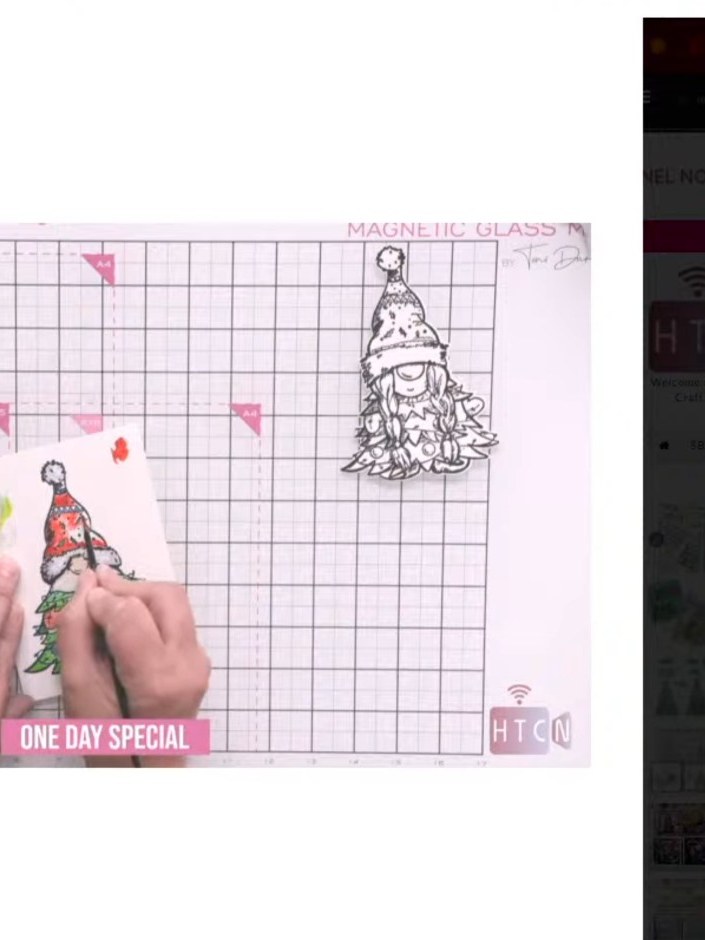
Die cut the gnome character using the coordinating die from the stamp set. The die cuts around the stamped and coloured gnome image.
 7
Mount the coloured and die-cut gnome characters onto your chosen card base. Use glitter card or patterned paper for the background to create festive Christmas cards.
Share your make with the Stamps By Me community - and keep this guide for next time.
Written up from the show itself. See every guide from our shows · free how-to guides · watch live on My Telly · the previous layout