Give your friends £10 off their first order!
Refer a FRIEND








 The Friday Final CutFri 20 Nov 10am
 Community ShowcaseMon 23 Nov 10am
 Deal HuntersTue 24 Nov 1pm
Prices change straight away. Every language is our own translation, not Google.
A project from our live show More Inspiration - Using - Gnome for the Holidays · 10/10/2025 · watch it from 36:30
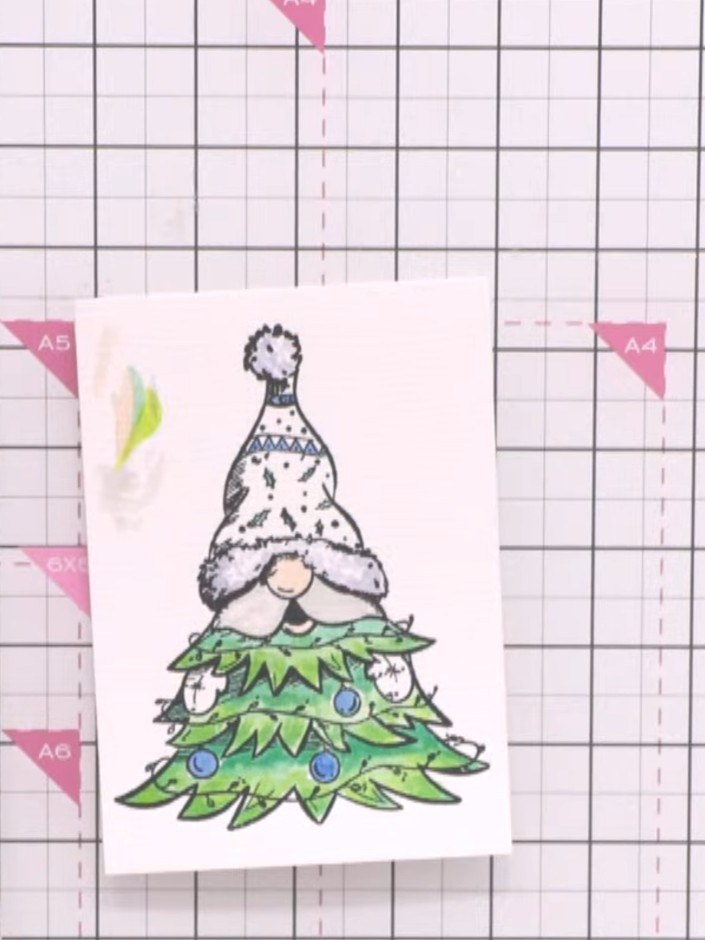
Create a charming interactive gnome topper card featuring a festive character perched atop a decorated Christmas tree. The design showcases vibrant watercolours in coral red, green and blue, with a whimsical gnome wearing a patterned hat. This project uses stamping, die cutting and dimensional layering techniques to create moveable 3D elements that add delightful interaction to your handmade card.
 Avago-ink Designs Stamp & Die Set - Gnome for the Holidays - 110624FSEE IT
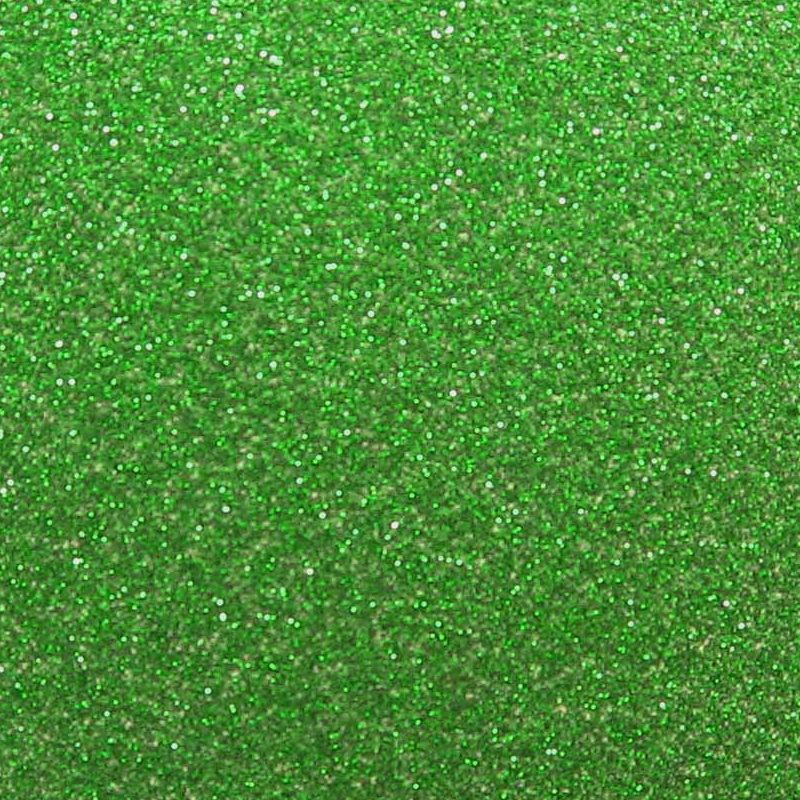 Best Creation Glitter Card Stock 12x12 Green (15 sheets)SEE IT
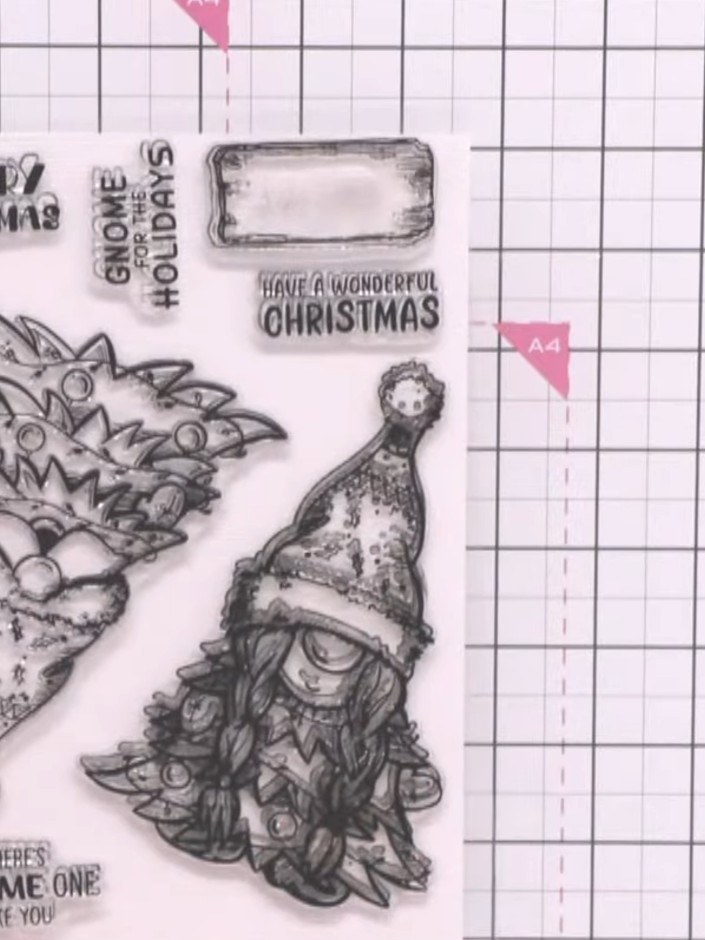
Stamp the large gnome lady character from the Gnome for the Holidays stamp set onto watercolour card.
▶ watch this step (36:30)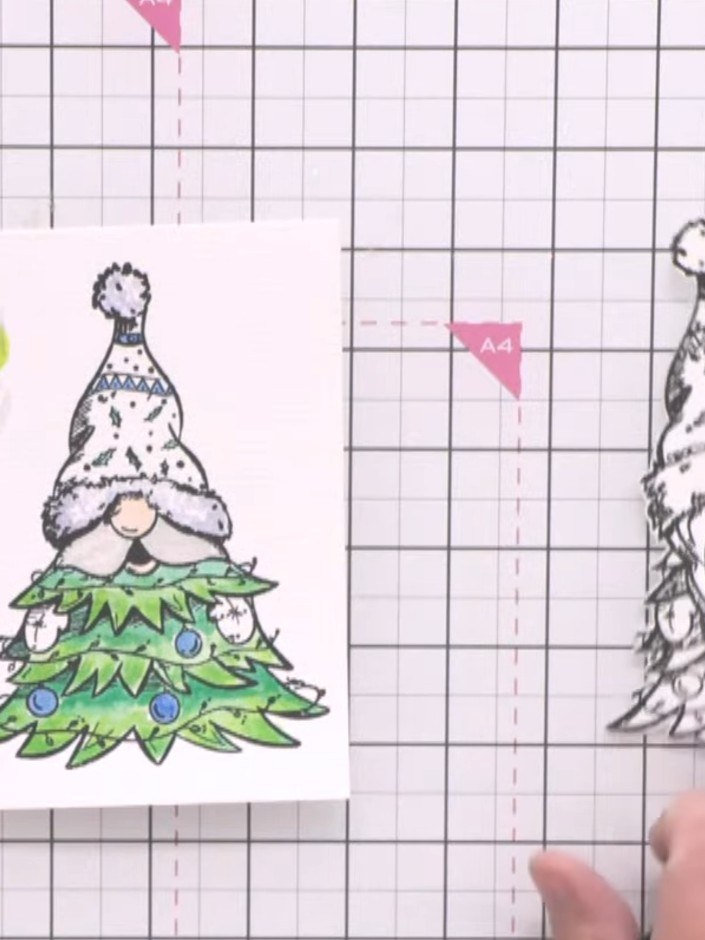
Colour the gnome stamp using watercolours. Add colour to the face, clothing, and other details of the gnome image.
▶ watch this step (37:00)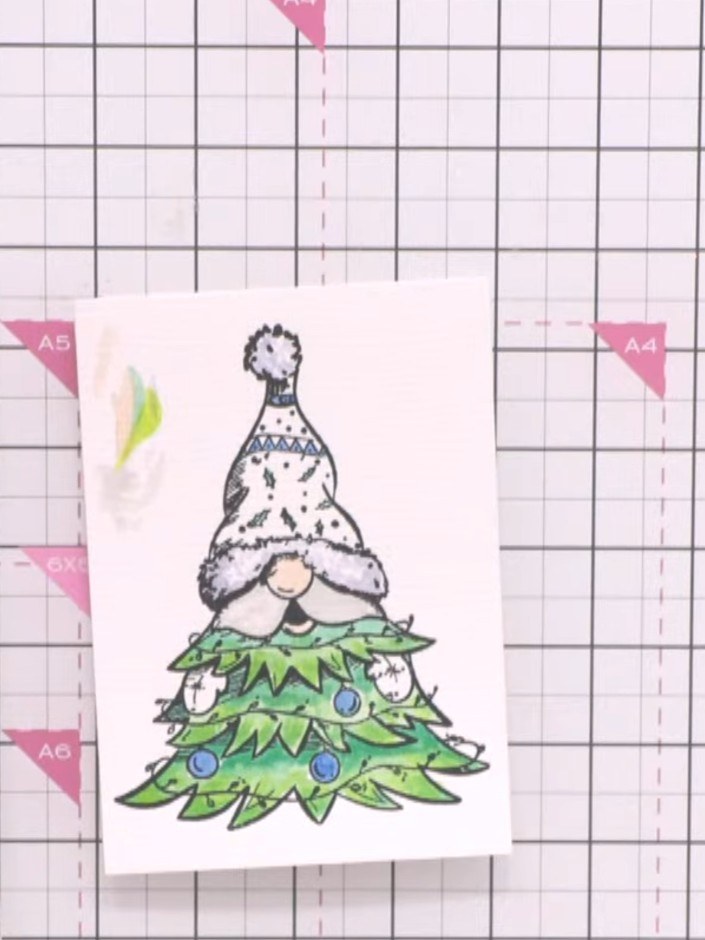
Die cut the stamped gnome image using the coordinating die. The die will cut around the gnome and create interactive elements that can be lifted.
▶ watch this step (37:30)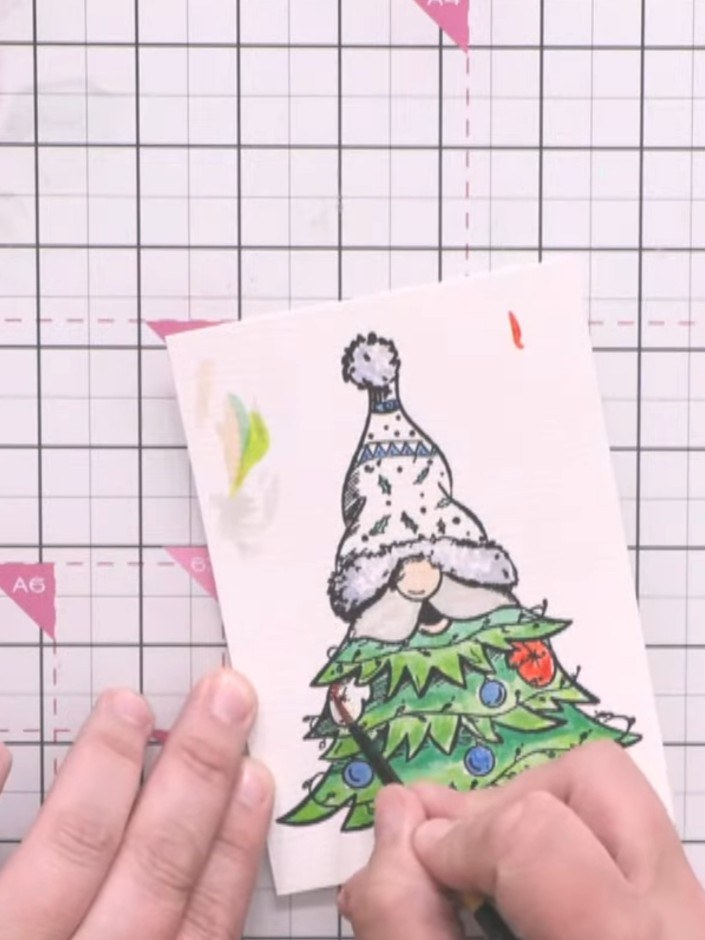
Layer the die-cut coloured gnome topper onto a patterned paper background from the mystical Christmas pad. Position the gnome centrally on the background paper.
▶ watch this step (38:00)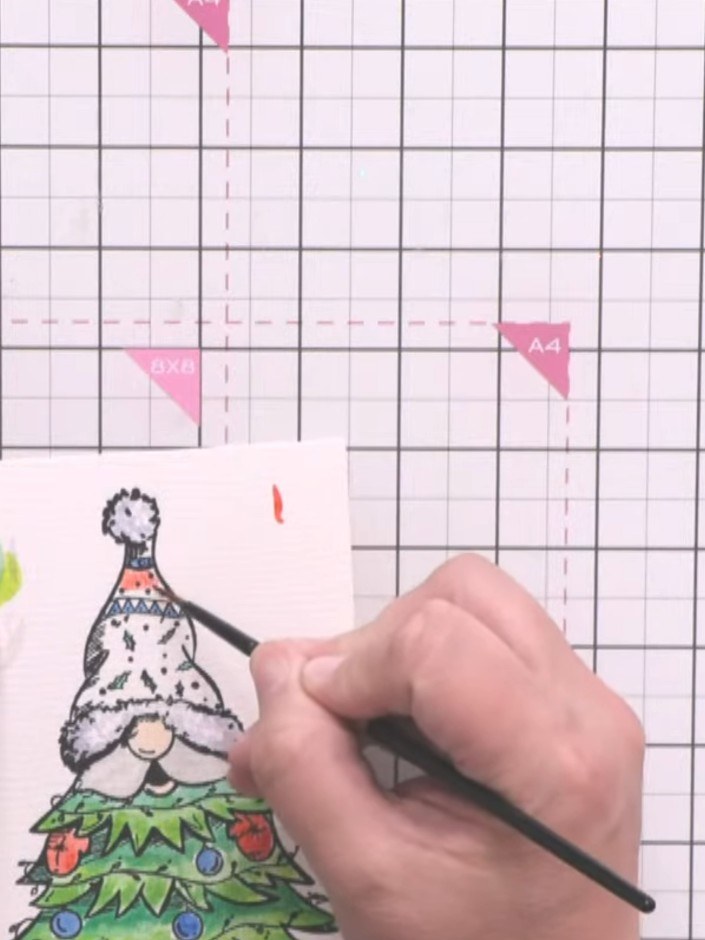
Mount the completed coloured gnome topper onto your card base, positioning the gnome as the focal point of your design.
▶ watch this step (38:30)Written up from the show itself. See every guide from our shows · free how-to guides · watch live on My Telly