Give your friends £10 off their first order!
Refer a FRIEND








 The Friday Final CutFri 20 Nov 10am
 Community ShowcaseMon 23 Nov 10am
 Deal HuntersTue 24 Nov 1pm
Prices change straight away. Every language is our own translation, not Google.
A project from our live show MY PODCAST - Catch my latest updates broadcast 27th October 2025 · 27/10/2025 · watch it from 1:00:00
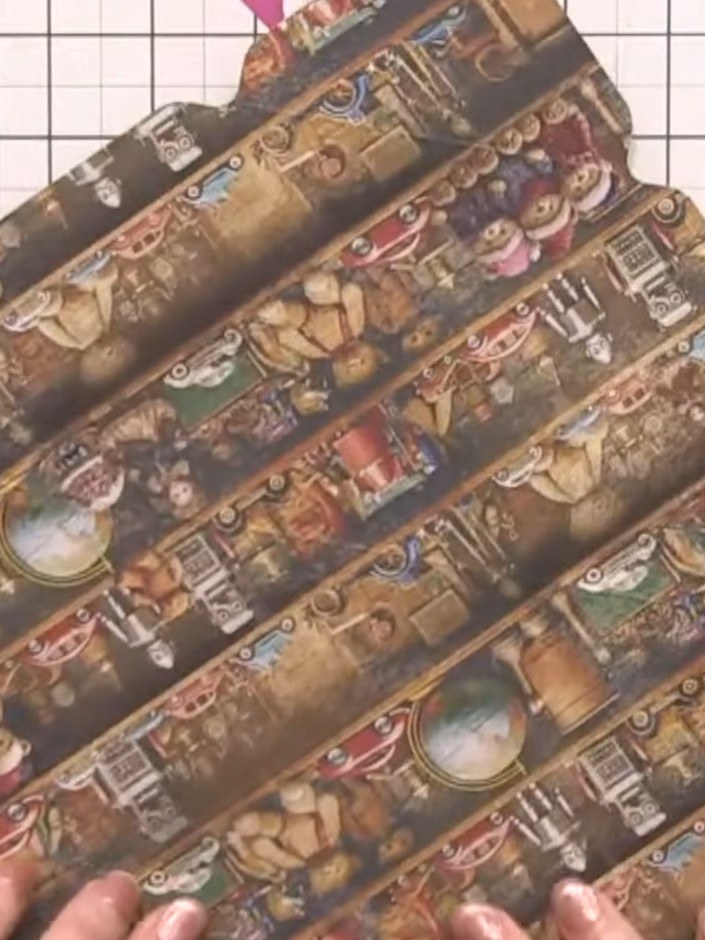
Create an elegant 4x4x4 inch decorative gift box using vintage-style patterned papers in cream, brown and floral designs. This clever glueless construction uses rivets to secure the box, with a coordinating envelope-style flap closure. The finished piece features beautiful layered papers and makes a charming presentation for small gifts or keepsakes.
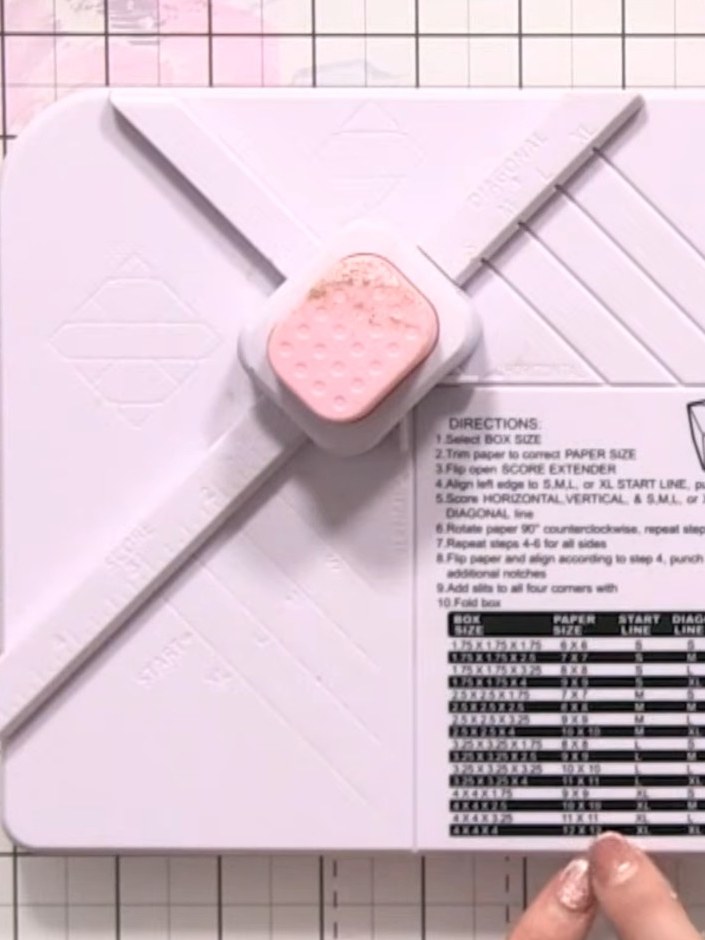
Cut your card stock to 12 by 12 inches. Use the measurements chart on the envelope maker board to find the correct size for a 4x4x4 inch box, which requires a 12x12 inch square with an XL diagonal score line.
▶ watch this step (1:01:00)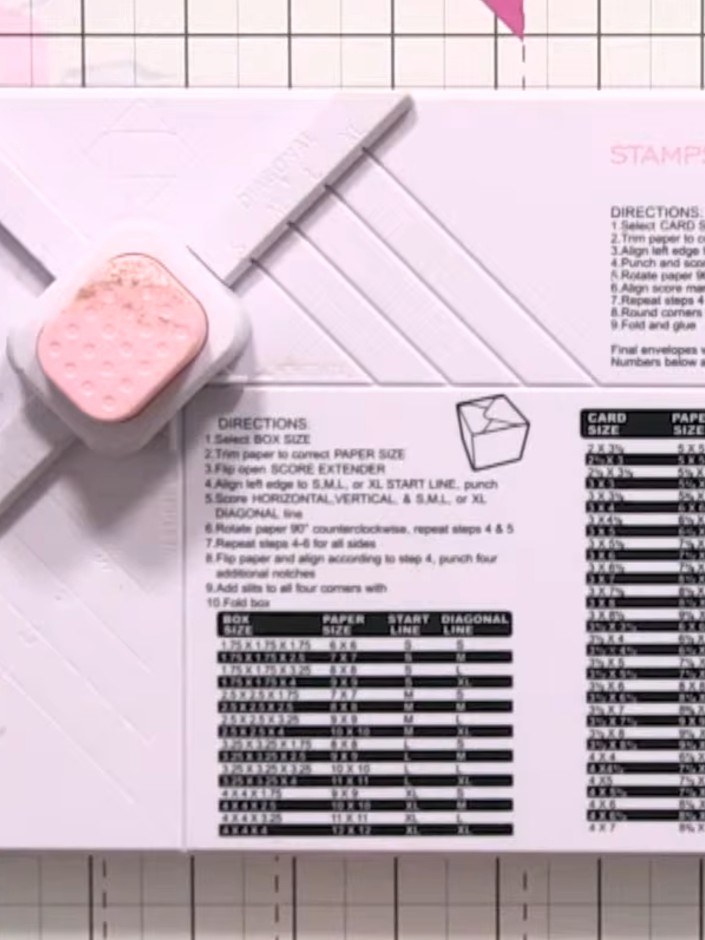
Position your 12 x 12 inch card stock on the envelope maker board, aligning it with the XL score lines at the marked starting position.
▶ watch this step (1:01:30)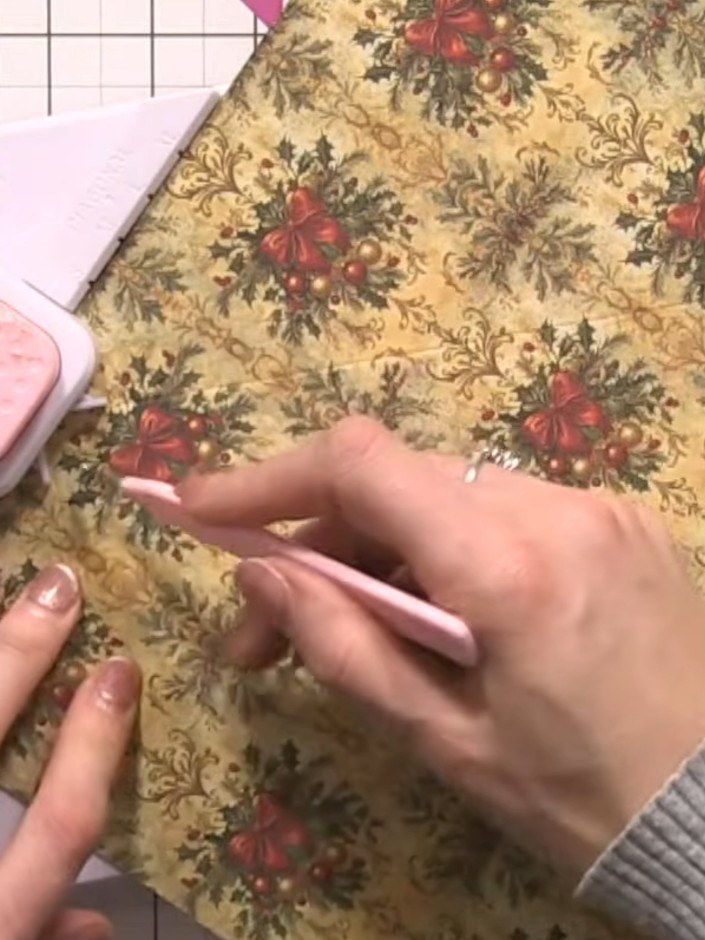
Score along the first XL line by gently running your scoring tool down the line, following the arrow direction.
▶ watch this step (1:02:00)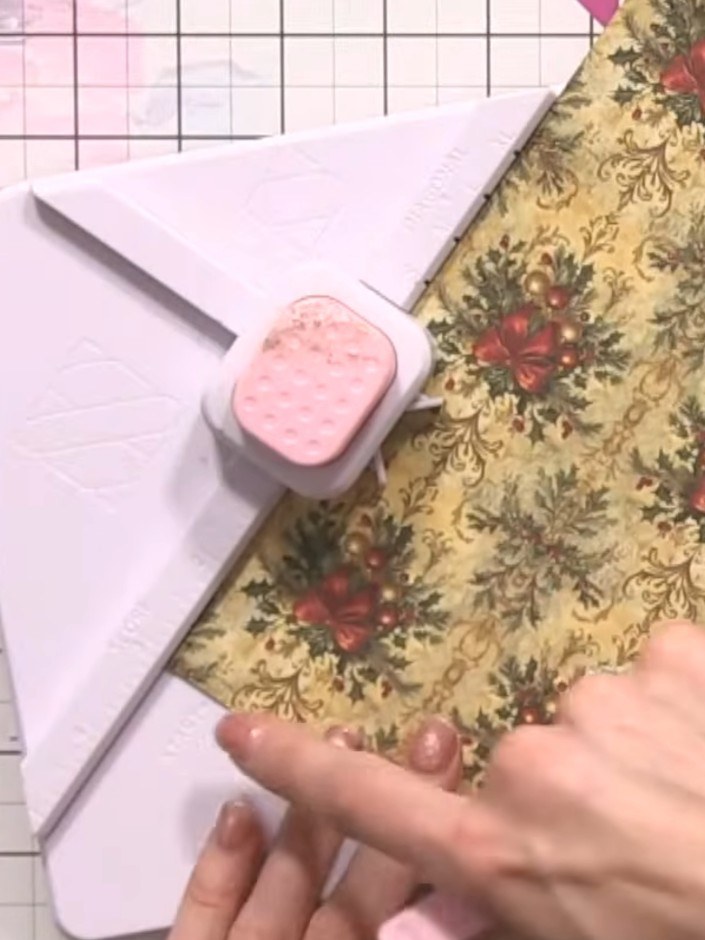
Twist the card in the box maker to align with the next XL line on the scoring board and score again.
▶ watch this step (1:02:15)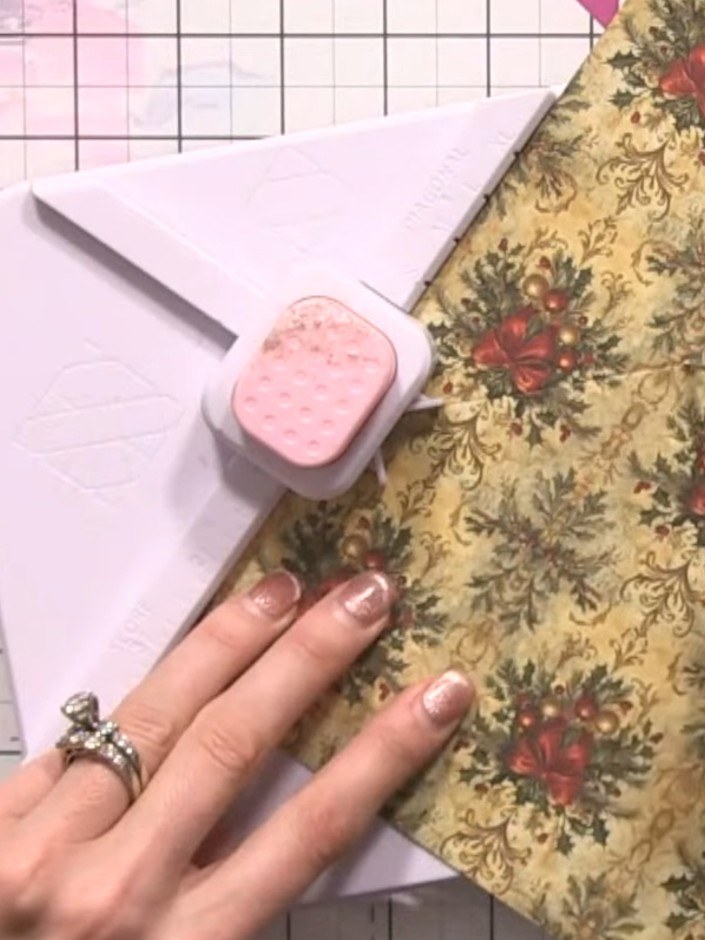
Continue scoring along all four XL lines on the box and envelope maker, rotating the patterned card after each score line is completed.
▶ watch this step (1:02:30)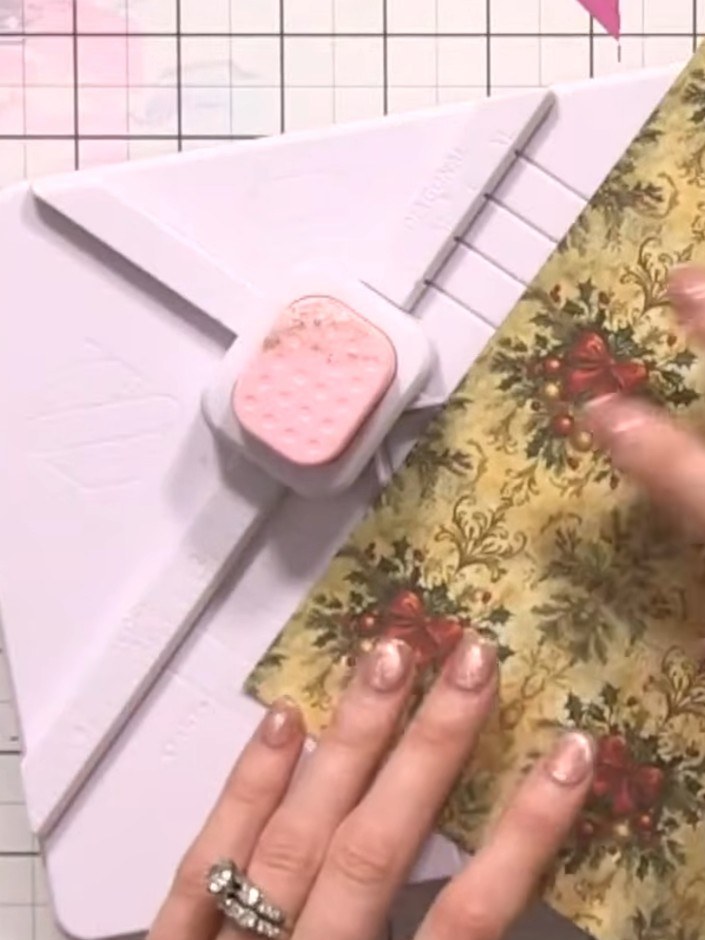
Position the arrow down on the punch tool and punch out the small triangular piece at the corner. Rotate the arrow across and punch out the adjacent triangular piece to complete one corner. Repeat for all four corners of the box.
▶ watch this step (1:03:00)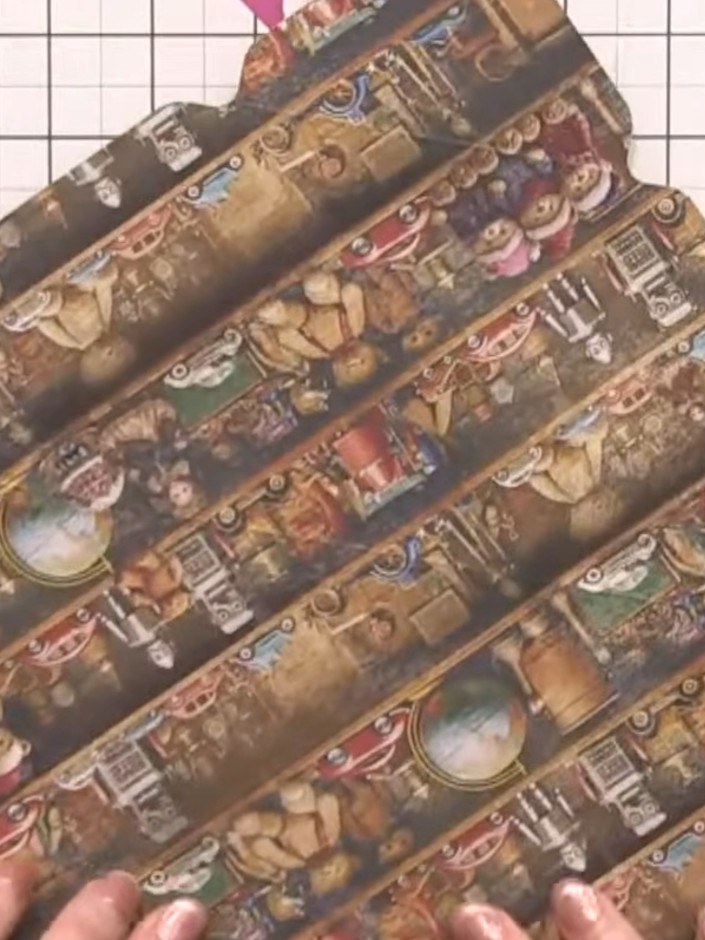
Insert rivets into the corner holes of the box by placing the rivet point into each corner hole and punching to secure. Work through all four corners.
▶ watch this step (1:04:00)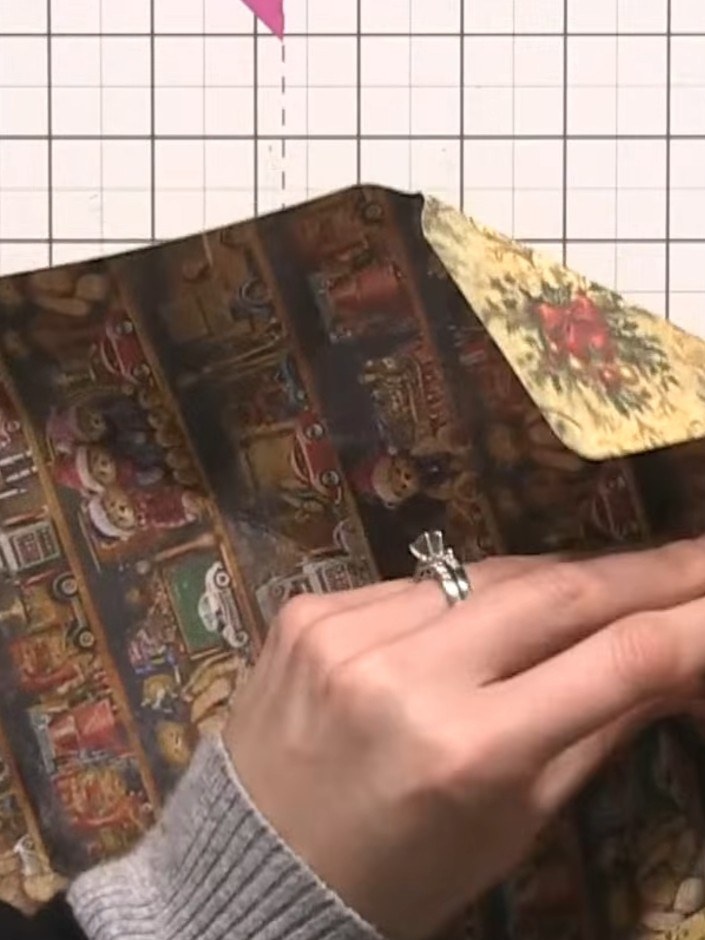
Fold up the sides of the box to form the structure. Engage the hook and eye closure system at the top to secure the box closed.
▶ watch this step (1:05:00)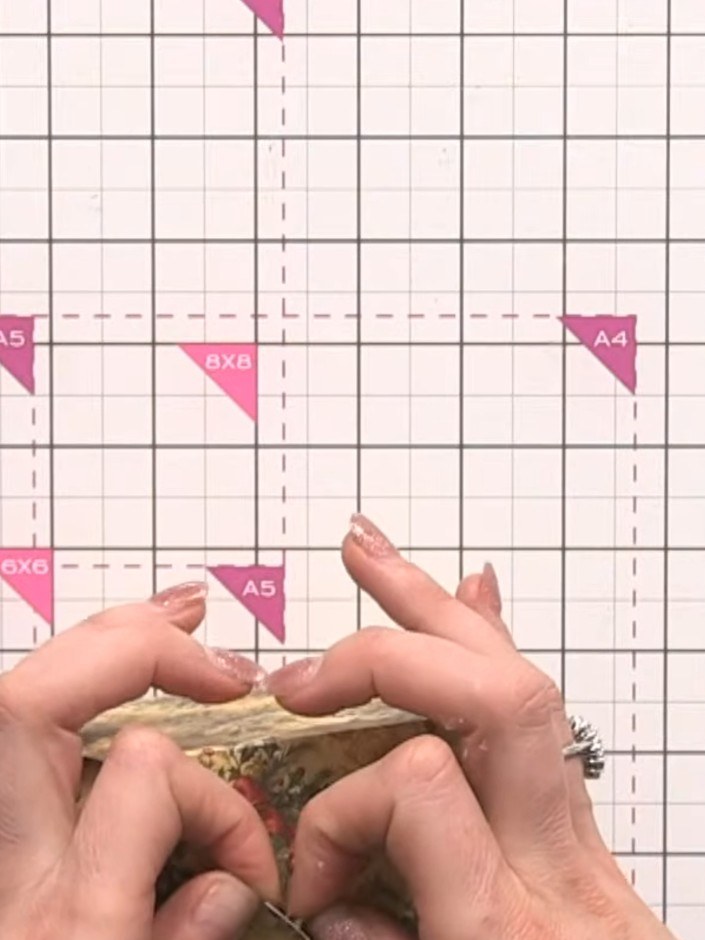
Push the sides of the box outward to create the three-dimensional shape. Pin the sides together at the corners to secure the structure.
▶ watch this step (1:05:30)Written up from the show itself. See every guide from our shows · free how-to guides · watch live on My Telly