Give your friends £10 off their first order!
Refer a FRIEND








 The Friday Final CutFri 20 Nov 10am
 Community ShowcaseMon 23 Nov 10am
 Deal HuntersTue 24 Nov 1pm
Prices change straight away. Every language is our own translation, not Google.
A project from our live show MY PODCAST - Catch my latest updates broadcast 27th October 2025 · 27/10/2025
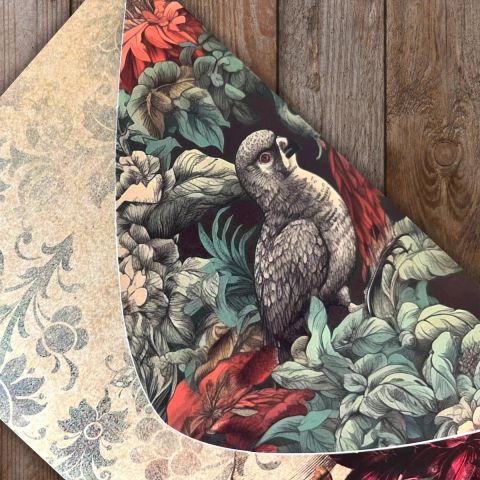
Create a charming mini memory album with interactive fold-out pockets and decorative panels. This elegant project features a botanical theme with birds and berries in muted greens and vintage florals, finished with a luxurious ribbon closure. The album uses pre-cut pieces and simple assembly techniques to create a sophisticated keepsake perfect for gifting.
 1
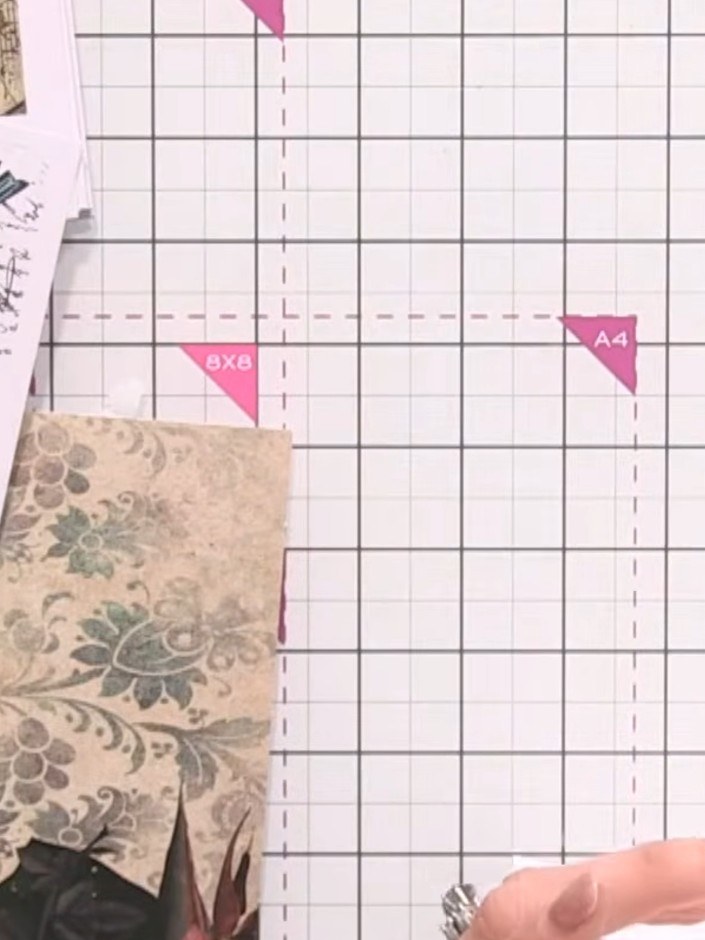
Remove all the pre-cut pieces from the Majestic Treasures memory album kit. This includes the album cover, pages, pockets with score lines, and decorative toppers featuring butterflies, florals, and vintage map designs.
 2
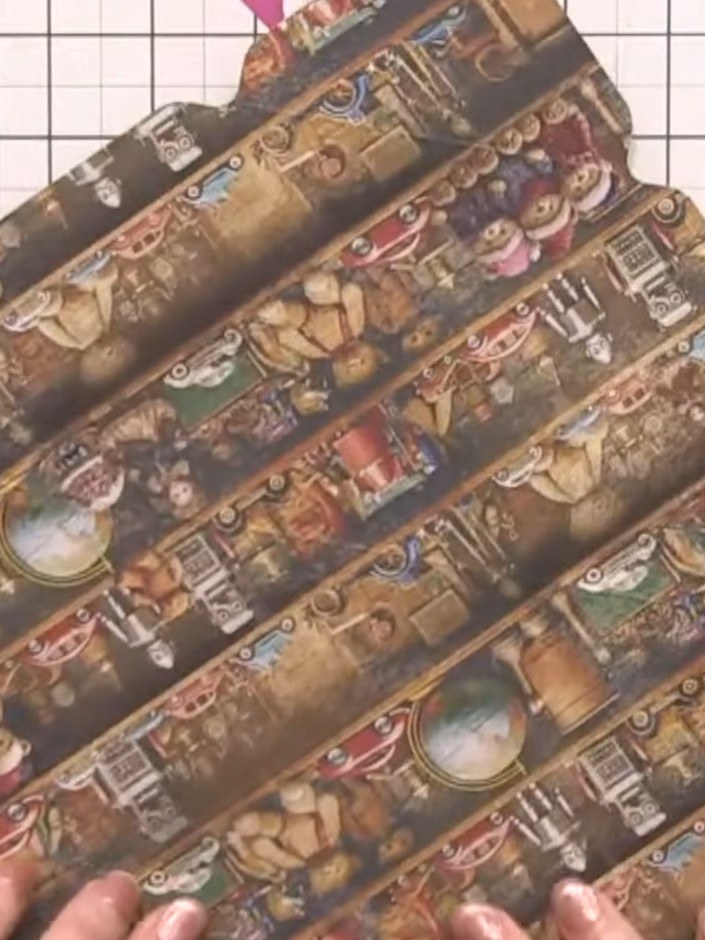
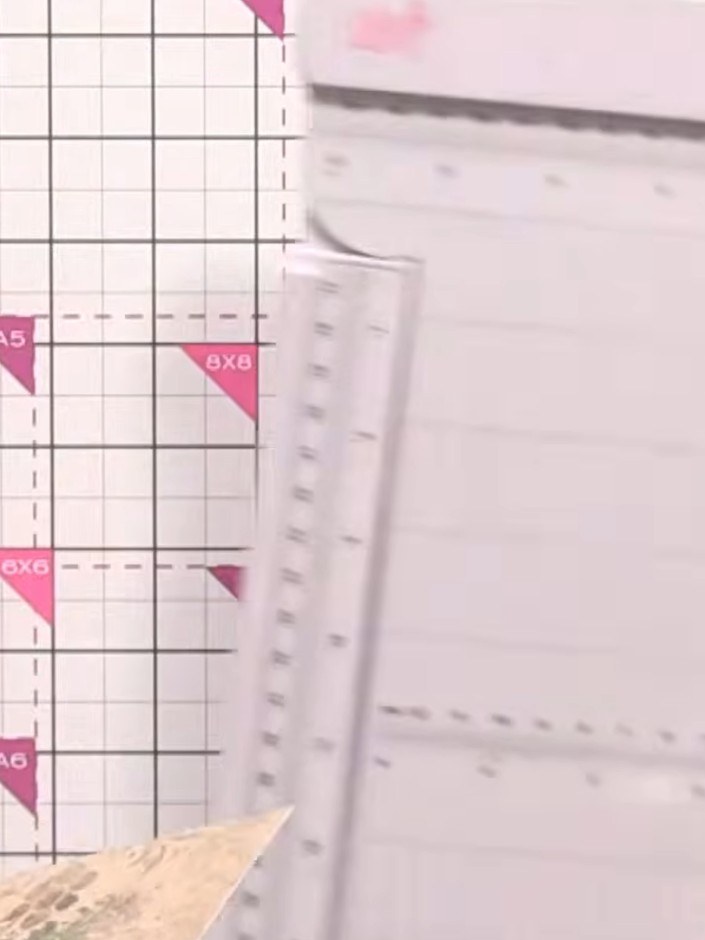
Score the album cover along the printed score lines using a scoring tool and ruler. Work carefully along each marked line to create crisp fold lines for your album structure.
 3
Create a pocket by applying adhesive to two sides of the pre-cut decorative paper piece. Leave the hinge edge free so it can be attached to the album binding later.
 4
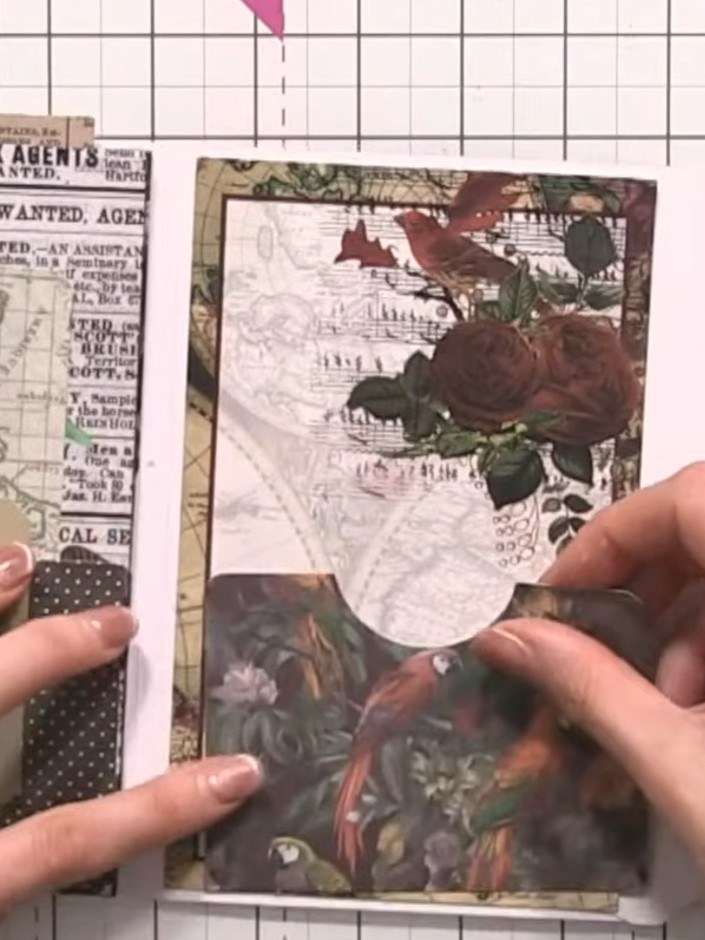
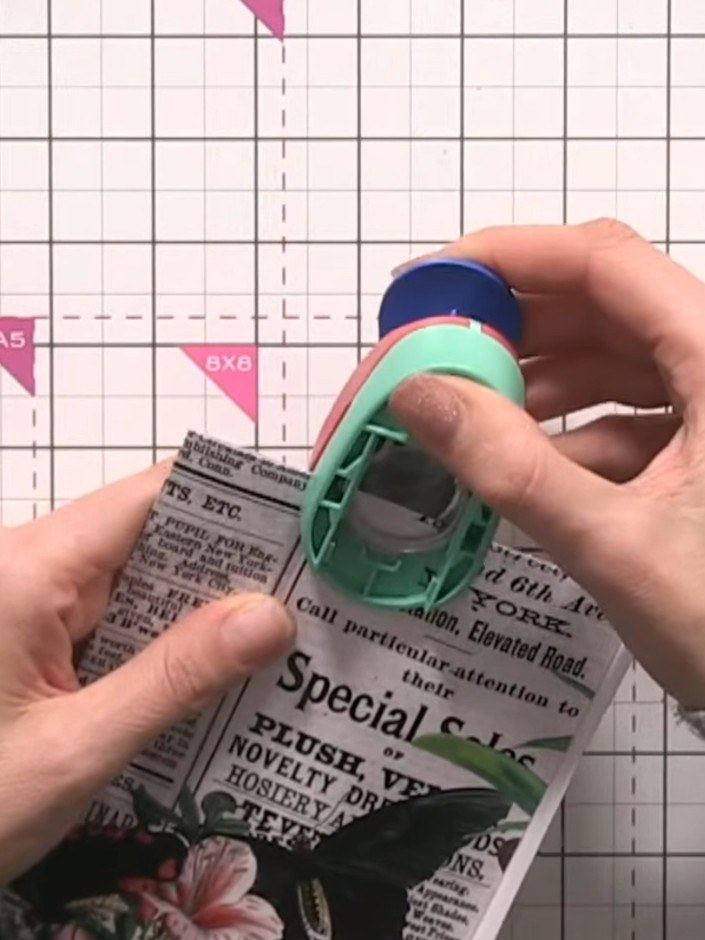
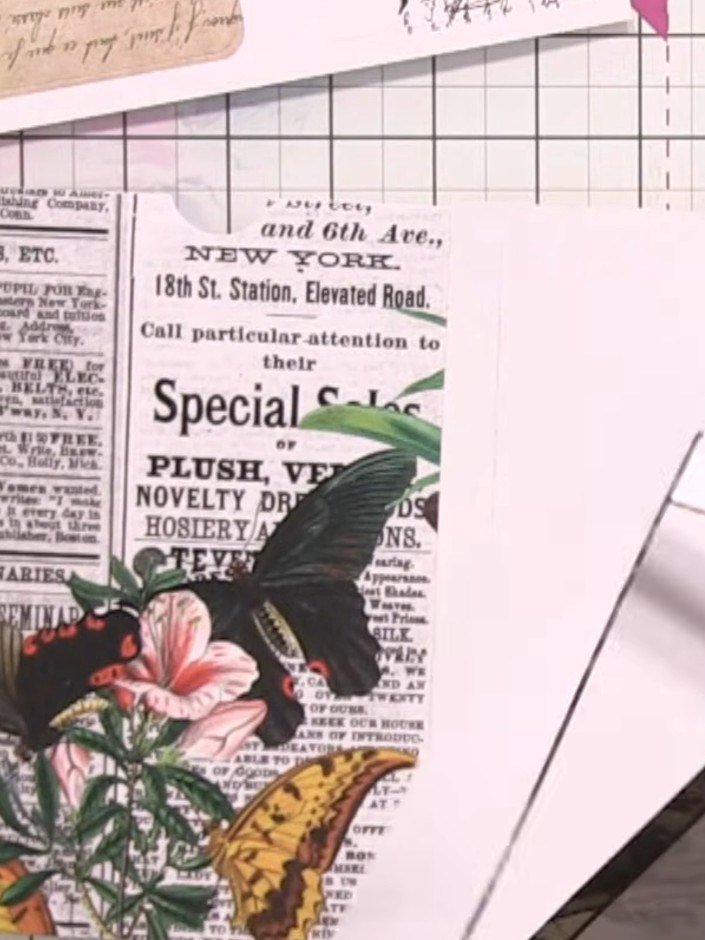
Use a circle punch to punch a hole in the upper portion of the pocket piece. This creates a finger hole for easy opening of the pocket.
 5
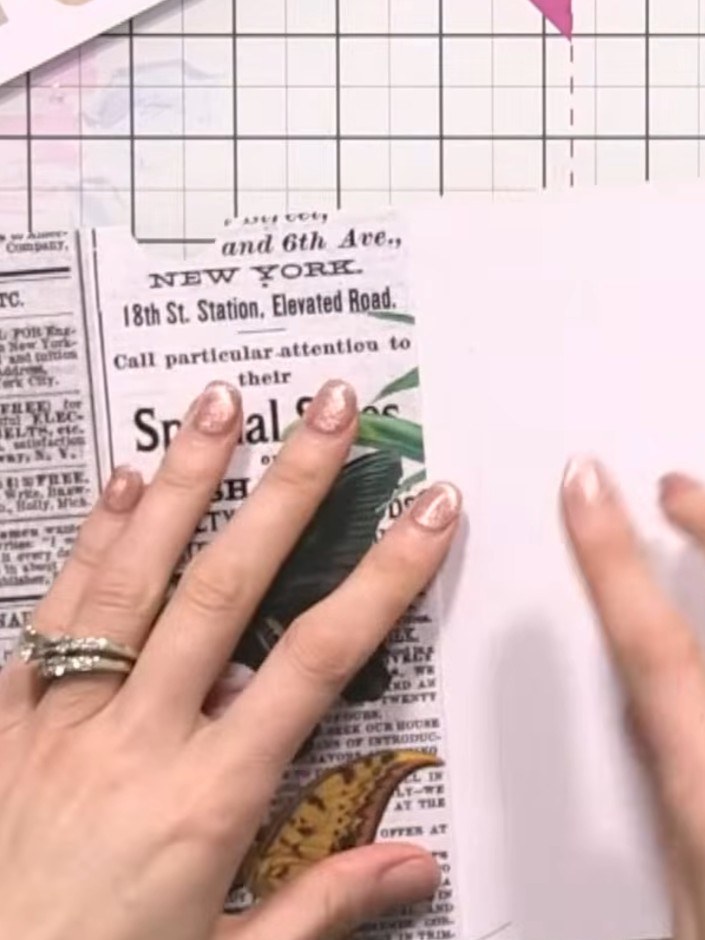
Position and glue the decorative pocket piece onto the album page, aligning it to create an interactive fold-out element. Smooth down firmly to ensure it adheres well.
 6
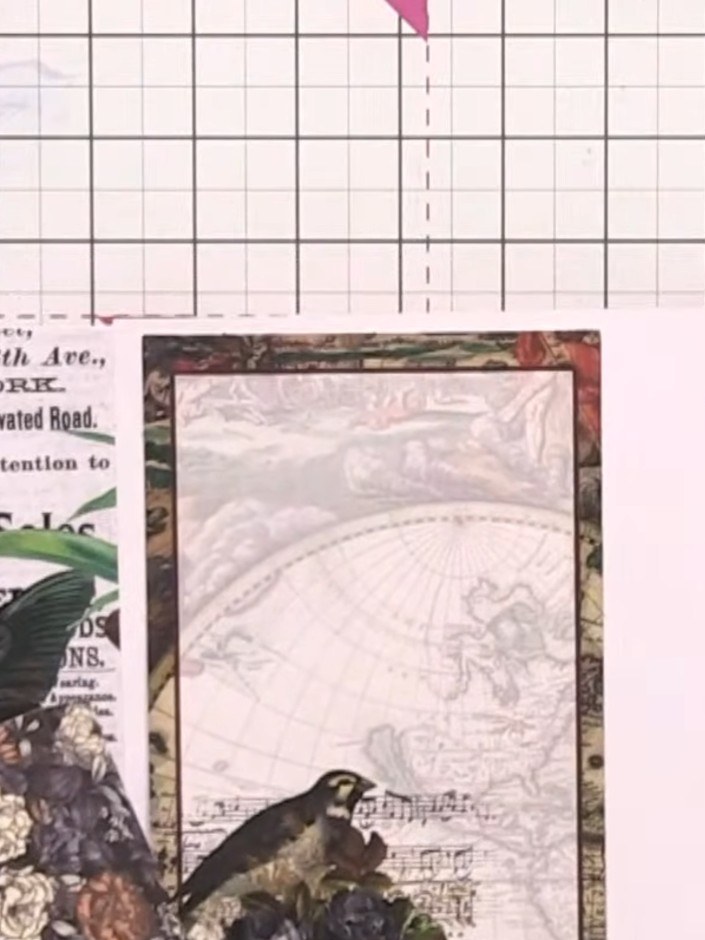
Score and fold the hinge pages along the printed lines to create the album's spine structure. Use a scoring tool to create crisp fold lines on the decorative paper panels.
 7
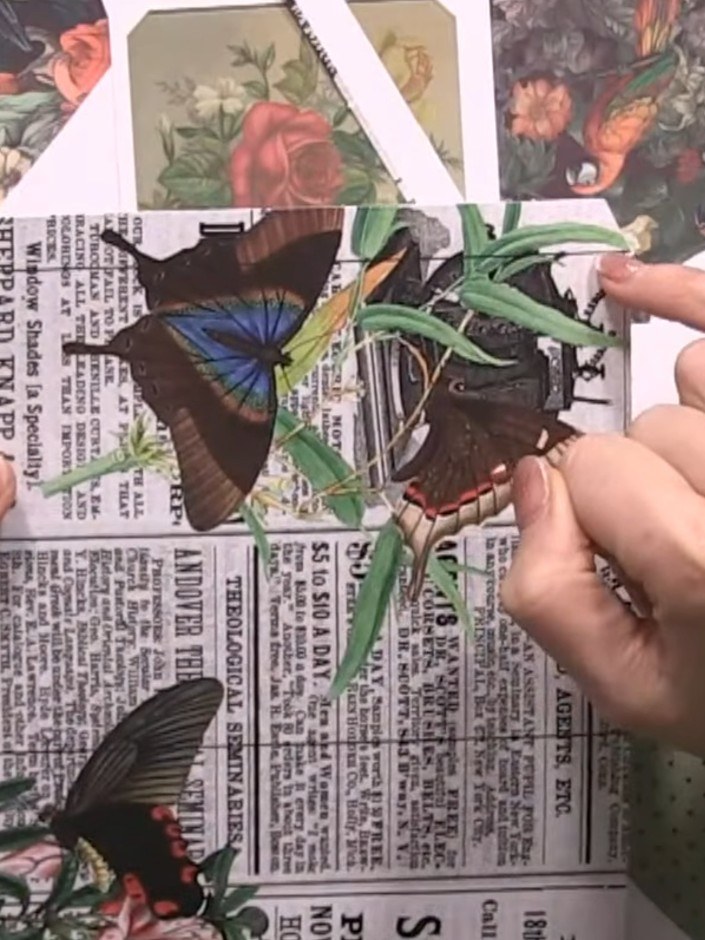
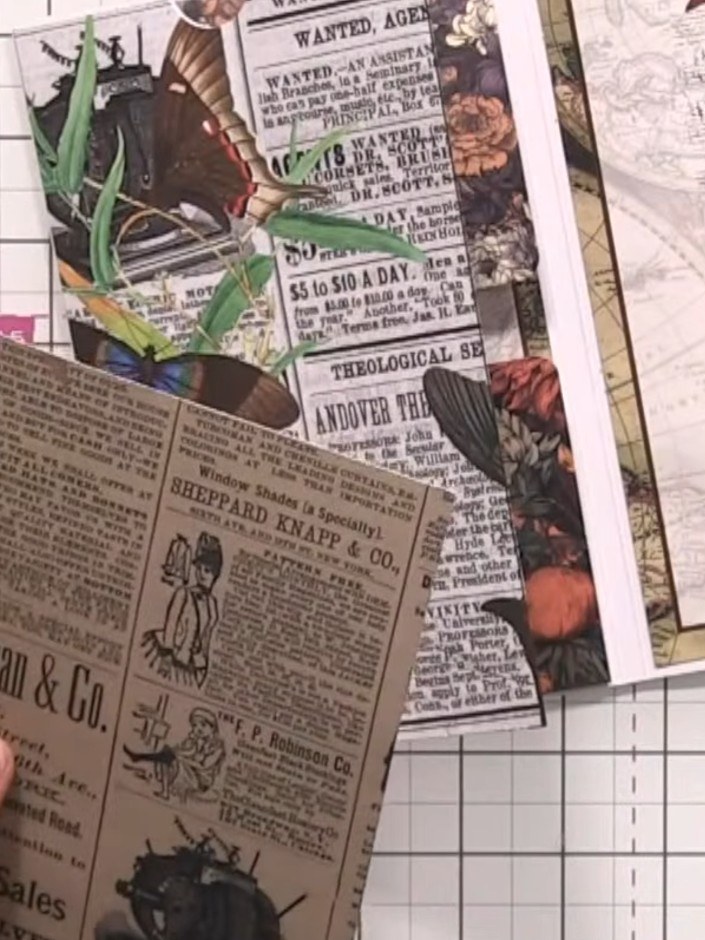
Glue decorative bird and nature toppers onto your album pages in your chosen positions. Use the floral and butterfly motifs to embellish the vintage newspaper and music sheet backgrounds. Layer the toppers to create depth and visual interest.
 8
Trim a vintage newspaper-style bookmark piece to fit inside the pocket, cutting approximately one inch from the bottom so it sits neatly within the pocket opening.
 9
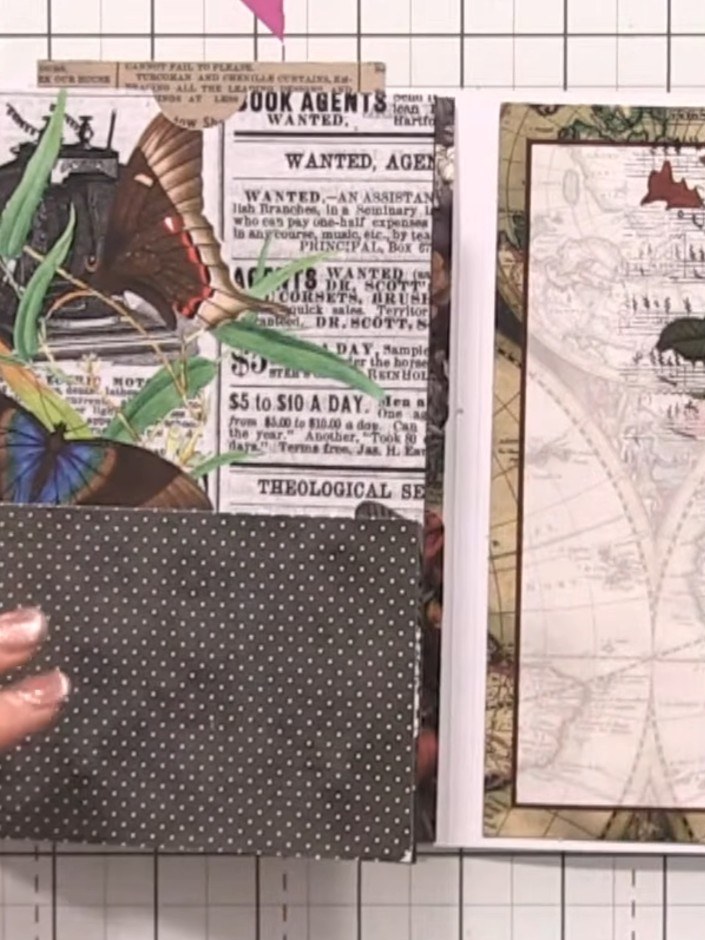
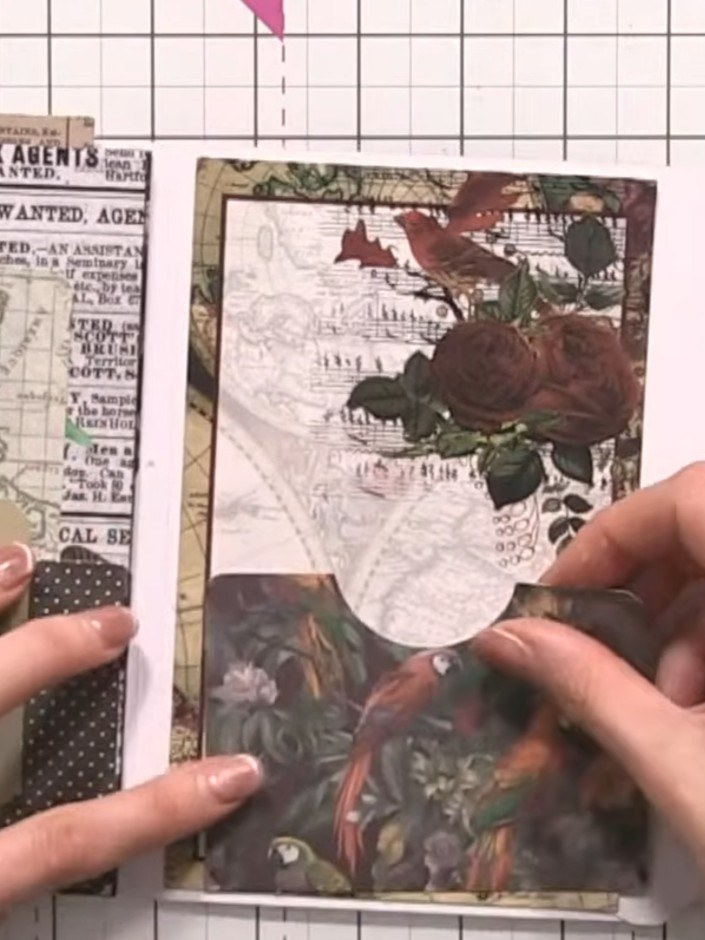
Glue the polka dot bookmark piece into the pocket on the collage page, positioning it so it extends above the pocket opening.
 10
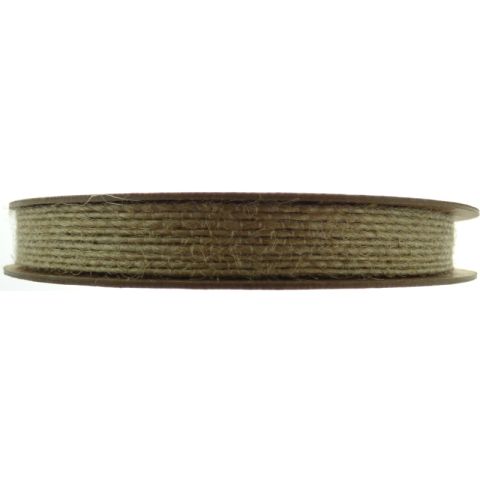
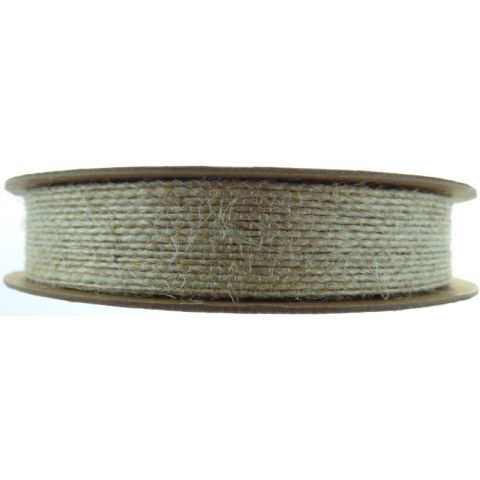
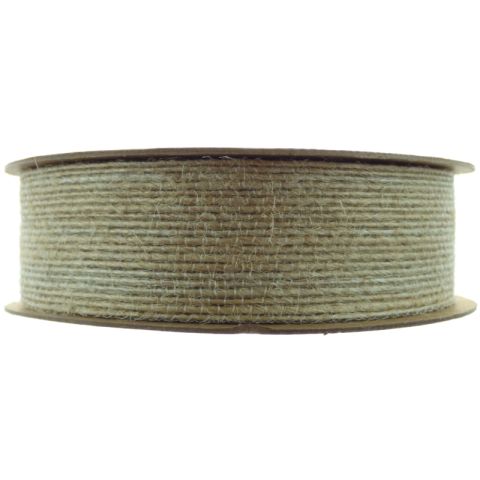
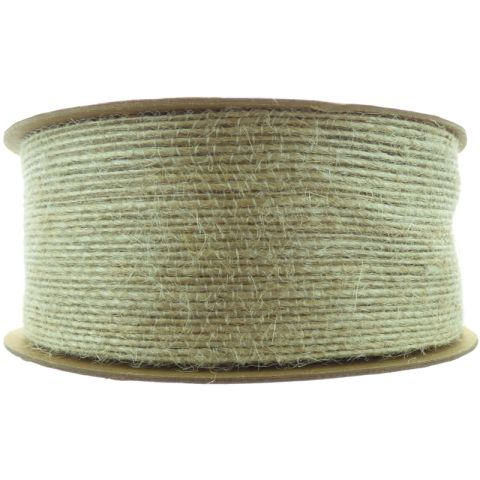
Wrap coordinating ribbon around the completed album lengthways and tie in a bow to finish and keep the album closed.
Share your make with the Stamps By Me community - and keep this guide for next time.
Written up from the show itself. See every guide from our shows · free how-to guides · watch live on My Telly · the previous layout