Give your friends £10 off their first order!
Refer a FRIEND








A project from our live show MY PODCAST - Catch my latest updates broadcast 3rd November 2025 · 03/11/2025 · watch it from 33:00
Create a dimensional hanging basket card using die-cut foliage in multiple shades of green and brown, layered to create depth and perspective. The finished card features realistic 3D hanging baskets with flowers and varied foliage heights.
 Stamps By Me Die Set - Perfect Pots - 070425CSEE IT
 Stamps By Me Bumper Pack - Summer Sanctuary - 070425ASEE IT
 Stamps By Me - White Blank Cards & Envelopes 5 X 7 - 110425BSEE IT
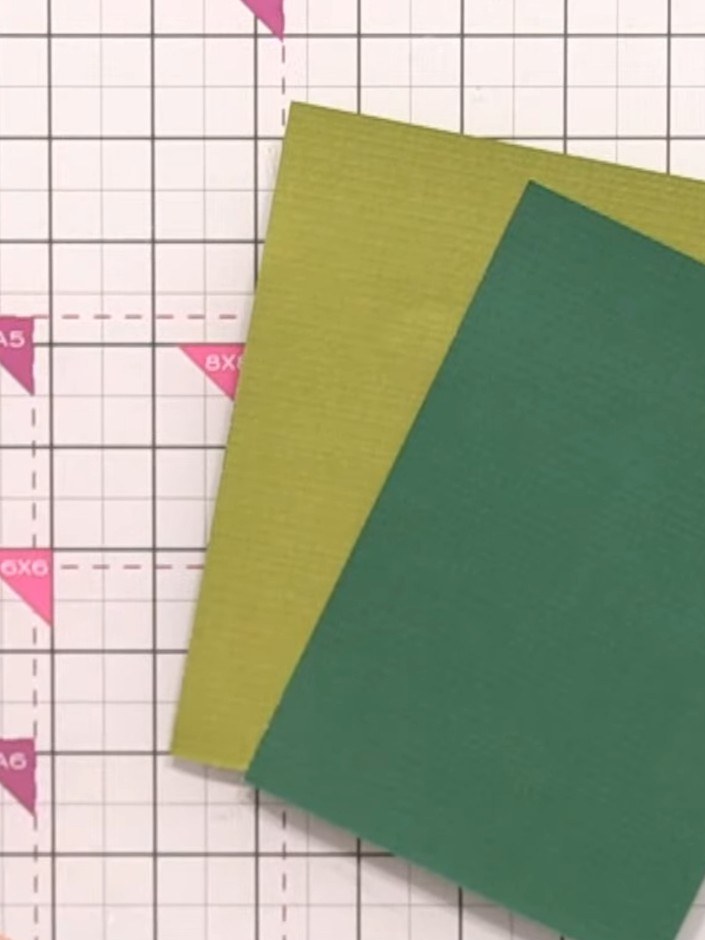
Select two shades of green cardstock from your paper pad. Cut the foliage dies from both colours, ensuring you have multiple pieces for layering.
▶ watch this step (34:00)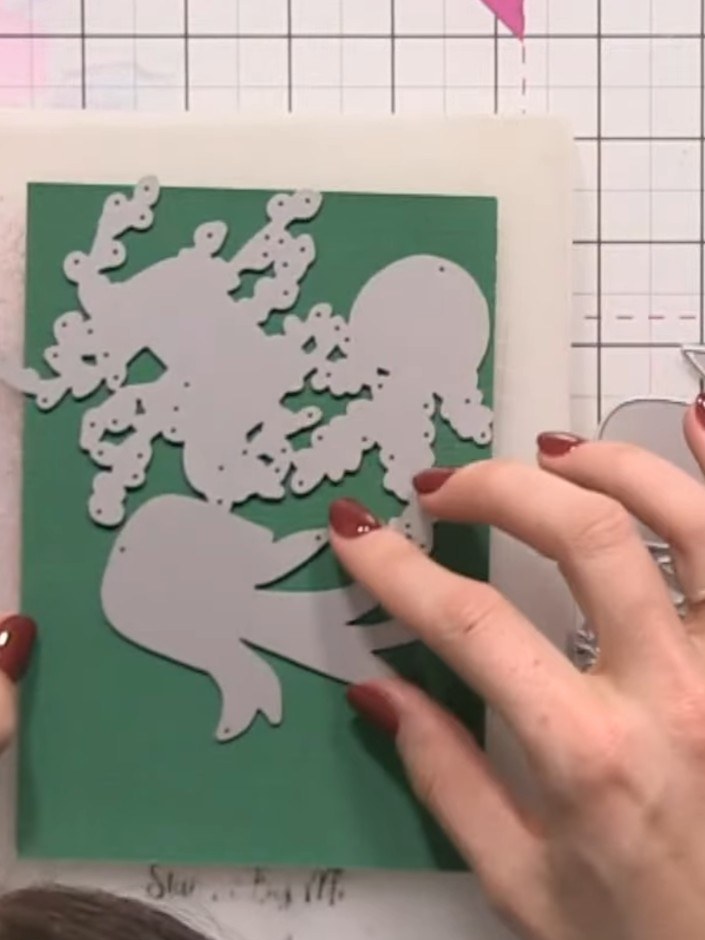
Die-cut the same foliage pieces a second time using a darker green cardstock to create variation and depth in your hanging basket design.
▶ watch this step (34:30)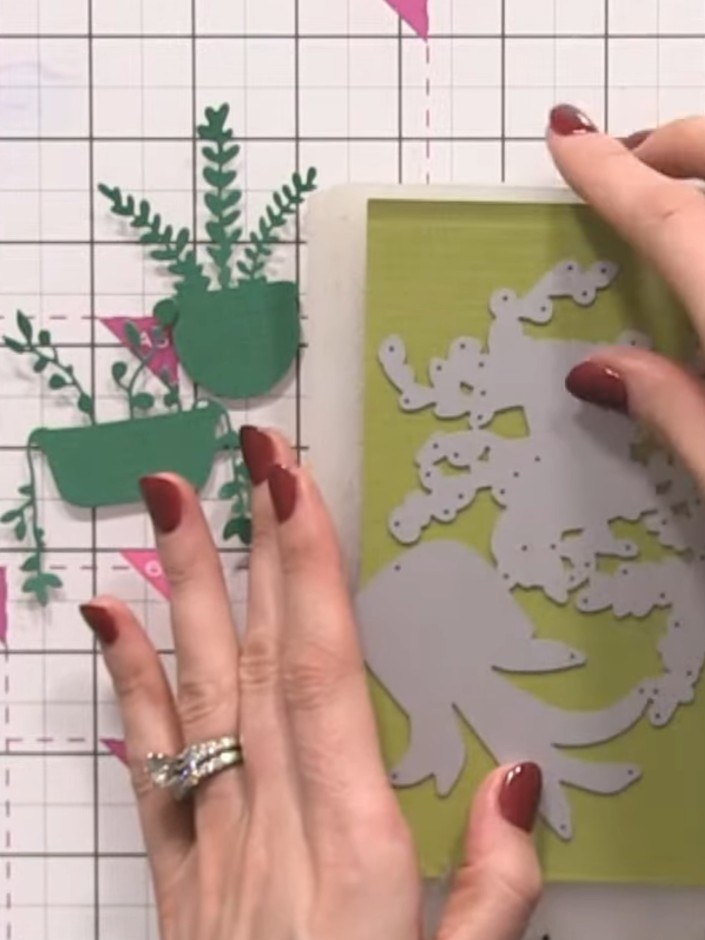
Run the foliage dies through your die-cutting machine again using brown cardstock to create additional layers. This adds depth to your design and makes use of leftover paper.
▶ watch this step (36:30)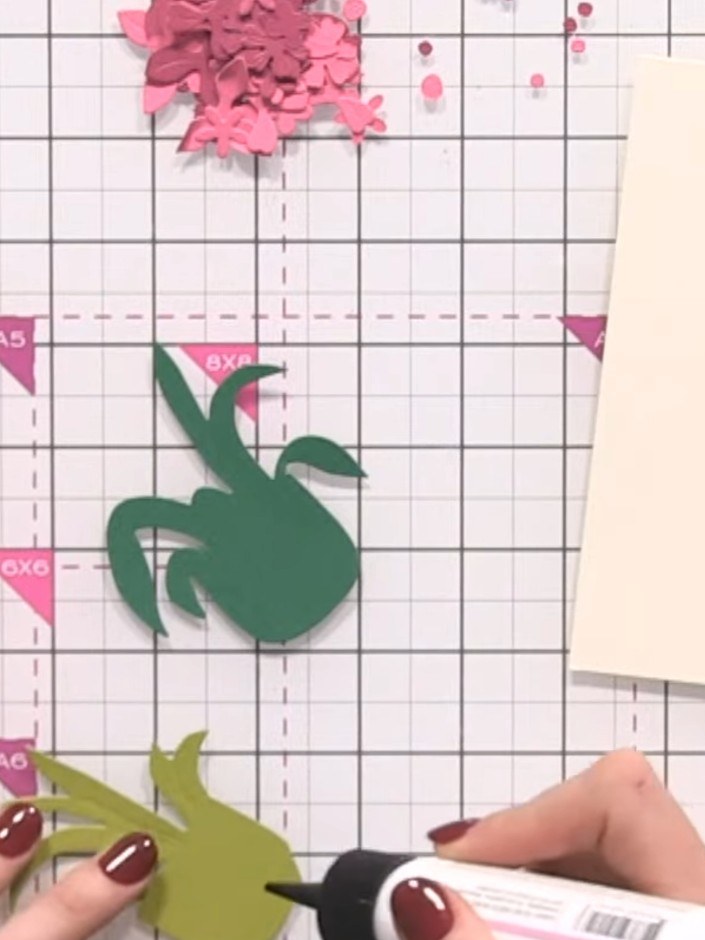
Position the second green foliage piece in front of the first pot, tucking it in at a slightly different level to add dimension. Apply glue to secure it in place.
▶ watch this step (42:30)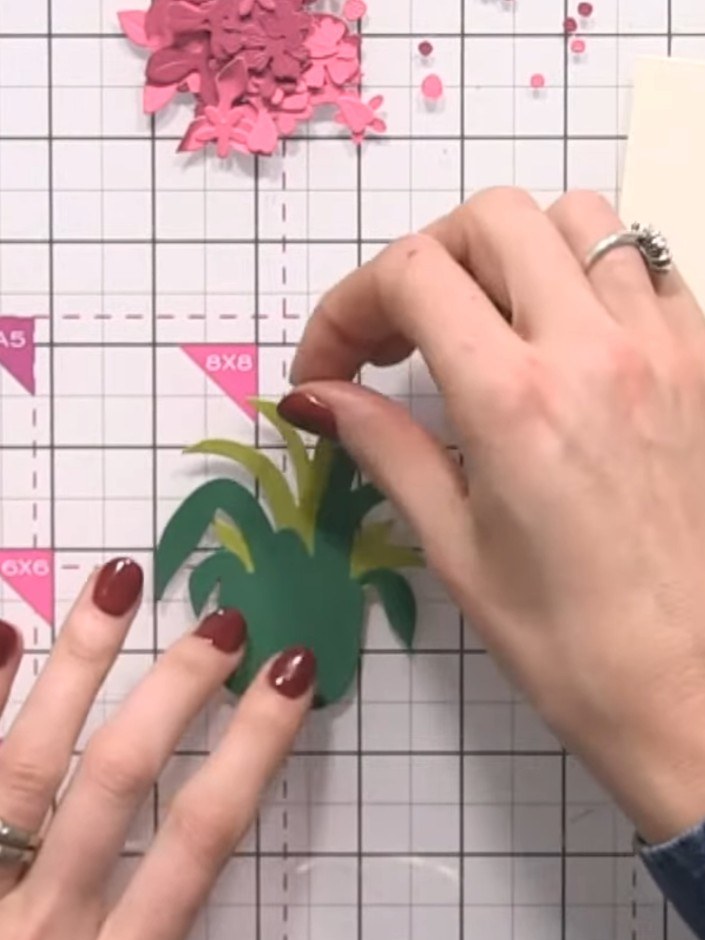
Position the brown pot base on top of the layered foliage pieces and adhere it in place, ensuring it sits naturally within the arrangement.
▶ watch this step (43:00)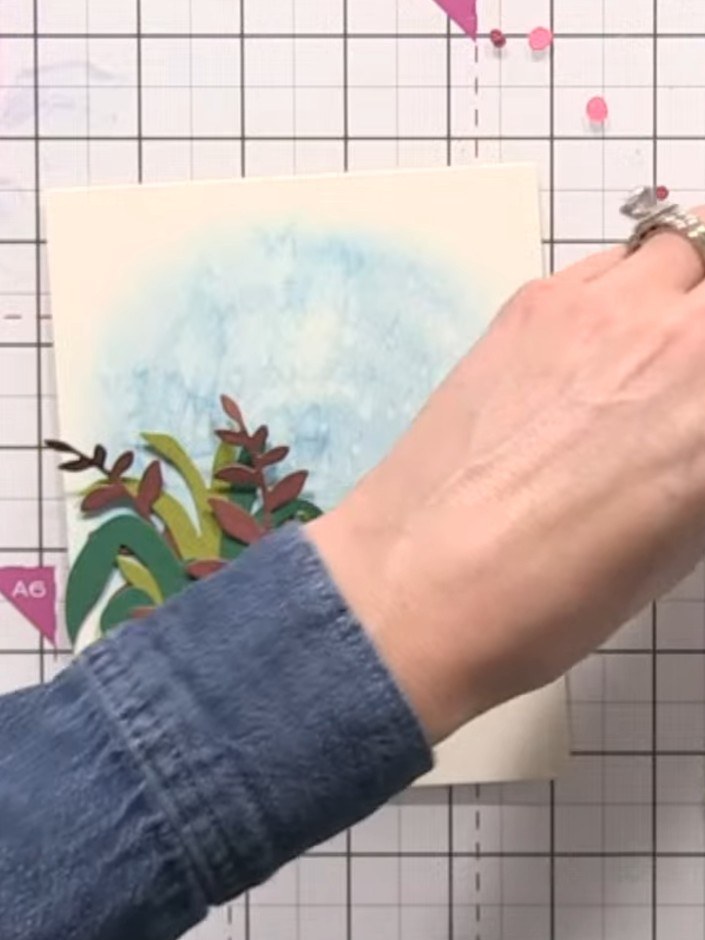
Flick water droplets across the blue inked background using your fingers to create texture and soften the appearance. The water will create lighter spots where it lands, giving a natural, weathered effect.
▶ watch this step (57:00)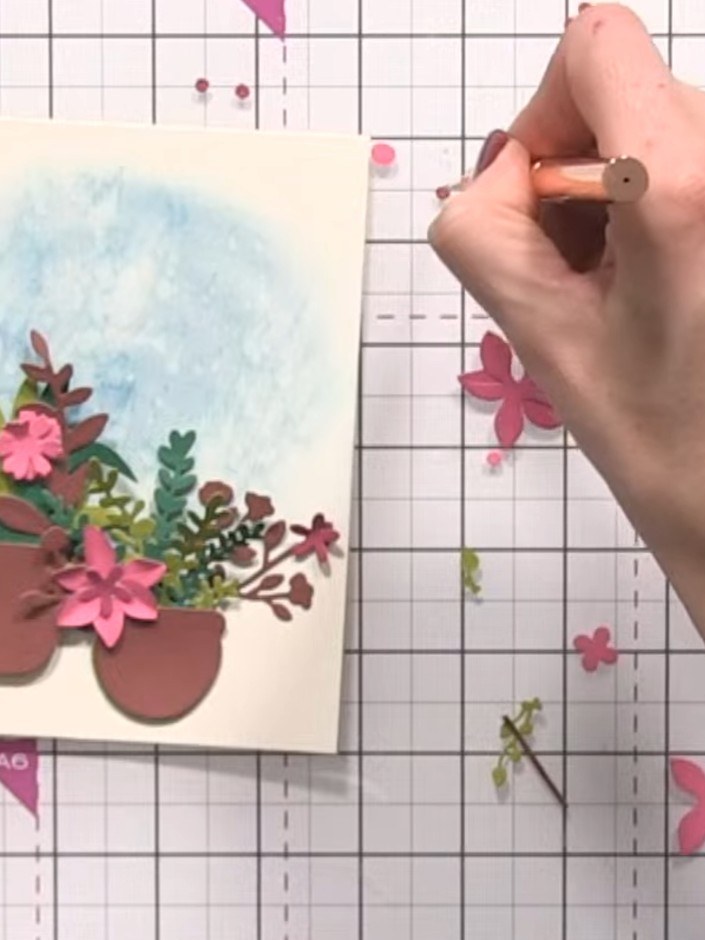
Add eyeball centres to the pink flowers using a brown pen or marker. Embellish the card with gems, sequins or other decorative elements to complete your hanging basket design.
▶ watch this step (59:00)Written up from the show itself. See every guide from our shows · free how-to guides · watch live on My Telly