Give your friends £10 off their first order!
Refer a FRIEND








A project from our live show ONE DAY SPECIAL - Join Toni for her brand new launch - Broadcast 7th November 2025 · 07/11/2025 · watch it from 1:00:00
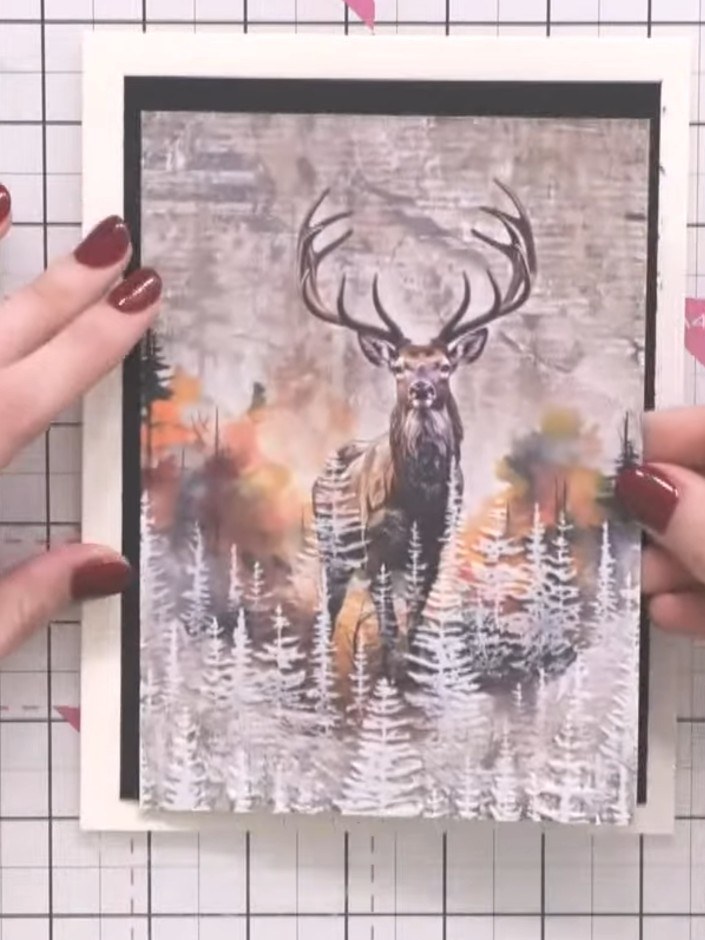
Create a striking winter card featuring a majestic stag embossed against a textured background with cascading pine trees. The design uses warm autumnal tones of orange and brown alongside cool greys, with white pigment ink highlights bringing the trees forward for a layered, dimensional effect. This elegant card combines embossing and selective inking techniques to create a beautiful framed scene.
 Stamps By Me - Seek the Extraordinary Paper Pad 12 X 12 - 071223ASEE IT
 Stamps By Me Waste Free Die Set- Traditional Borders - 260424CSEE IT
 Stamps By Me - Premium Pigment Ink Pure White - Cotton - 121022MSEE IT
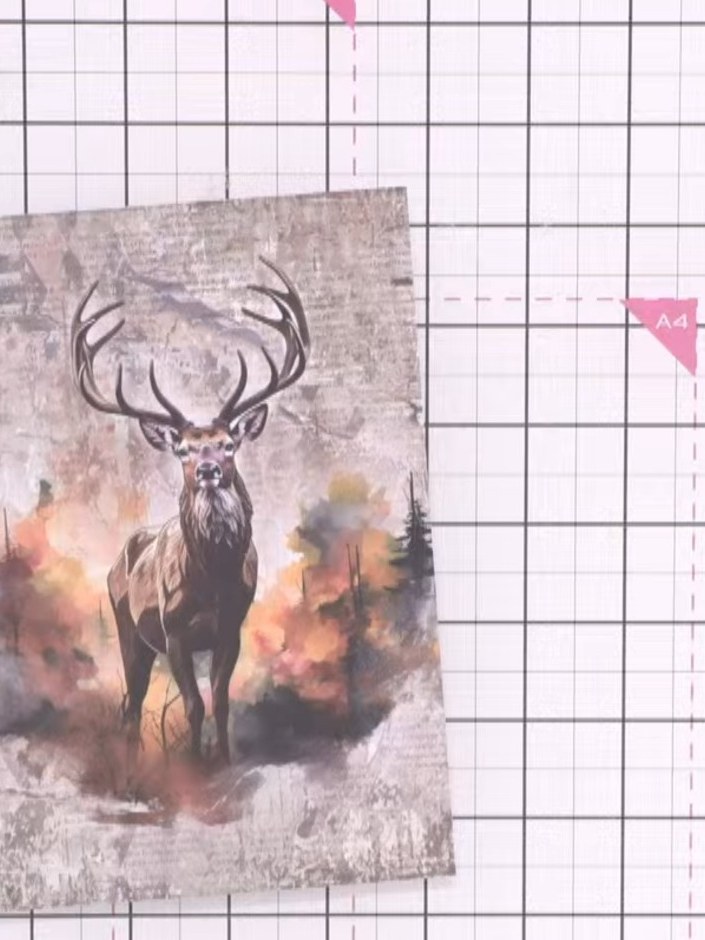
Take a painted mount featuring a stag design with trees and autumn colours on a distressed grey background.
▶ watch this step (1:00:15)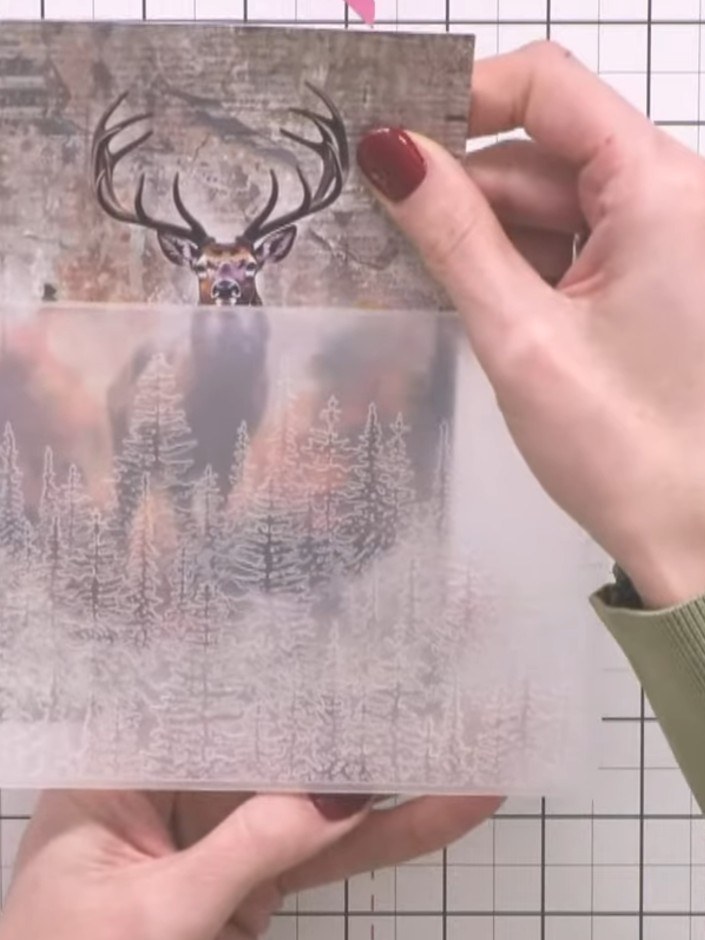
Position the embossing folder in landscape orientation so the tree line sits at the bottom of the stag image.
▶ watch this step (1:00:30)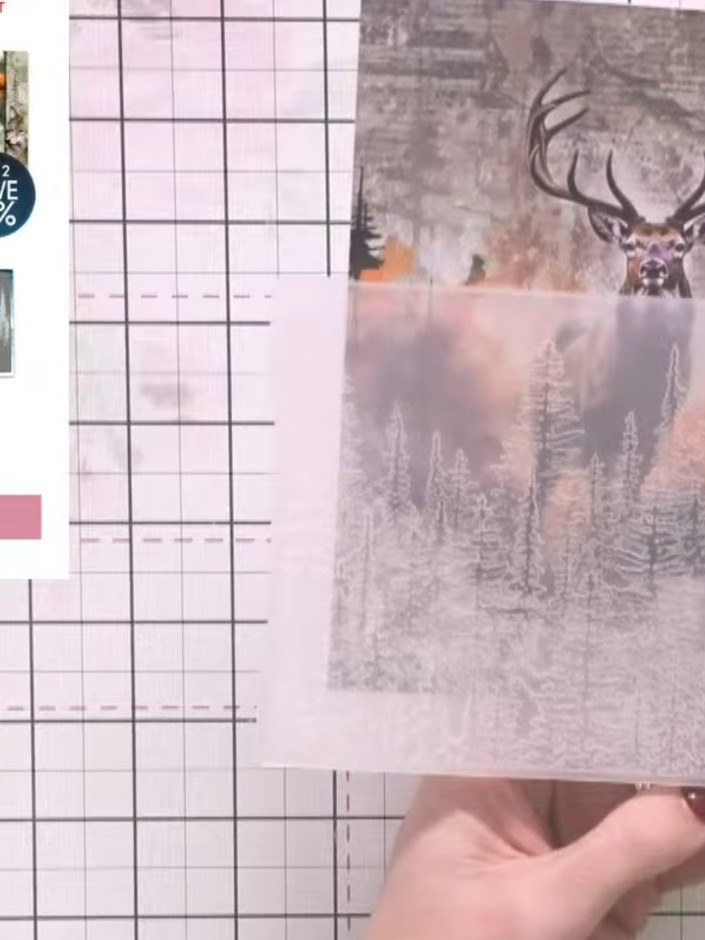
Place your embossed stag panel onto the cutting mat. Position the waste-free die set traditional borders die over the bottom portion of the stag image to create a tree border frame. Run through your die-cutting machine to cut the decorative border.
▶ watch this step (1:00:45)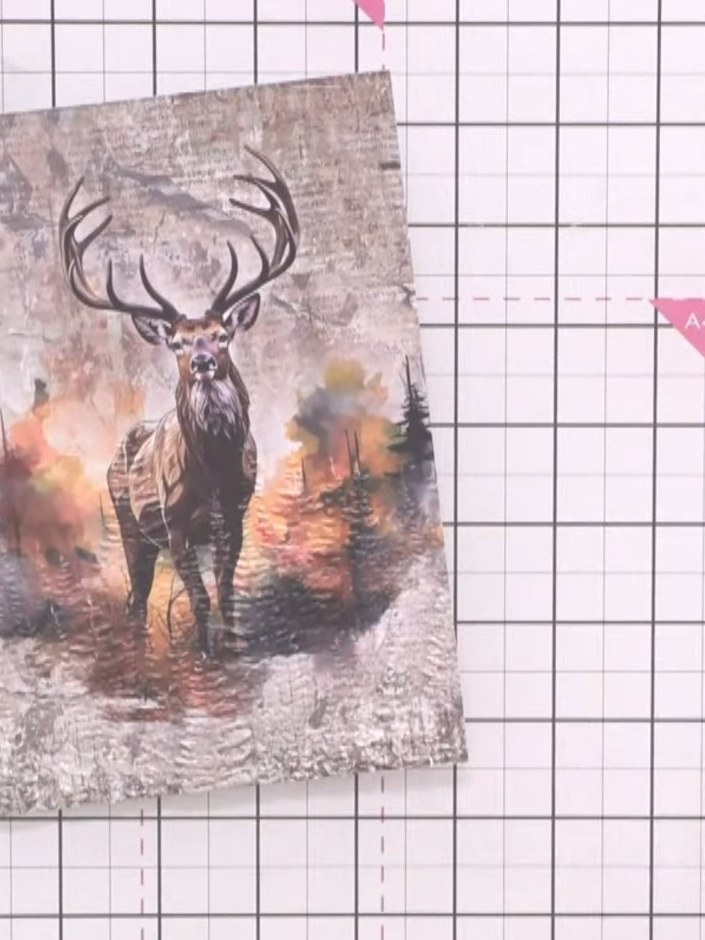
Lightly tap the white pigment ink pad onto the embossed tree areas of the stag image to bring the trees into the foreground and create highlights.
▶ watch this step (1:01:45)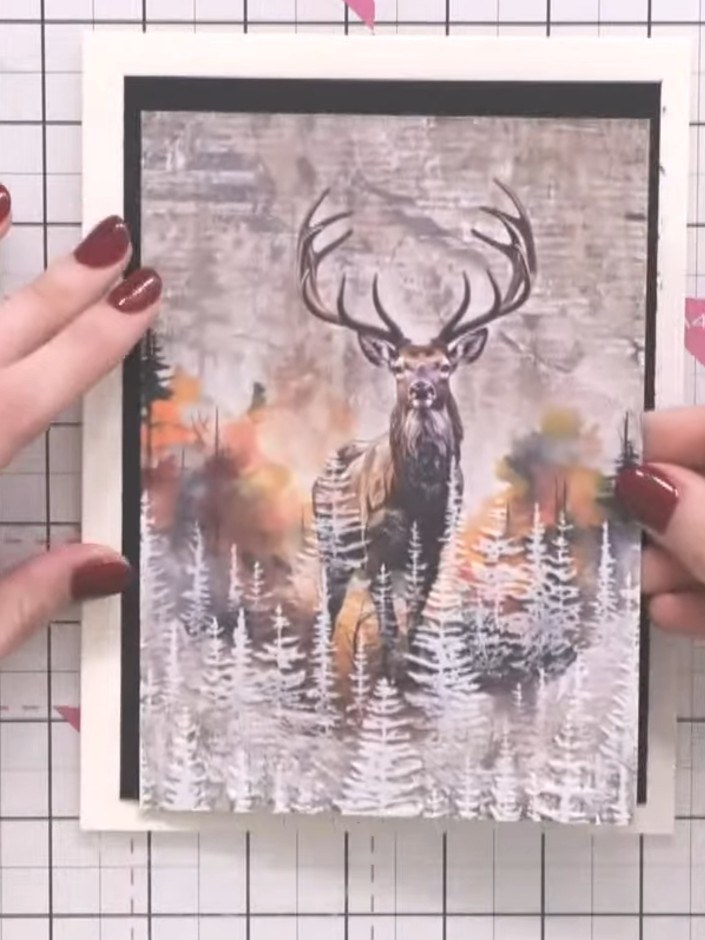
Mount the embossed and inked stag panel onto a black card mat. Adhere this layered piece onto a cream card blank.
▶ watch this step (1:02:30)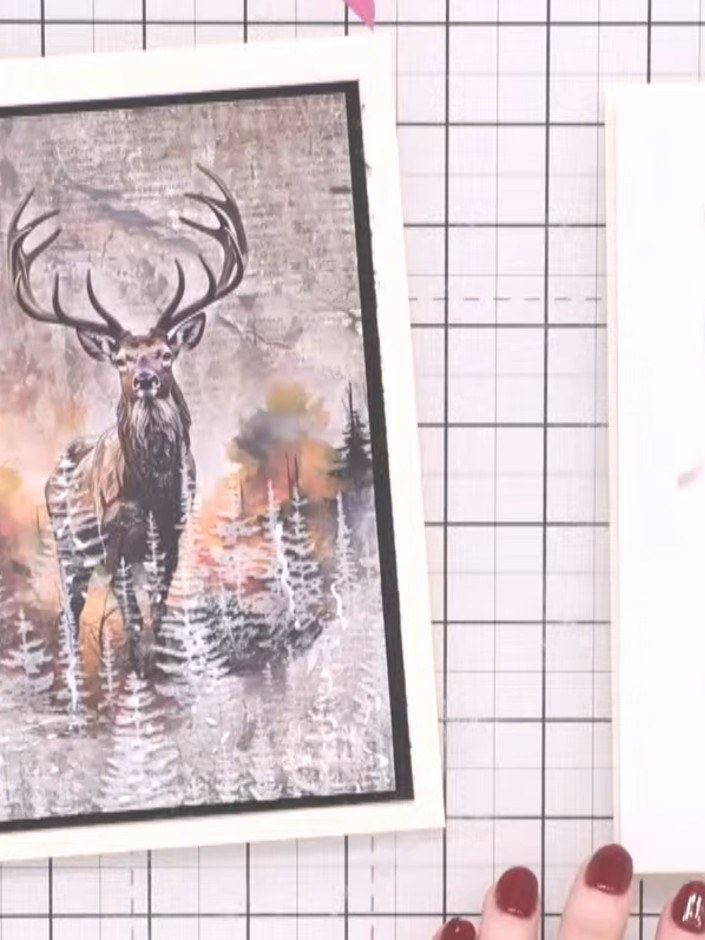
Apply glue to the tree areas on your stamped image. Sprinkle eco-friendly glitter over the glued areas to add sparkle and dimension to the trees.
▶ watch this step (1:06:30)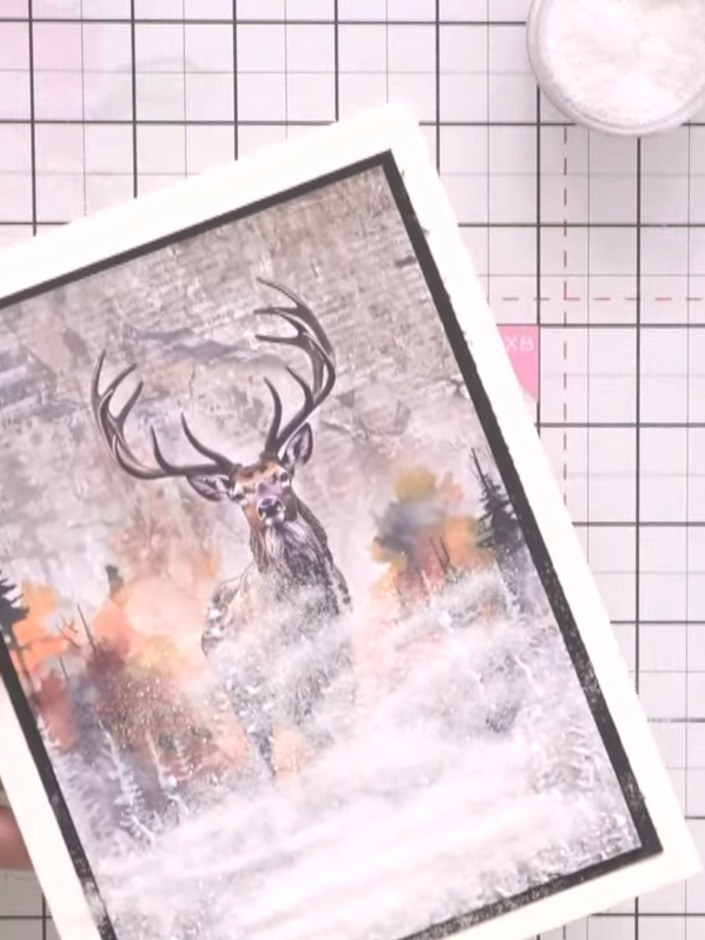
Once the glue is dry, brush off the excess glitter using an anti-static bag or soft brush to reveal the clean embossed design.
▶ watch this step (1:07:00)Written up from the show itself. See every guide from our shows · free how-to guides · watch live on My Telly