Give your friends £10 off their first order!
Refer a FRIEND








Prices change straight away. Every language is our own translation, not Google.
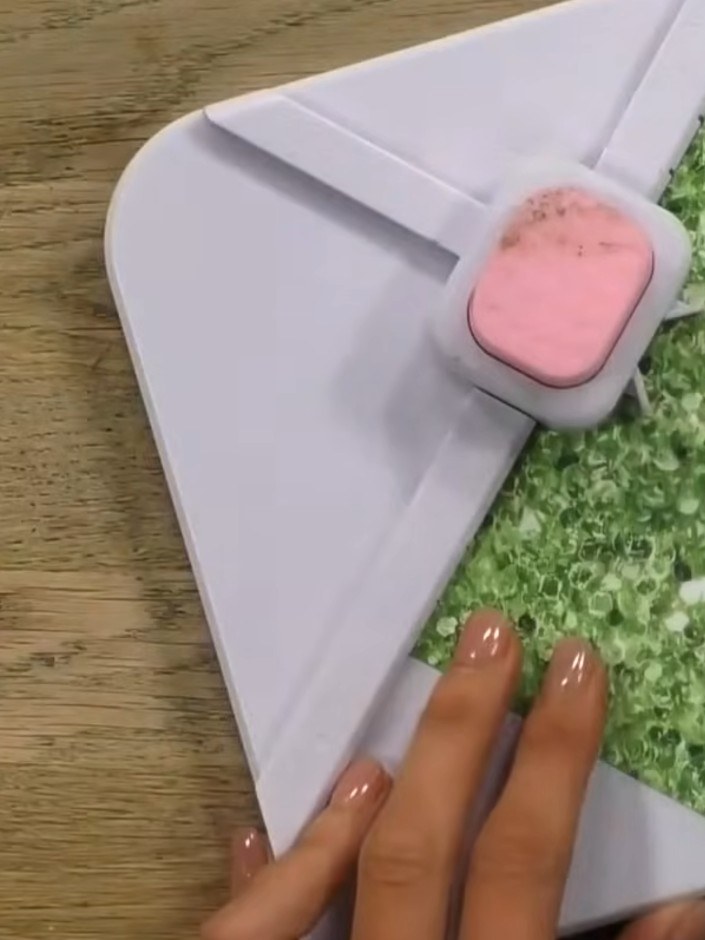
A project from our live show HOBBYMAKER TV - Join Toni for her latest show - Broadcast 29th January 2026 · 29/01/2026
Create a sophisticated gift box using specialised box board that requires no glue. This elegant box features a clever hook and eye closure system that remains hidden, giving a professional finish. The technique uses decorative papers and a tab punch to create a secure, coordinated presentation perfect for special gifts.
 1
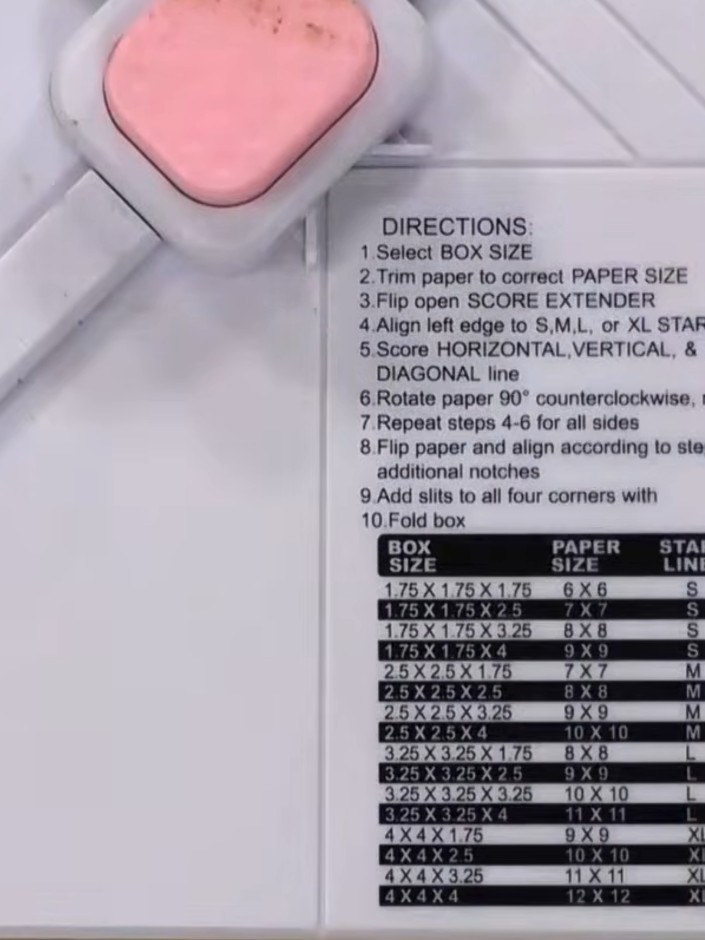
Look at the box board guide and select your desired box size. Find the corresponding paper size needed in the chart. For example, a 4x4x4 box requires 12x12 paper.
 2
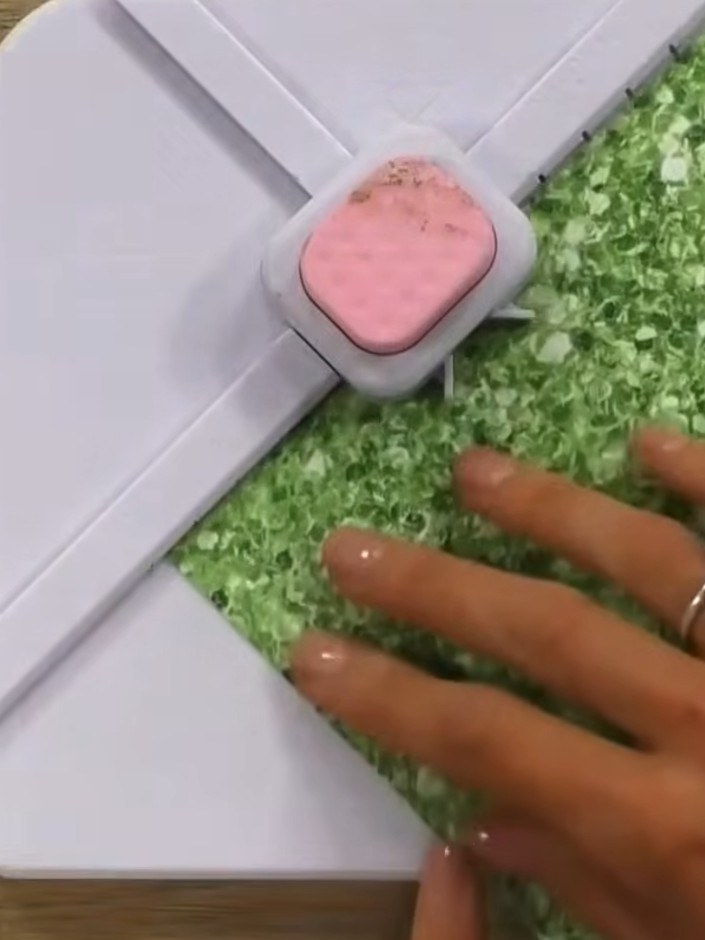
Place your green patterned card stock on the envelope punch board and align it with the score line guide. Position the left edge of the paper at the appropriate measurement according to the board's directions for your chosen box size.
 3
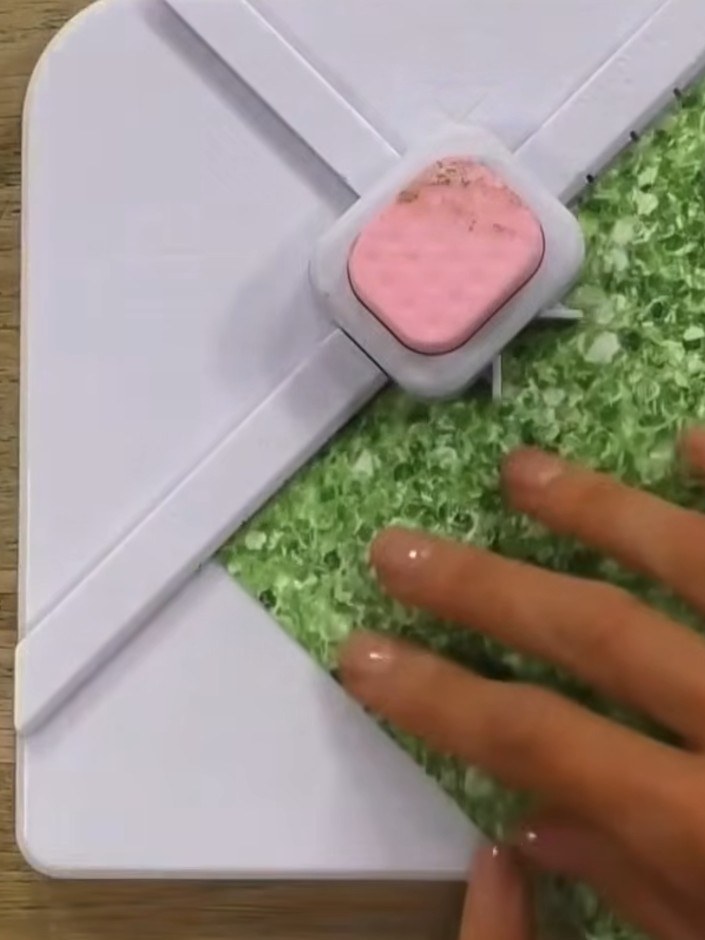
Place your green patterned card stock on the envelope box board, aligning it with the start line marked on the board. Position the card carefully to ensure proper alignment before scoring.
 4
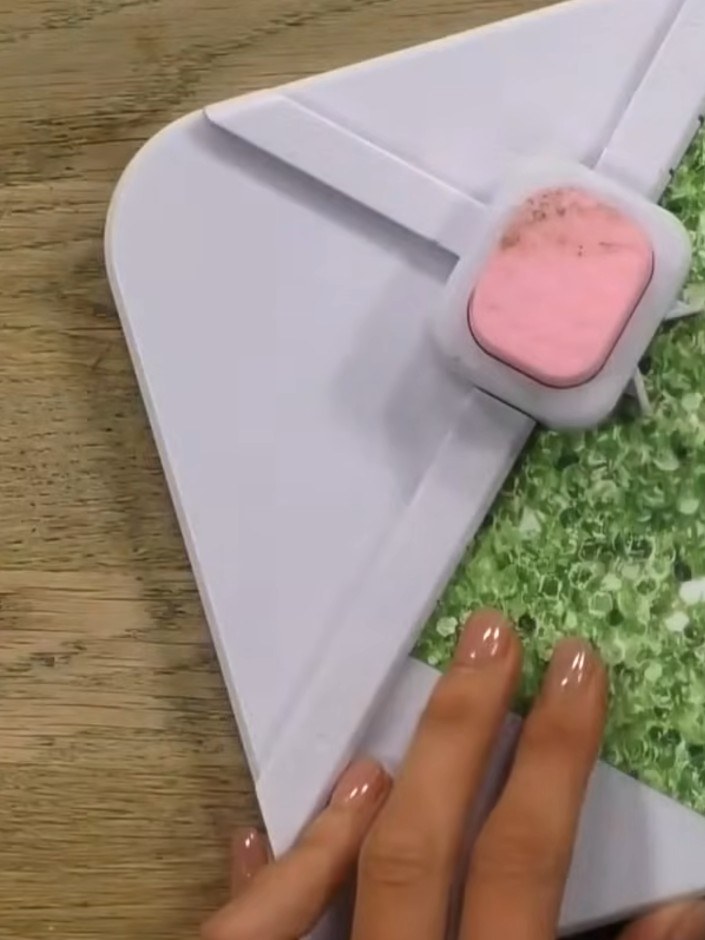
Use the score tool with the extending arm to score down the first line. Hold the board steady and run the tool along the entire length to create a clean score line.
 5
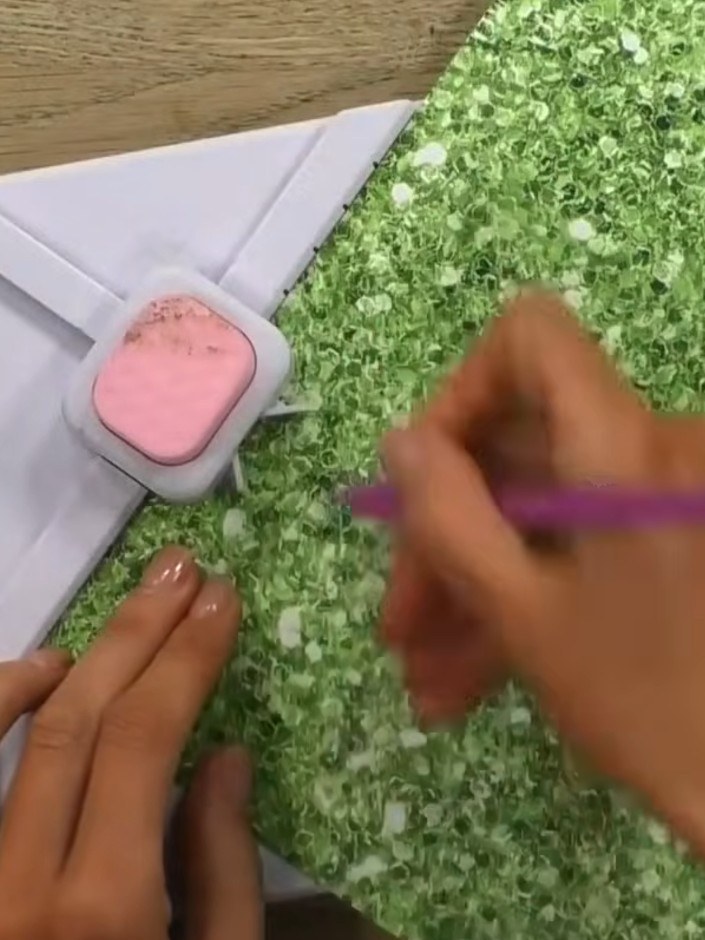
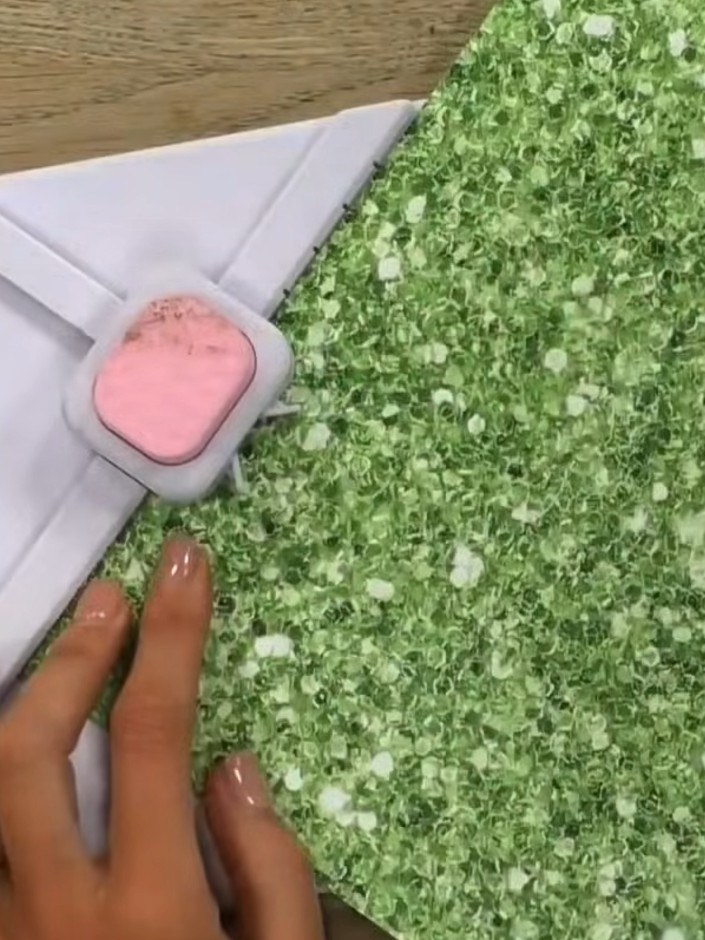
Rotate your card stock and align it with the diagonal score line on your board. Score and punch across the card stock in the same manner as before.
 6
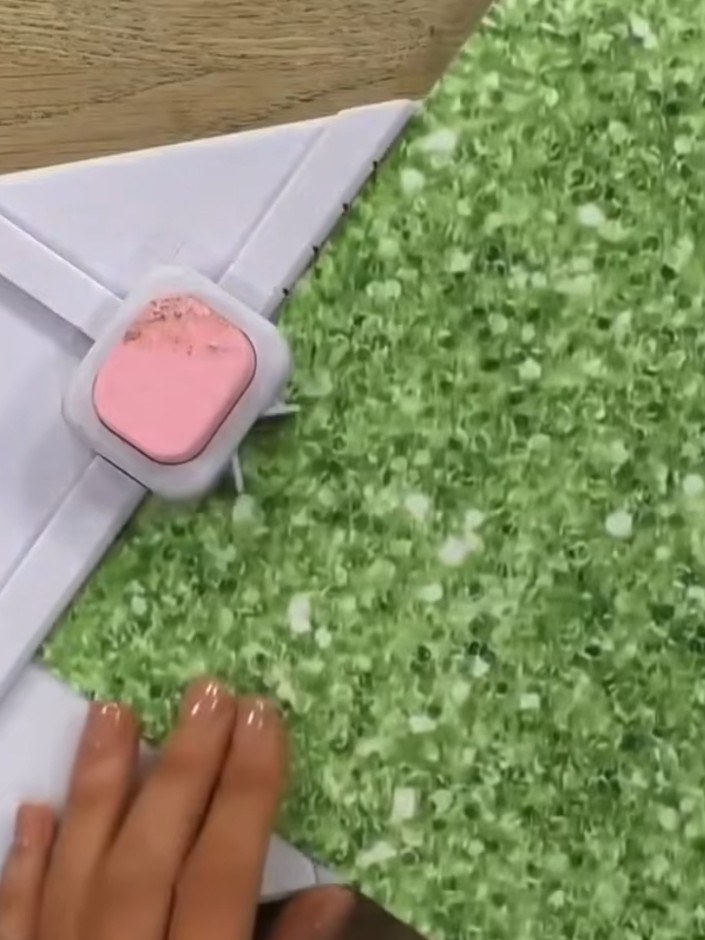
Flip your card stock over and carefully remove the small triangular punch-outs from the corners. These should lift away easily after scoring.
 7
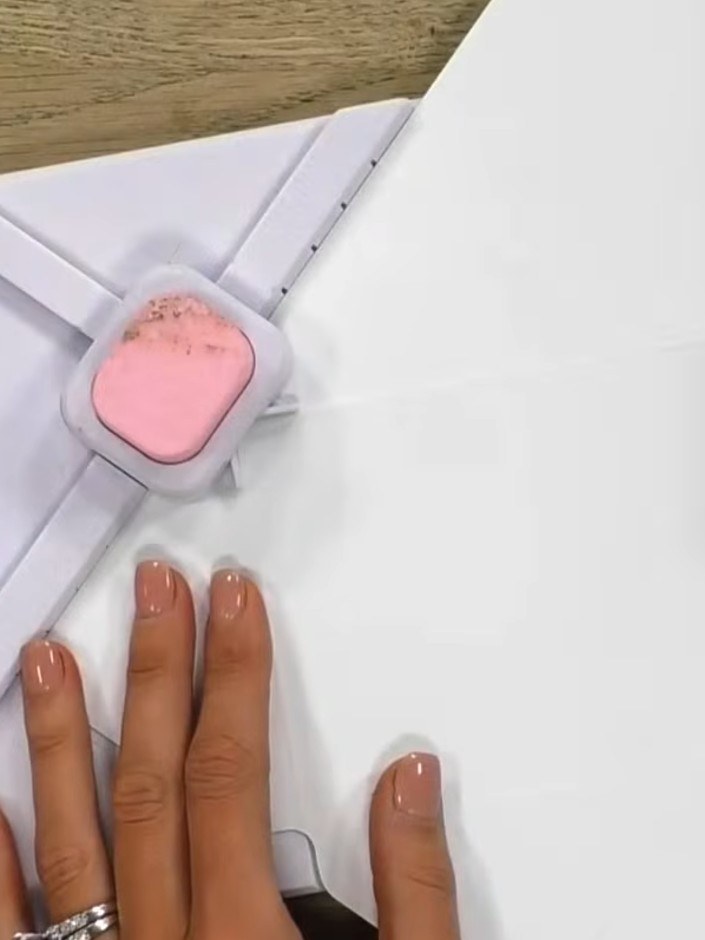
Use the hook and eye punch tool to create the closure system at each of the four corners where indicated on the board. Position the punch at the marked corner and press down firmly to create the closure mechanism.
 8
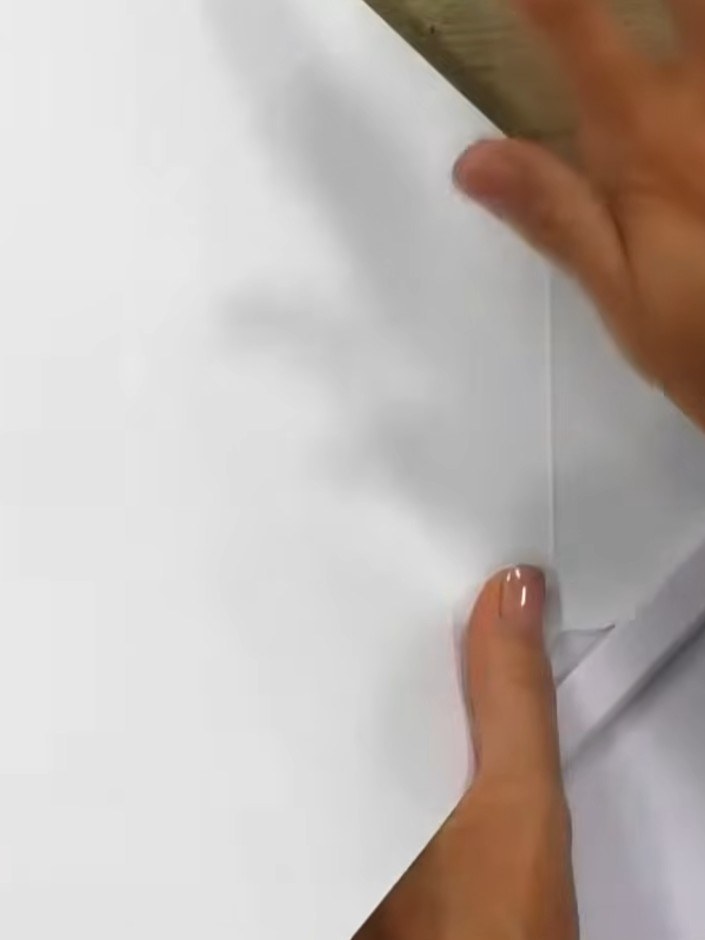
Score firmly along all the marked fold lines using a bone folder or scoring tool to create clean, crisp creases. Work methodically through each line to ensure all folds are well defined.
 9
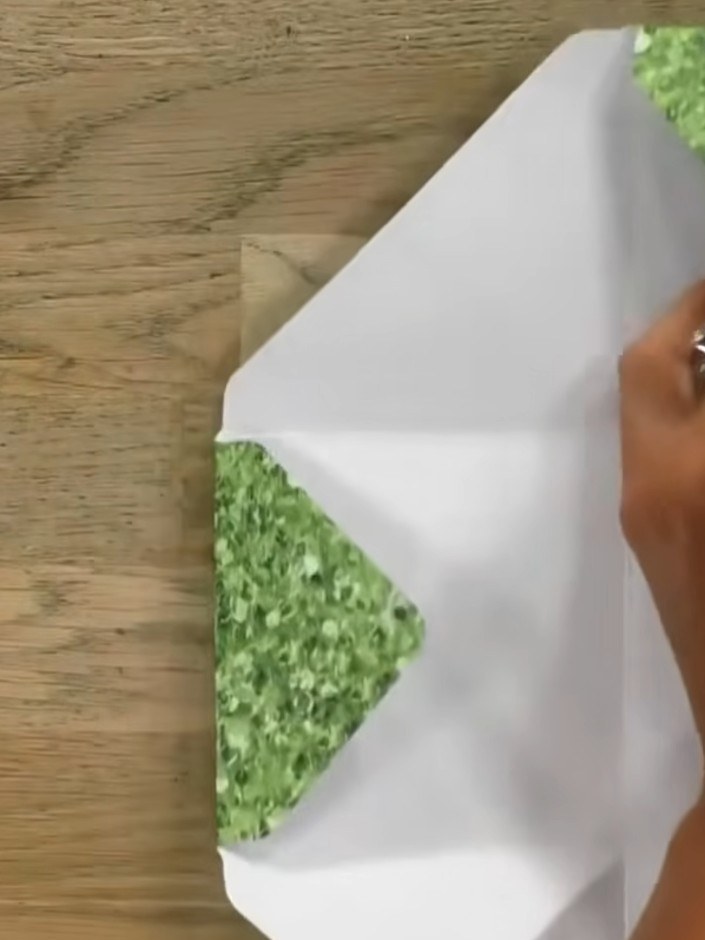
Fold up the sides of your box, pinching the flaps at the corners to activate the hook and eye closures. The glueless design means there's no mess as the pieces lock together.
 10
Ensure all four corners are properly engaged with the hook and eye system. Check that each corner is securely fastened to create a stable box structure with no glue needed.
Share your make with the Stamps By Me community - and keep this guide for next time.
Written up from the show itself. See every guide from our shows · free how-to guides · watch live on My Telly · the previous layout