Give your friends £10 off their first order!
Refer a FRIEND








A project from our live show MONDAY MADNESS - Join Simon from AVAGO-INK for his latest products - Broadcast 17th OCT 22 · 17/10/2022 · watch it from 34:15
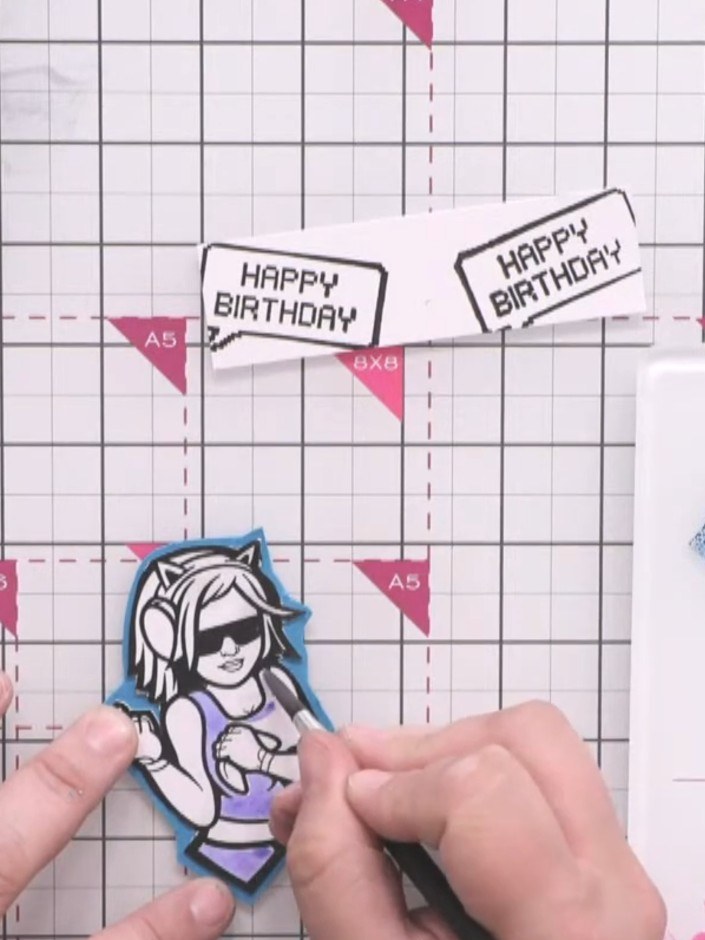
Create a stunning focal point character for your explosion card with this hand-painted design. Stamp a detailed character image in black ink, carefully cut it out and mat it onto coordinating cardstock, then bring it to life with beautiful watercolour washes in blues and teals. This technique adds personality and visual interest to your card's exterior, making it a truly eye-catching centrepiece.
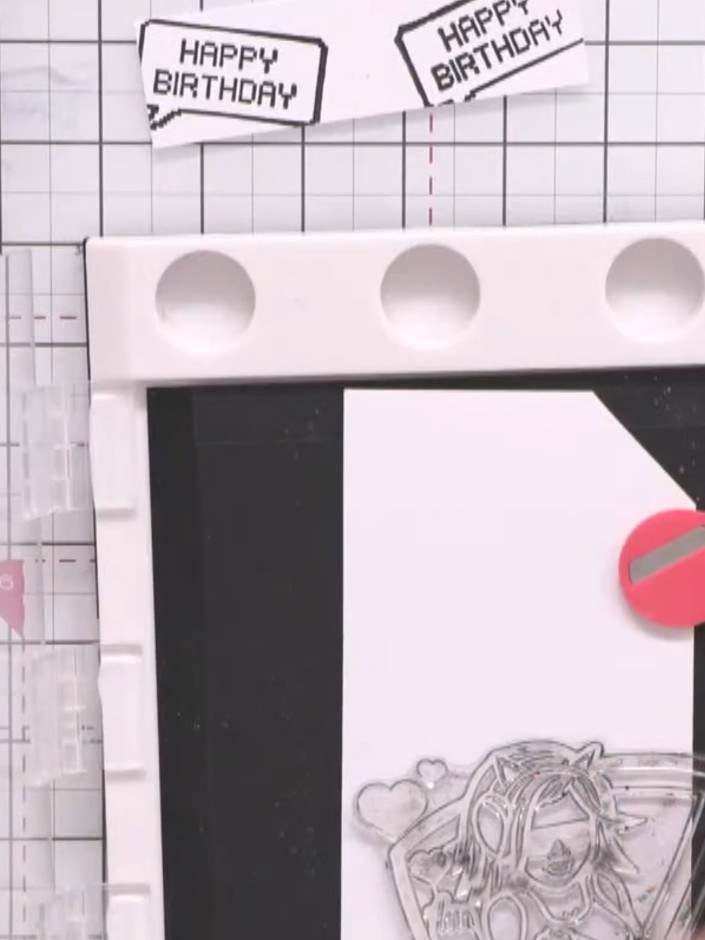
Stamp a large character image onto white card using black ink. Position the stamp carefully on the stamping platform to ensure a crisp, clear impression of the figure.
▶ watch this step (34:30)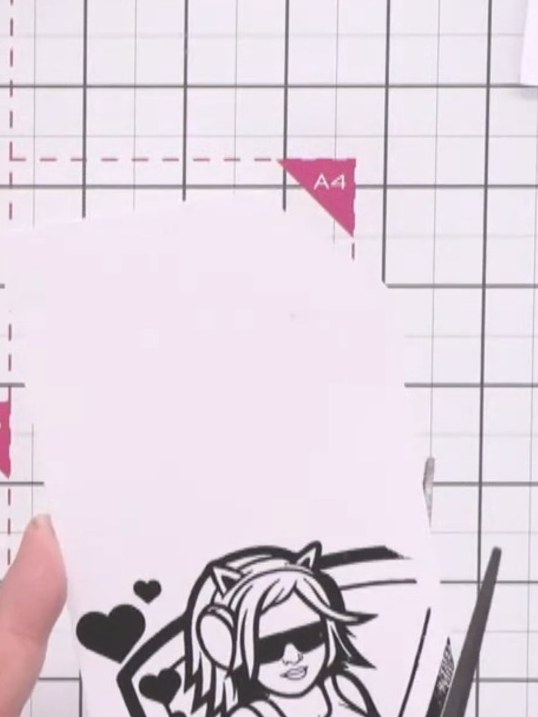
Carefully cut around the character outline using scissors, following the black ink edge closely. Cut into the hair and details to create a precise silhouette.
▶ watch this step (35:45)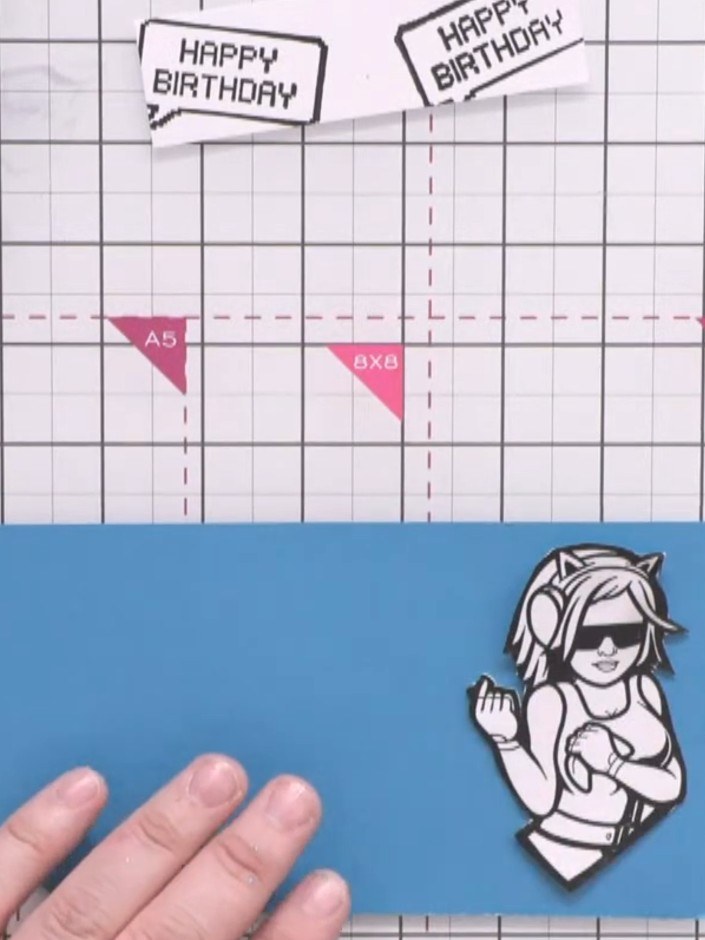
Cut a slightly larger rectangle from teal card to create a backing layer for your stamped character. Position the stamped character on the right side of the teal backing piece.
▶ watch this step (37:30)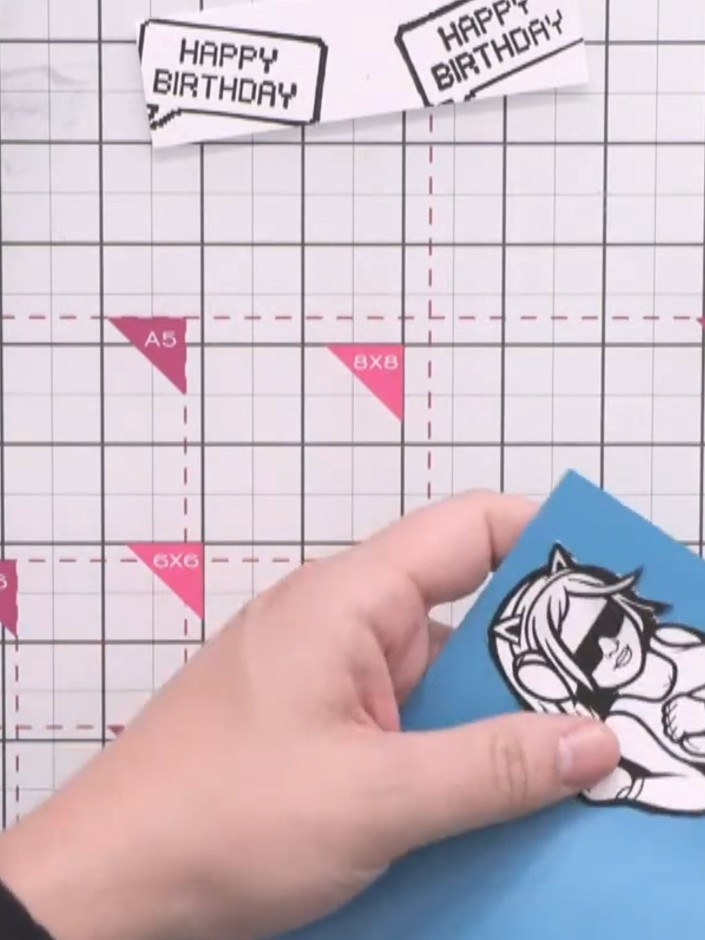
Apply tape runner adhesive to the back of the black-stamped character. Mount the character onto the blue coloured backing layer, positioning it centrally.
▶ watch this step (38:00)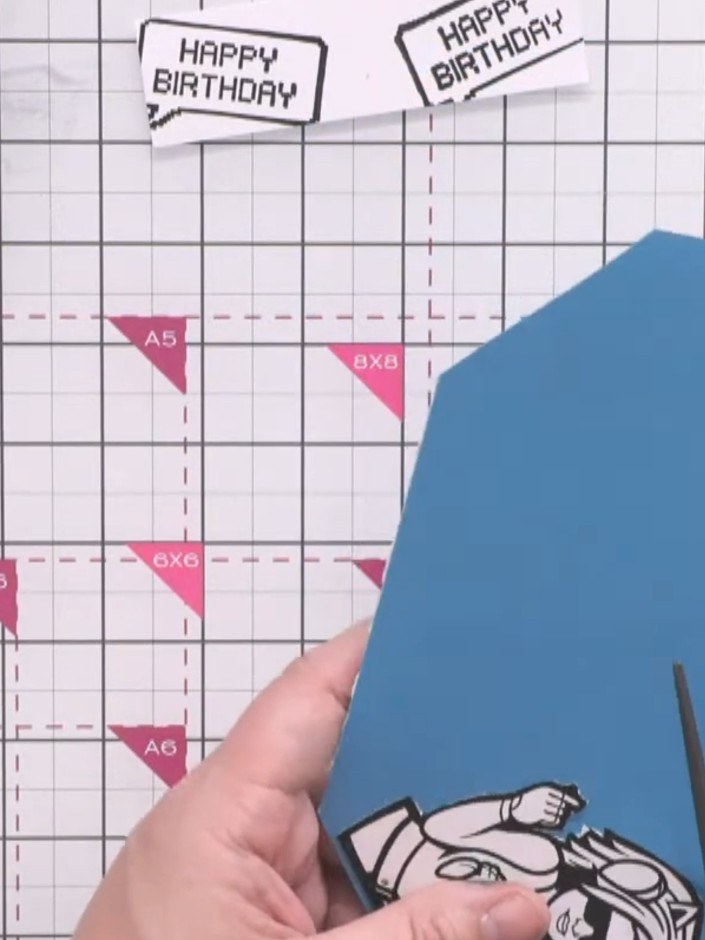
Cut around the coloured character, leaving a small blue border visible around the stamped image. Take care when cutting around detailed areas such as the hair and ears.
▶ watch this step (38:15)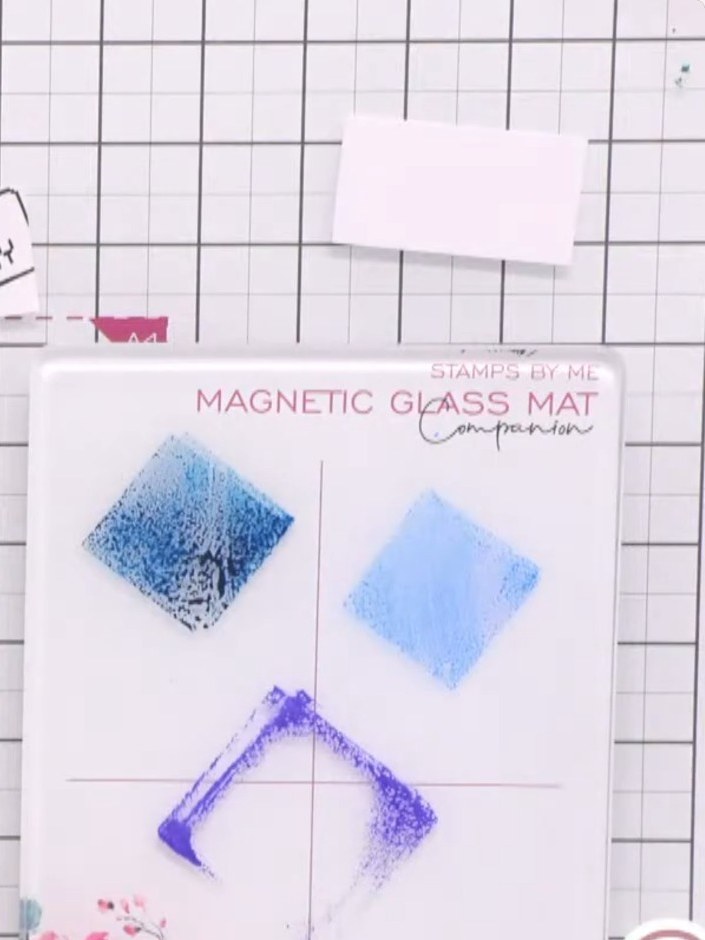
Prepare a watercolour palette with blue tones. Add a small amount of water to create a paint wash for colouring the stamped image.
▶ watch this step (39:15)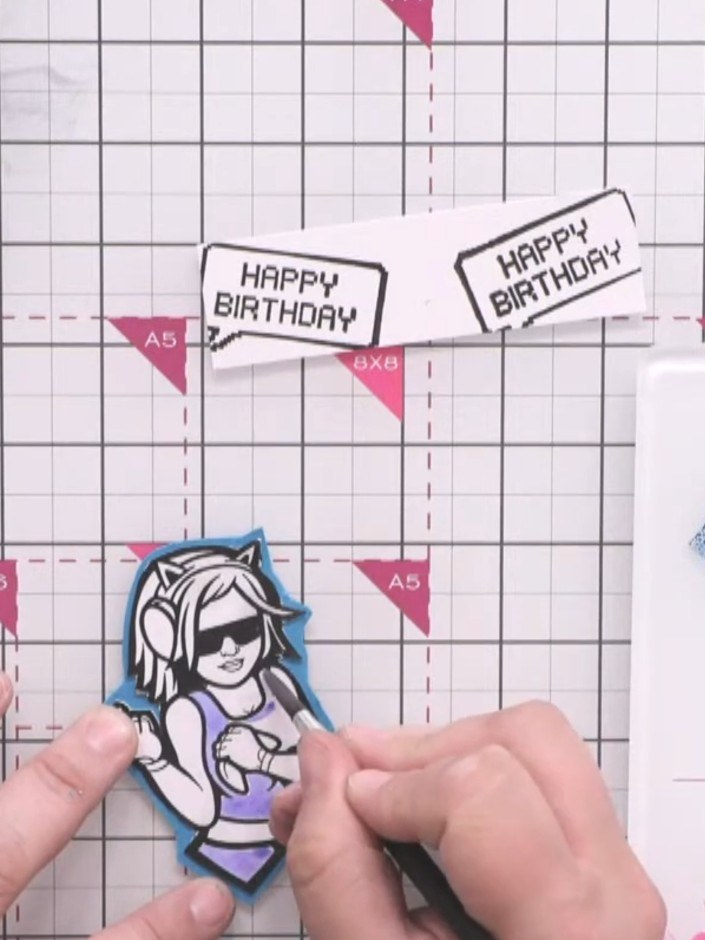
Paint the character's clothing with a base layer of lighter blue watercolour. Apply the colour to the top and skirt areas, building up the tone gradually.
▶ watch this step (39:45)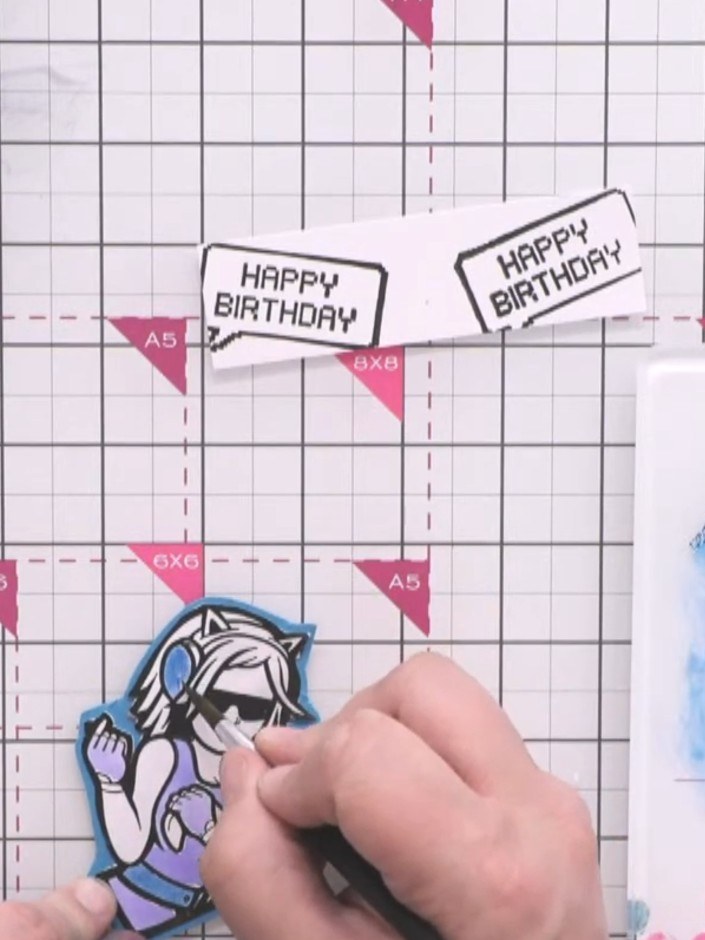
Add darker blue tones to the character's hair using varied shades to create depth and detail. Layer the colours to build dimension in the hair area.
▶ watch this step (40:15)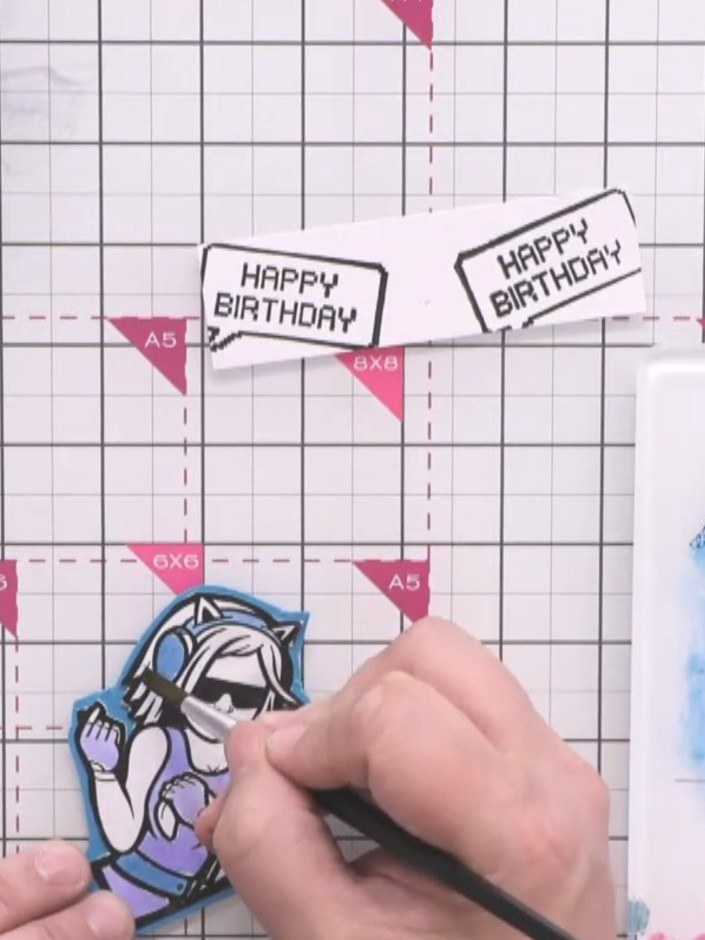
Paint the character's gloves with a lighter blue shade using a fine brush or pen.
▶ watch this step (40:45)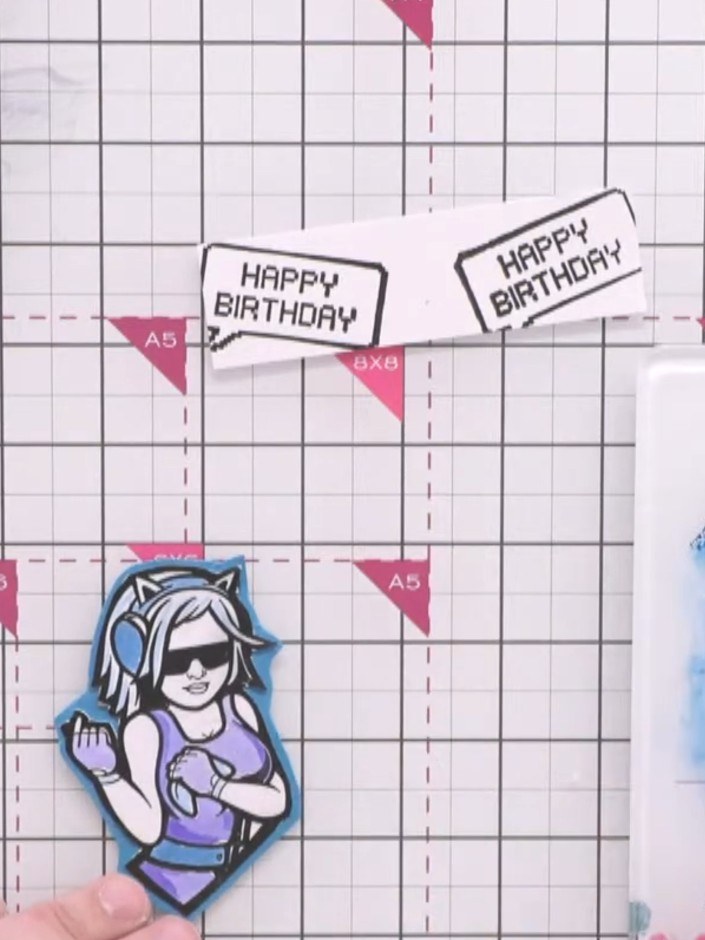
Add blue lipstick to the character's face using a fine brush for a pop of colour and extra detail.
▶ watch this step (41:15)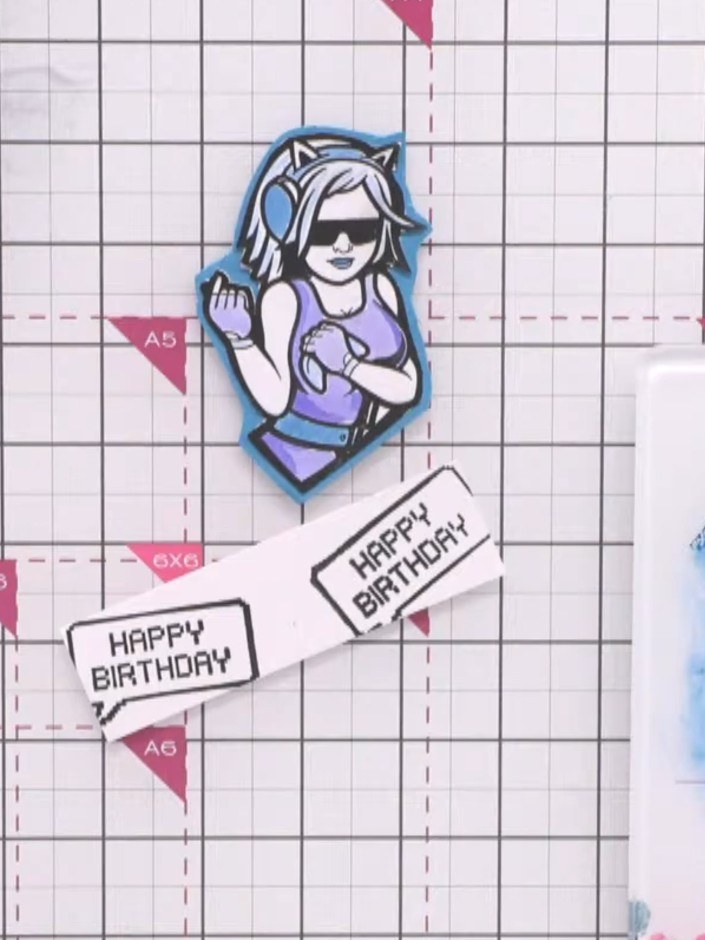
Allow the watercolour to dry completely before proceeding with card assembly. This ensures the colours don't smudge or bleed when handling the stamped elements.
▶ watch this step (41:30)Written up from the show itself. See every guide from our shows · free how-to guides · watch live on My Telly
