Give your friends £10 off their first order!
Refer a FRIEND








Prices change straight away. Every language is our own translation, not Google.
A project from our live show ONE DAY SPECIAL - Join Toni for her brand new launch - Broadcast 30th January 2026 · 30/01/2026
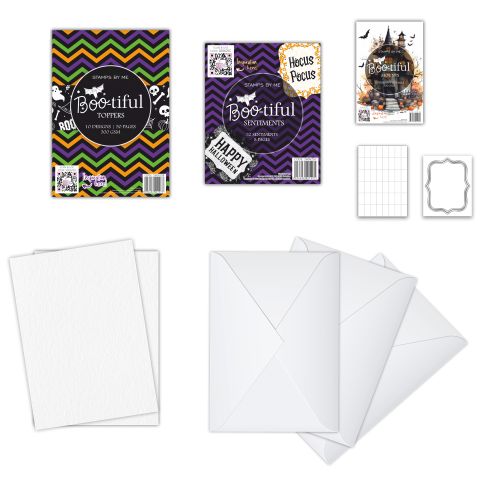
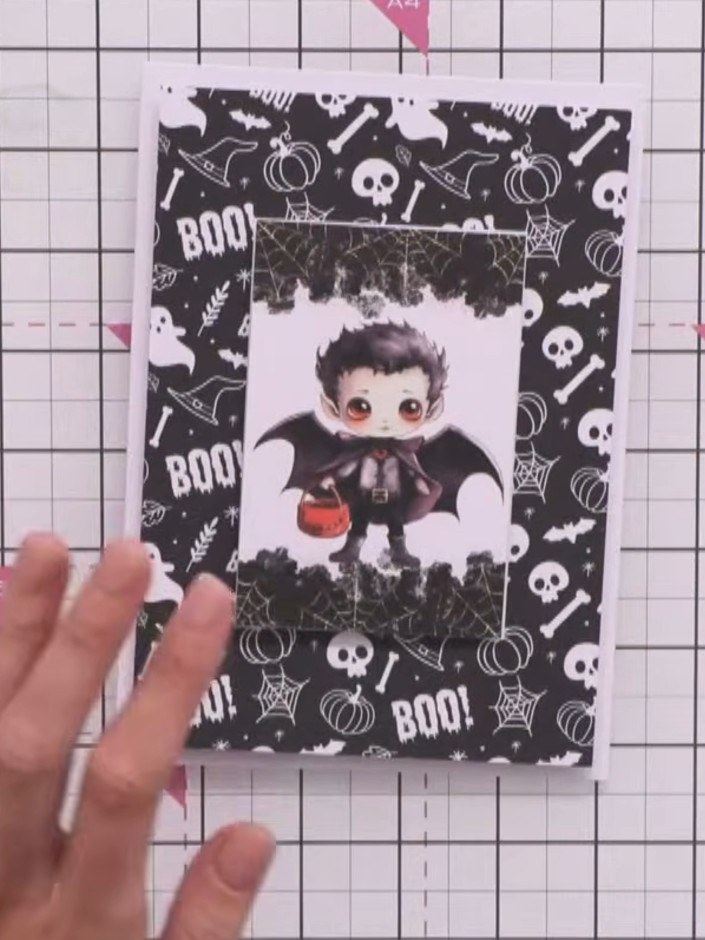
Create a charming Halloween card featuring a cute vampire character on a black and white spooky patterned background. This quick project uses pre-made components from the Bootiful Kit, including a printed topper and sentiment die-cut, assembled with foam pads for added dimension. Perfect for creating a finished greeting card in just minutes with minimal effort.
 1
Select a card blank from your kit. Choose from the available designs - the witch character, the vampire character, or other Halloween-themed options included in the Bootiful kit.
 2
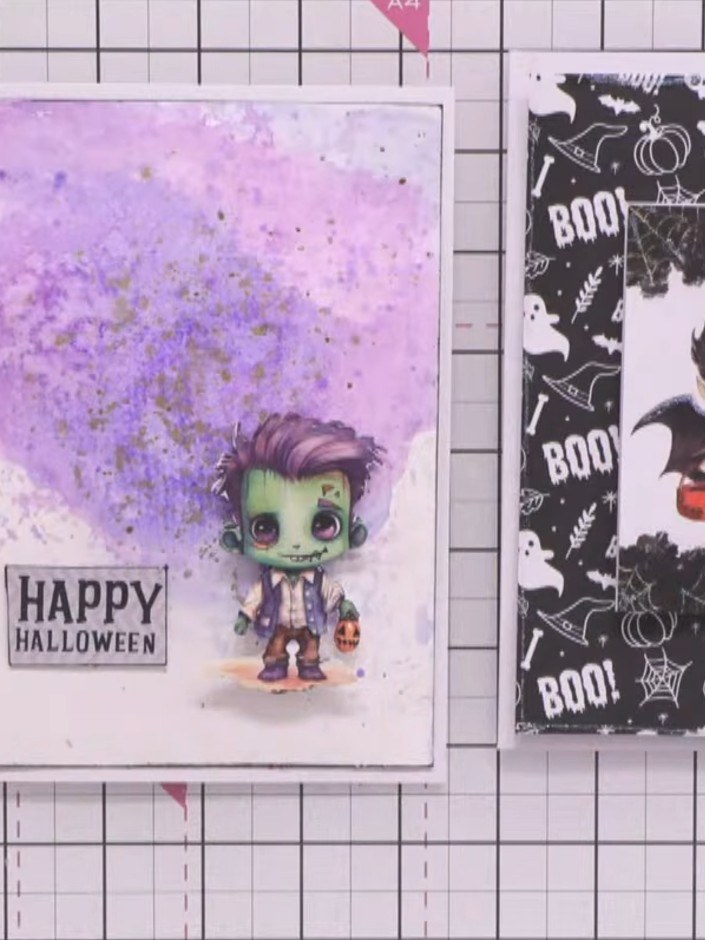
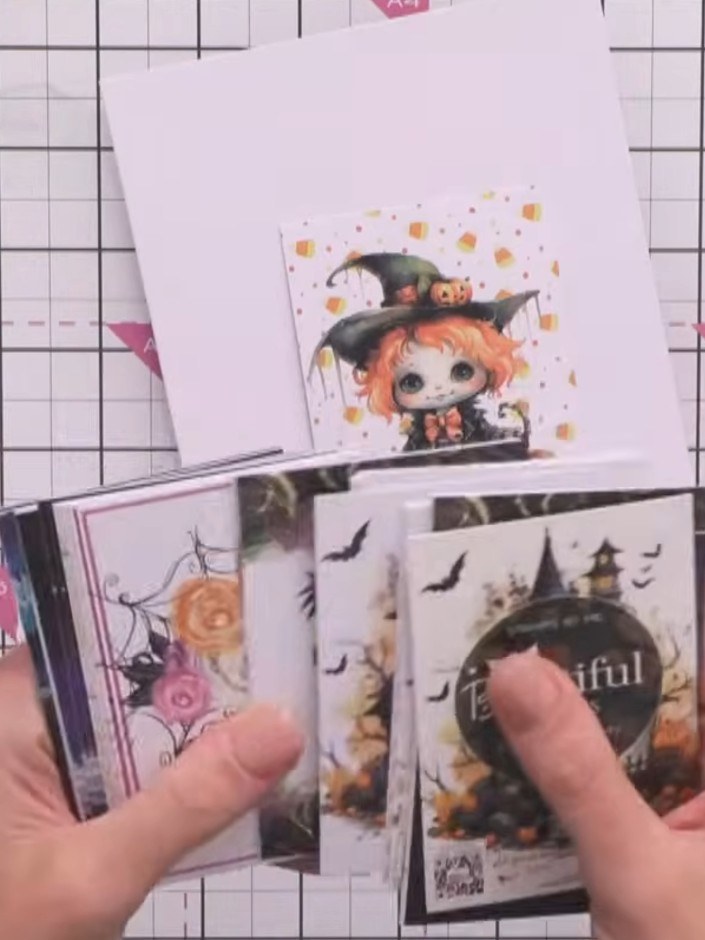
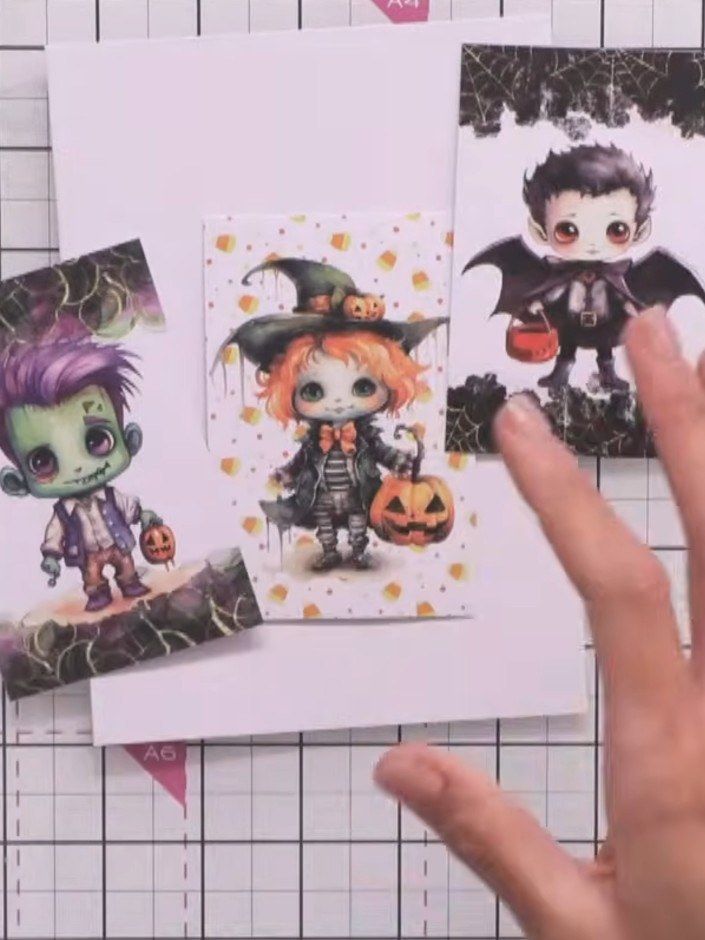
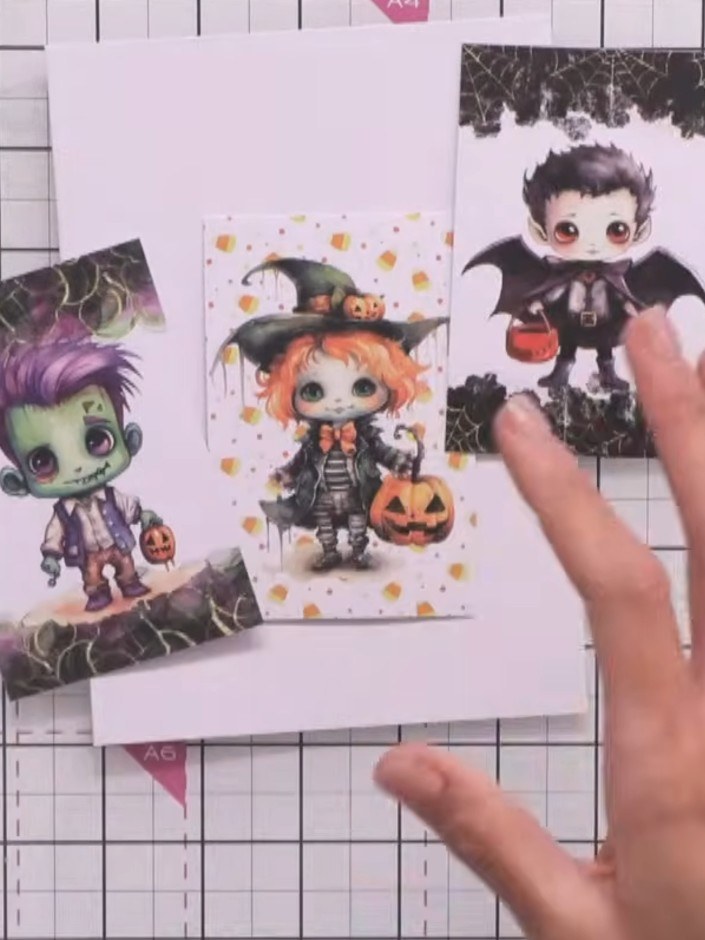
Choose a topper from the selection provided in the kit. The kit includes three Halloween character toppers: a witch with orange hair and pumpkin, a vampire with bat wings, and a Frankenstein character.
 3
Apply foam pads to the back of your chosen topper to add dimension. Position the foam pads evenly across the back of the topper piece.
 4
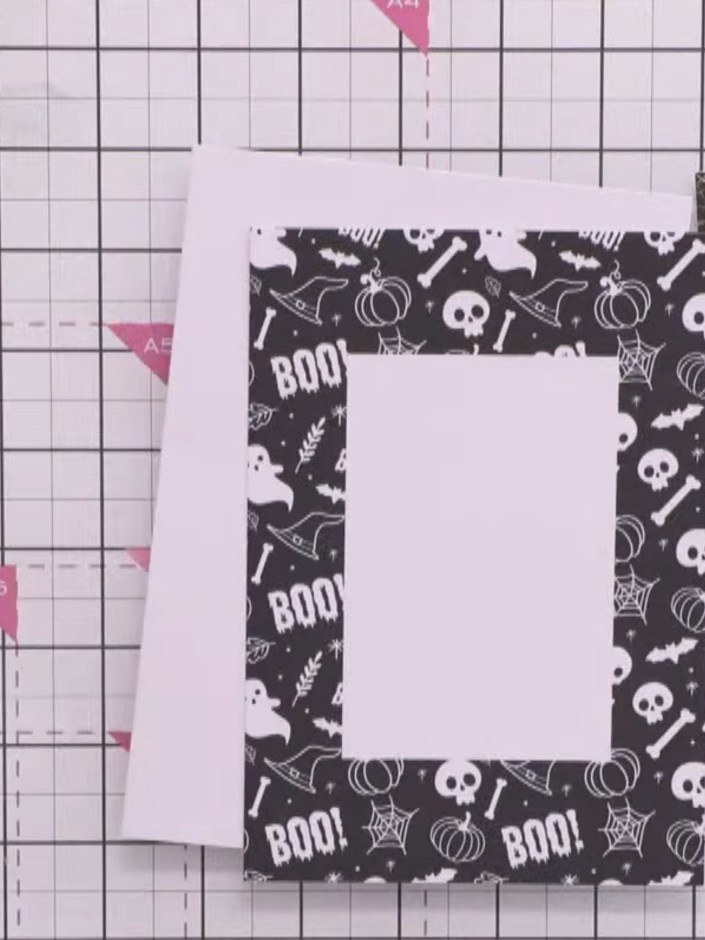
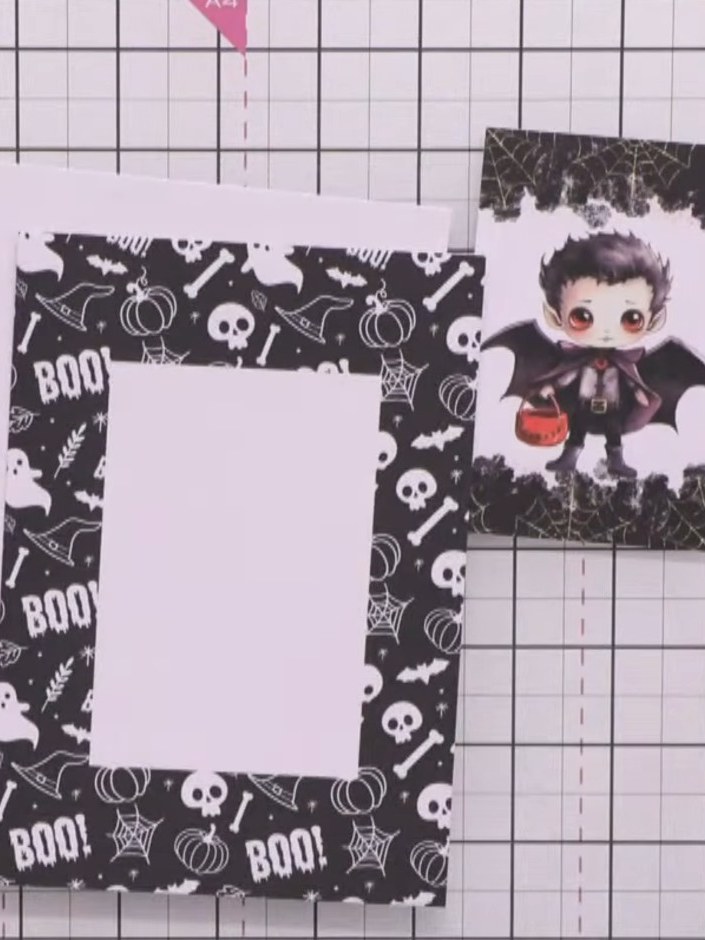
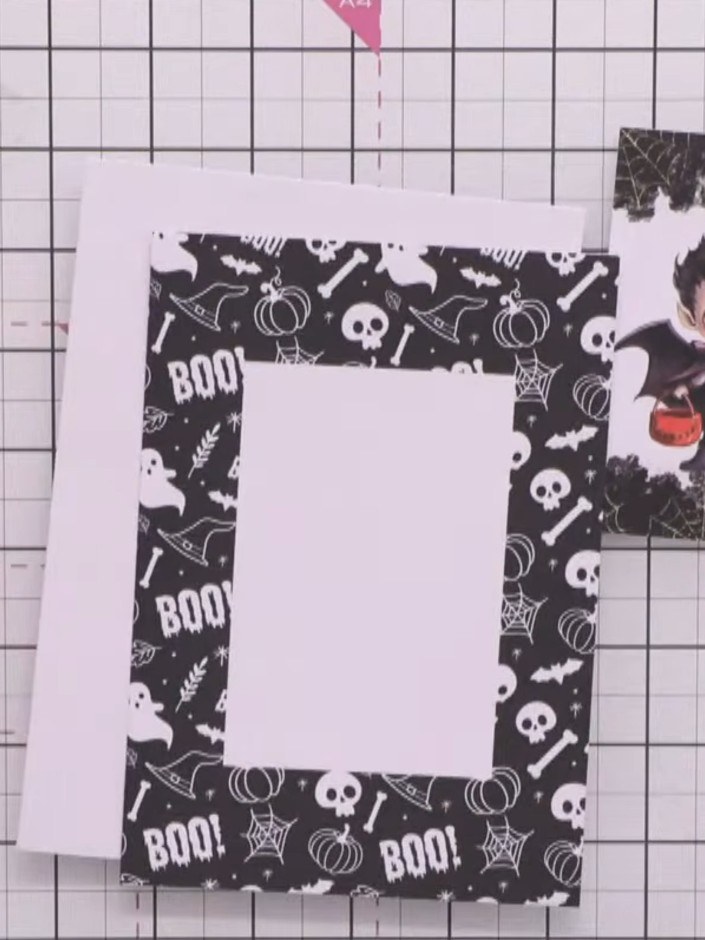
Adhere the padded topper to the front of the card blank. Position it centrally on the black and white patterned frame.
 5
Select a pre-printed sentiment from the kit's sentiment pad and set it aside for your card.
 6
Use the die provided in the kit to cut out the sentiment banner from white cardstock. Position the die over your chosen sentiment area and run through your die-cutting machine.
 7
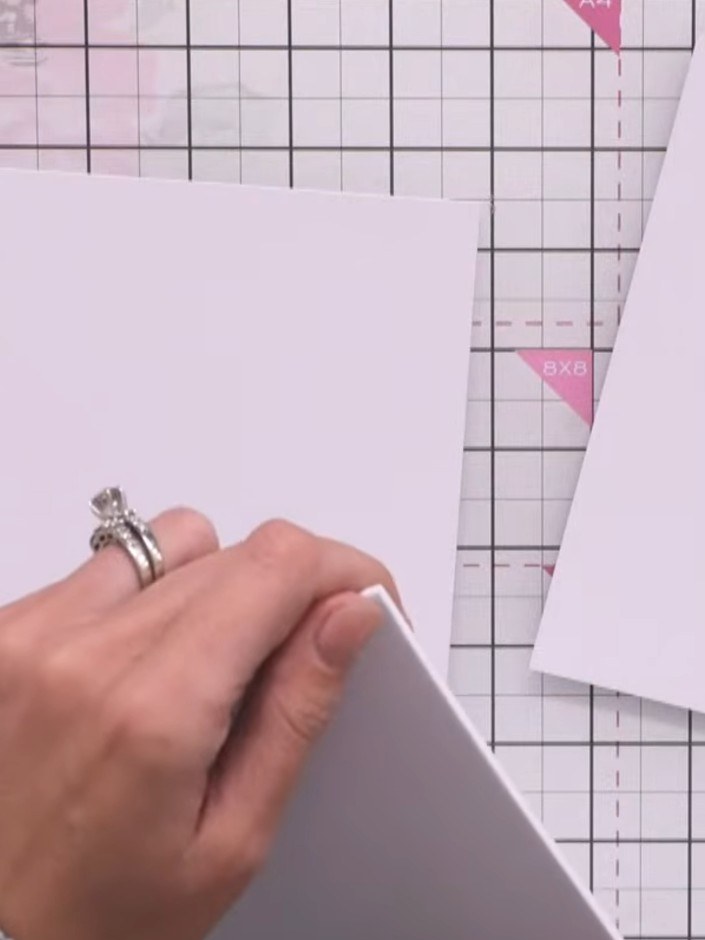
Apply foam pads to the back of the sentiment panel. Position them evenly to create dimension when attaching to your card.
 8
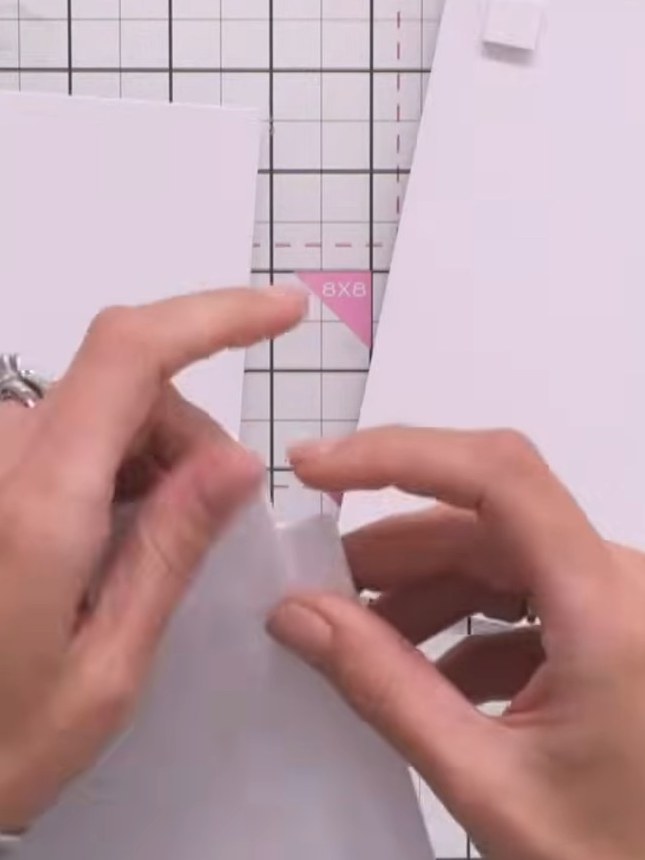
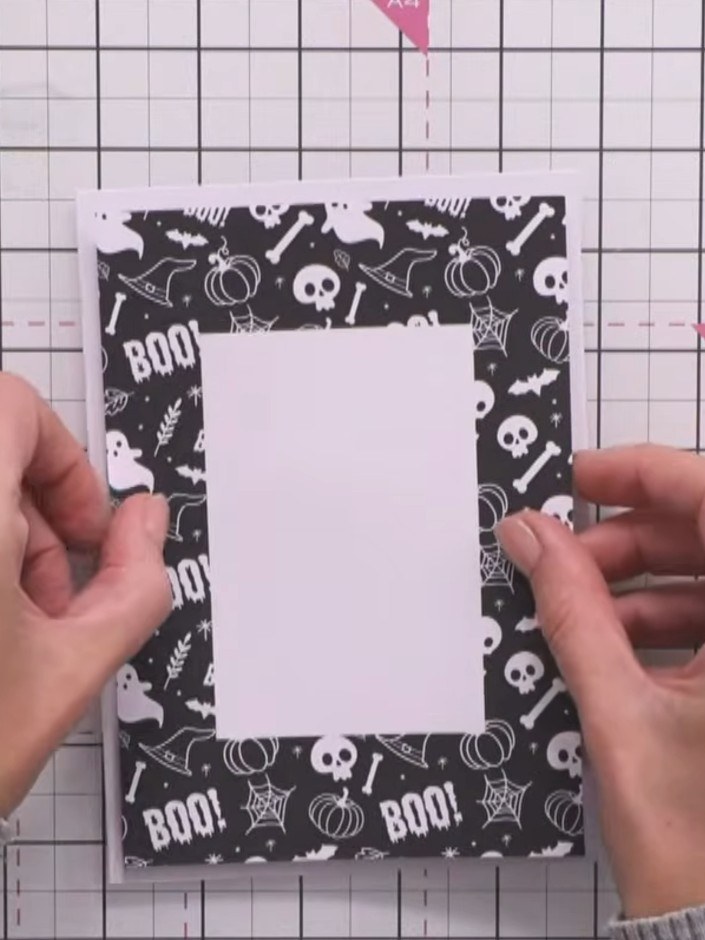
Adhere the sentiment piece to the lower portion of the card front using adhesive.
 9
Apply Stickles glitter glue around the edges of the white card panel for added sparkle and embellishment. Allow to dry completely before handling.
Share your make with the Stamps By Me community - and keep this guide for next time.
Written up from the show itself. See every guide from our shows · free how-to guides · watch live on My Telly · the previous layout