Give your friends £10 off their first order!
Refer a FRIEND








A project from our live show MY PODCAST - Catch my latest updates broadcast 2nd February 2026 · 02/02/2026 · watch it from 23:00
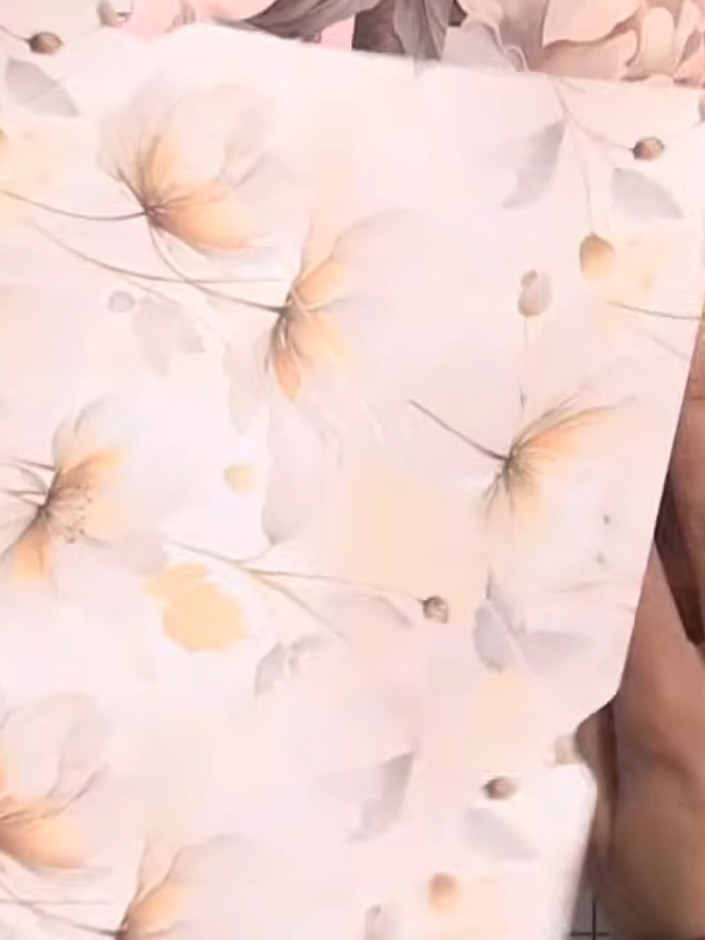
Create a beautifully lined A5 envelope using the clever technique of making a smaller envelope from coordinating patterned paper. This project features soft pink and floral designs, combining precise measuring and trimming to achieve a professional finish. The result is a luxury envelope with a decorative liner that's as stunning on the inside as it is on the outside.
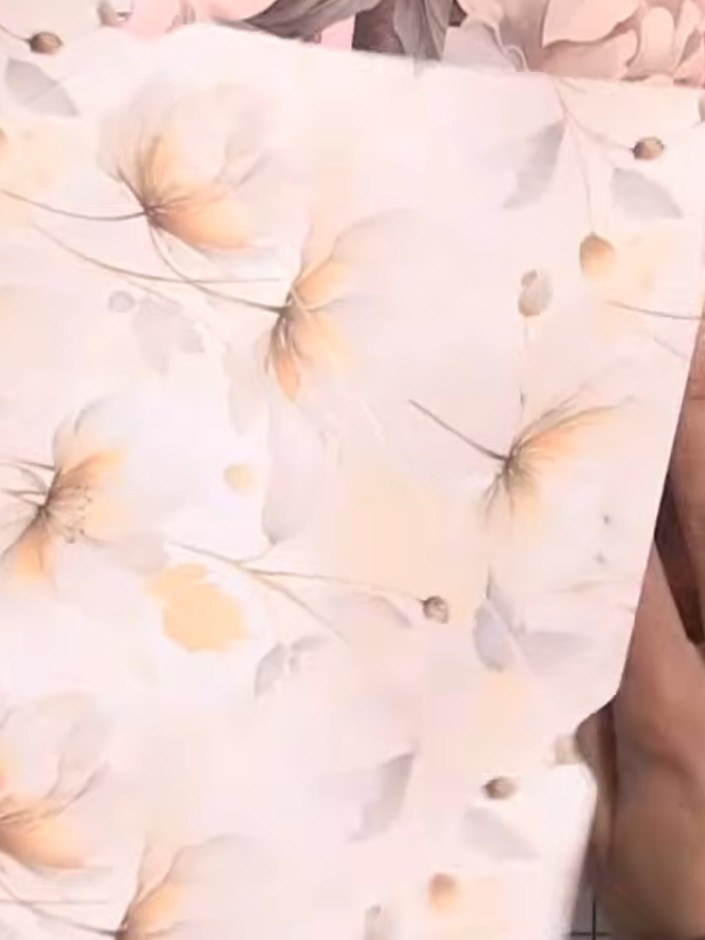
Cut your lining paper to 10½ by 10½ inches (26.7 x 26.7 cm) using your trimmer.
▶ watch this step (23:00)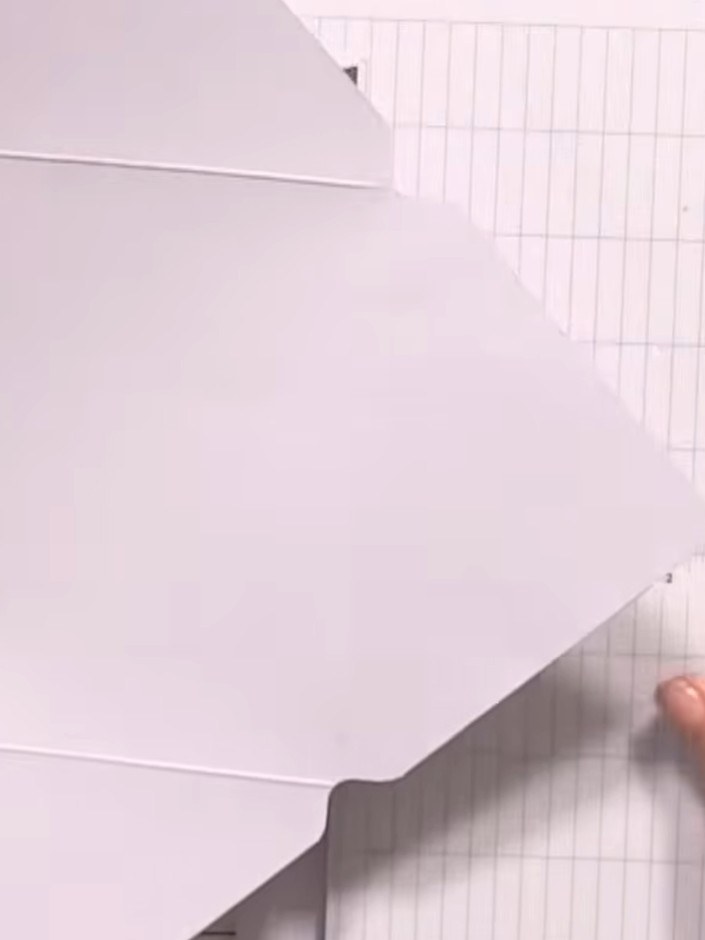
Using the box board template, score and cut along the marked lines as you did with the main envelope. Cut the pieces on the score lines to create the envelope shape.
▶ watch this step (23:15)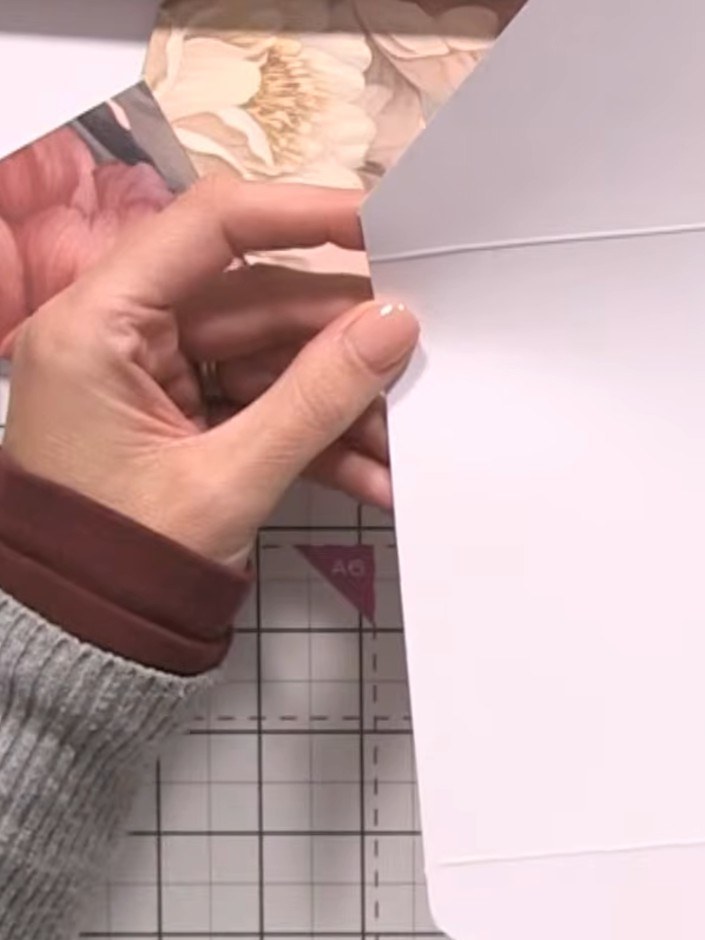
Fold the smaller envelope piece along the score lines. Apply glue to the side flaps and press them down to secure the envelope together.
▶ watch this step (23:45)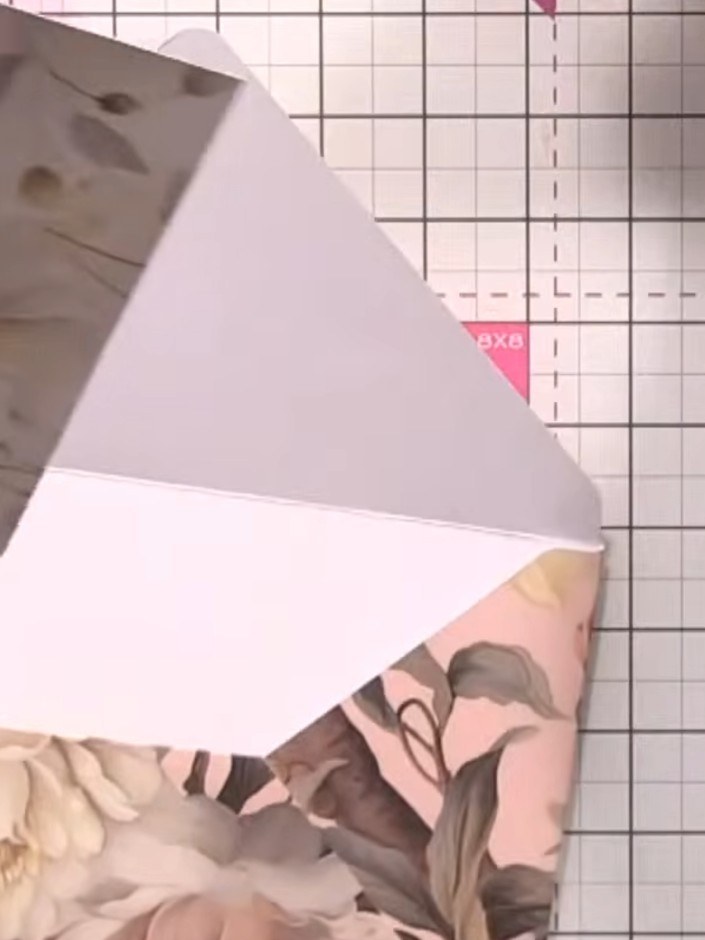
Trim away three of the four sides of the smaller envelope along the score lines, leaving one side intact. Round the point at the top of the remaining flap if desired.
▶ watch this step (24:00)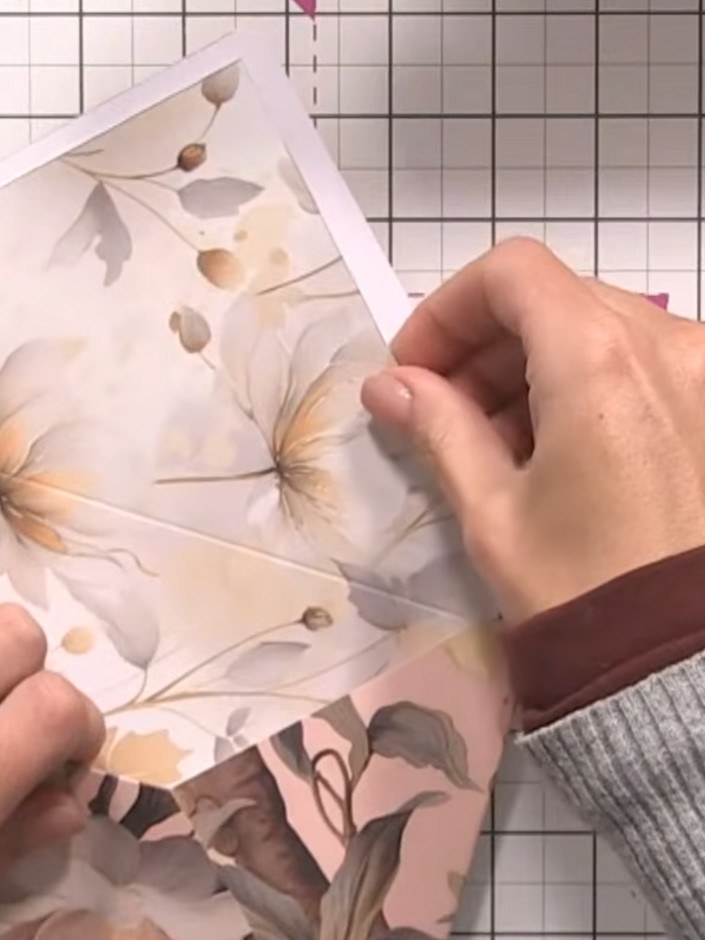
Round off the pointed corner of the envelope flap using a corner punch tool to create a smooth, curved edge.
▶ watch this step (24:15)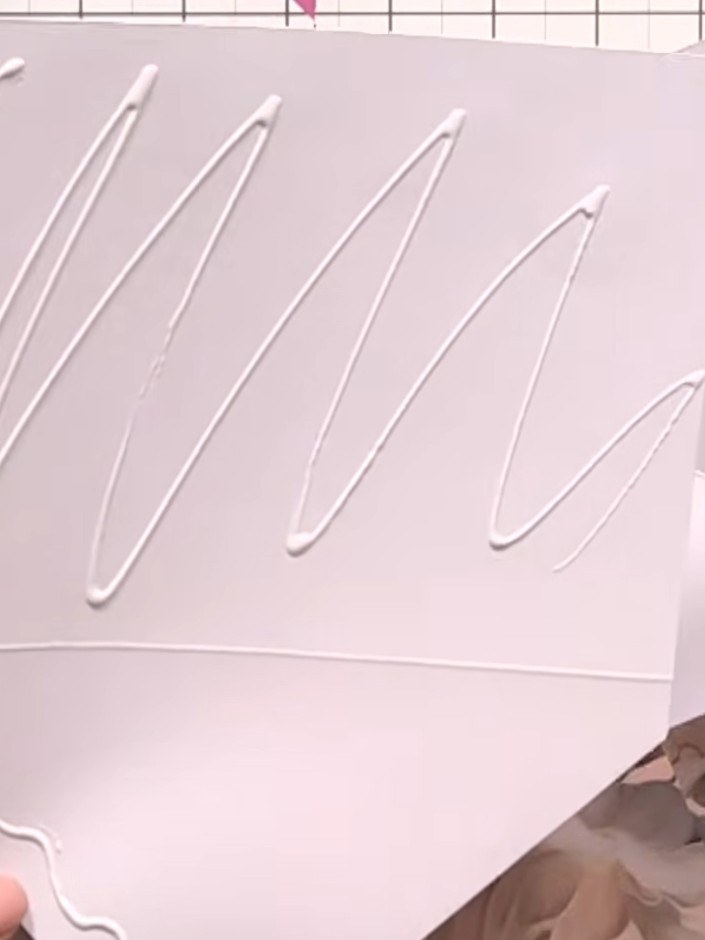
Glue the liner inside the main envelope, ensuring the score lines align beautifully. Position the liner carefully so that the decorative paper sits neatly within the envelope structure.
▶ watch this step (24:30)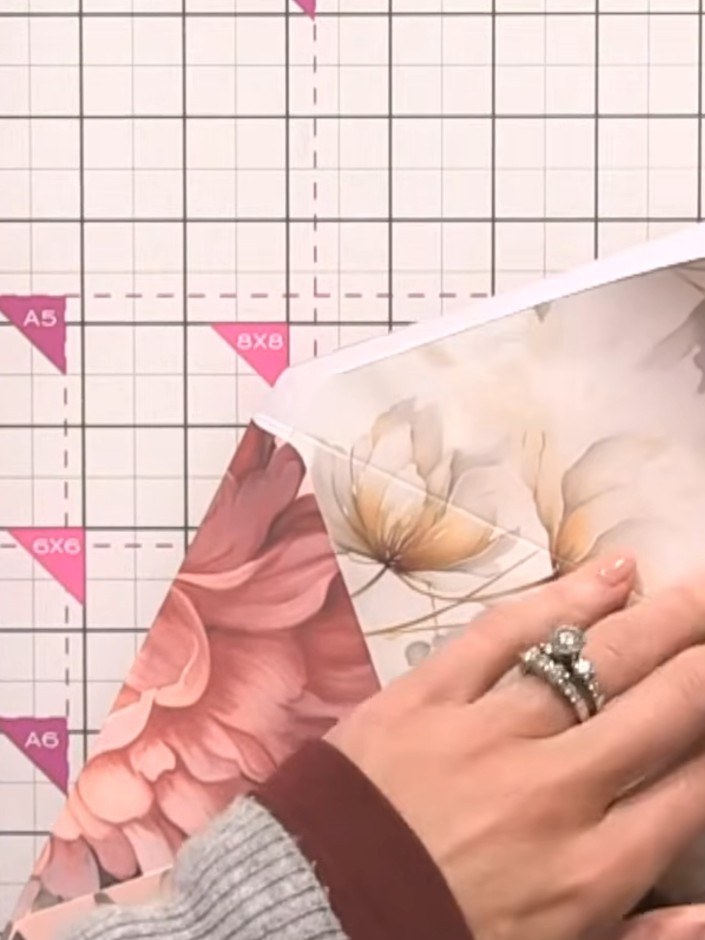
Tuck the tail of the envelope inward and smooth it down. Apply adhesive to secure the tail in place for a neat, finished look.
▶ watch this step (25:00)Written up from the show itself. See every guide from our shows · free how-to guides · watch live on My Telly