QUICK LINKS

info@howtocraftnetwork.com
We just got smarter - shop and watch with the SBM appGET THE APPWatch us live on your smart TVSEE HOWDiscover our dedicated IPTV channel - go to my-telly.comWATCHCollect loyalty points on every orderFIND OUT MORE
Welcome to the How to Craft Network
 
SBM SHOP
FOLLOW US
GIVE YOUR FRIENDS £10 OFF REFER A FRIEND › DISCOVER MY-TELLY.COM › WE JUST GOT SMARTER GET THE APP › AWARD WINNING CHANNEL ON YOUR TV › JOIN THE CLUB FOR SAVINGS ›
 

Vellum Flower Embellishments

A project from our live show Create and Craft - Toni and Teresa Collaboration Product Launch Show 2 - Broadcast 19TH Nov 22 · 19/11/2022 · watch it from 36:00

Create beautiful dimensional flowers from the vellum paper included in the collection. These flowers can be wrapped and layered to create different sizes, from half an inch to four inches, and used to embellish cards, albums, and other projects.
DOWNLOAD THIS GUIDE (PDF)

Step by step

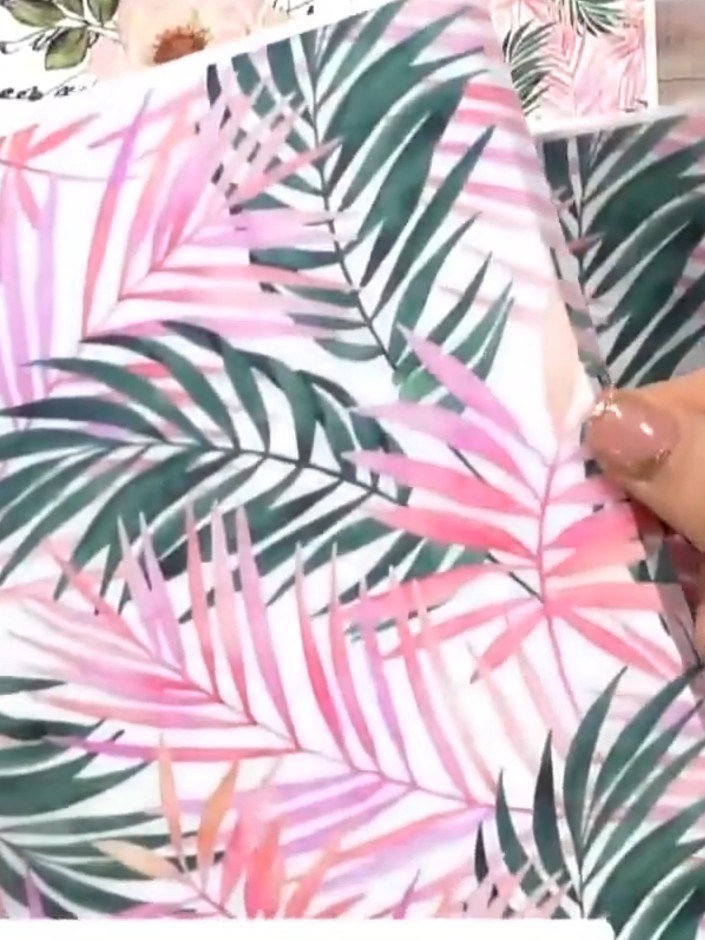
  1. Cut the transparent vellum paper with pink and green palm leaf design into strips suitable for wrapping around flower centres. ▶ watch 36:15
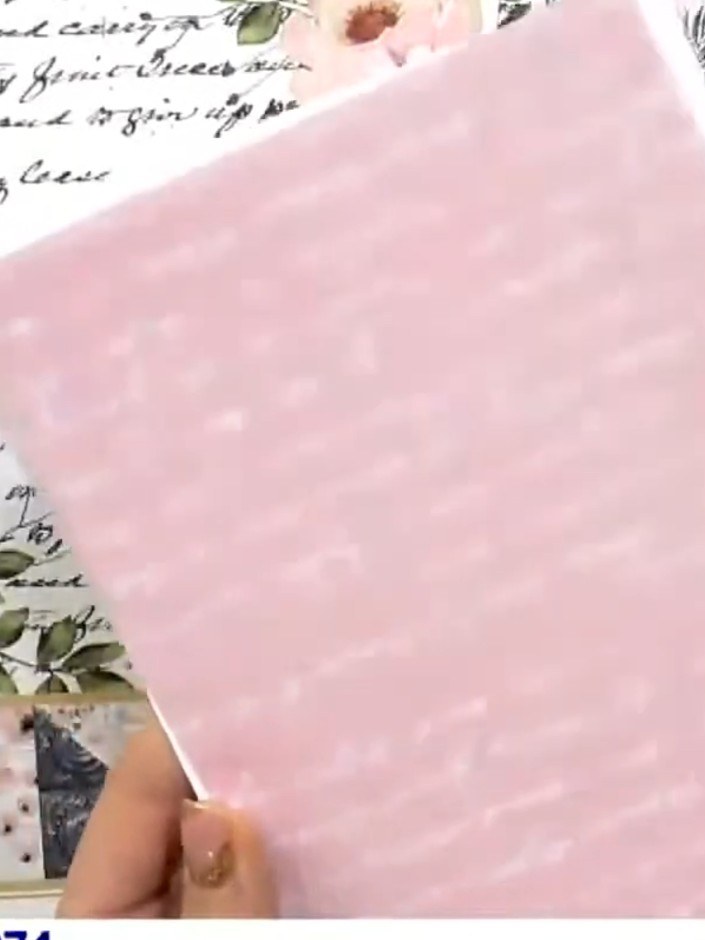
  2. Step 2: Wrap the vellum strips around your finger or a cylindrical tool to create a spiral shape. This will form the p

    Wrap the vellum strips around your finger or a cylindrical tool to create a spiral shape. This will form the petals of your flower embellishment.

    ▶ watch this step (36:30)
  3. Step 3: Continue wrapping the vellum strip around the flower centre, building up layers to create the desired flower s

    Continue wrapping the vellum strip around the flower centre, building up layers to create the desired flower size. Keep the wrapping fairly loose to create a natural petal effect.

    ▶ watch this step (36:45)
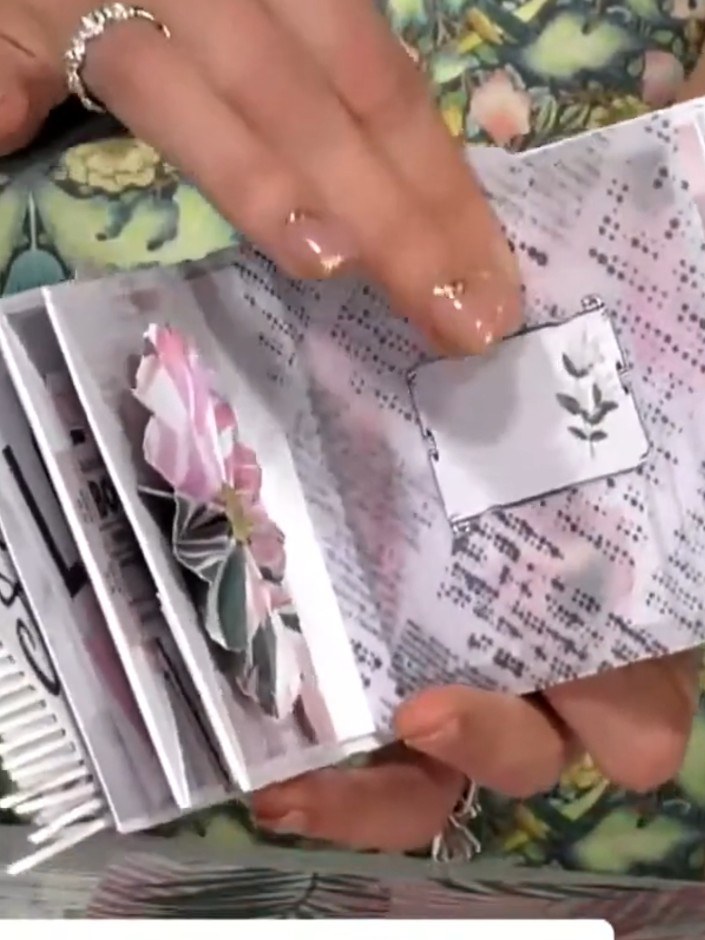
  4. Step 4: Secure the wrapped vellum flower by adding adhesive to hold the layers in place. Press gently to ensure the fl

    Secure the wrapped vellum flower by adding adhesive to hold the layers in place. Press gently to ensure the flower maintains its shape whilst the adhesive sets.

    ▶ watch this step (37:00)
  5. Attach the finished vellum flower to your card or project. Position the flower where desired and secure it in place with adhesive. ▶ watch 37:15

Tips from the show

More from this show

Written up from the show itself. See every guide from our shows · free how-to guides · watch live on My Telly







