Give your friends £10 off their first order!
Refer a FRIEND








A project from our live show CREATE AND CRAFT SHOW 6TH JAN 2023 - Join Toni for her brand new launch! · 06/01/2023 · watch it from 54:45
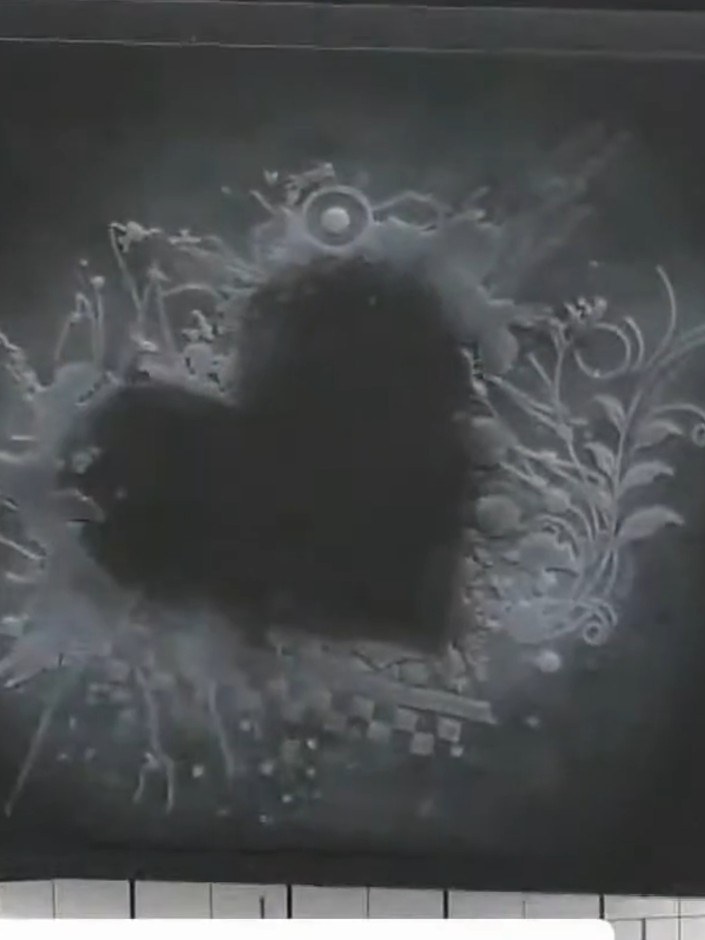
Create a sophisticated, moody card by applying white pigment ink highlights to black cardstock, then emboss with a high-definition 3D heart design. The dramatic contrast between the white ink and black background creates an atmospheric, elegant effect perfect for special occasions. This project combines simple stamping techniques with dimensional embossing for a striking contemporary finish.
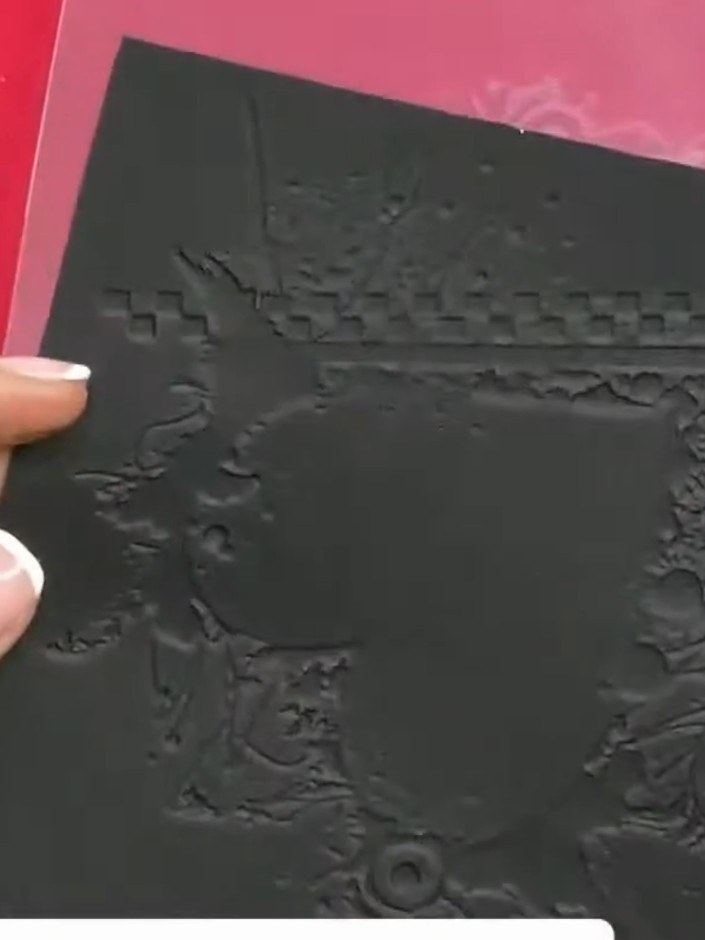
Take a piece of black cardstock as your base. This will form the foundation of your card.
▶ watch this step (55:00)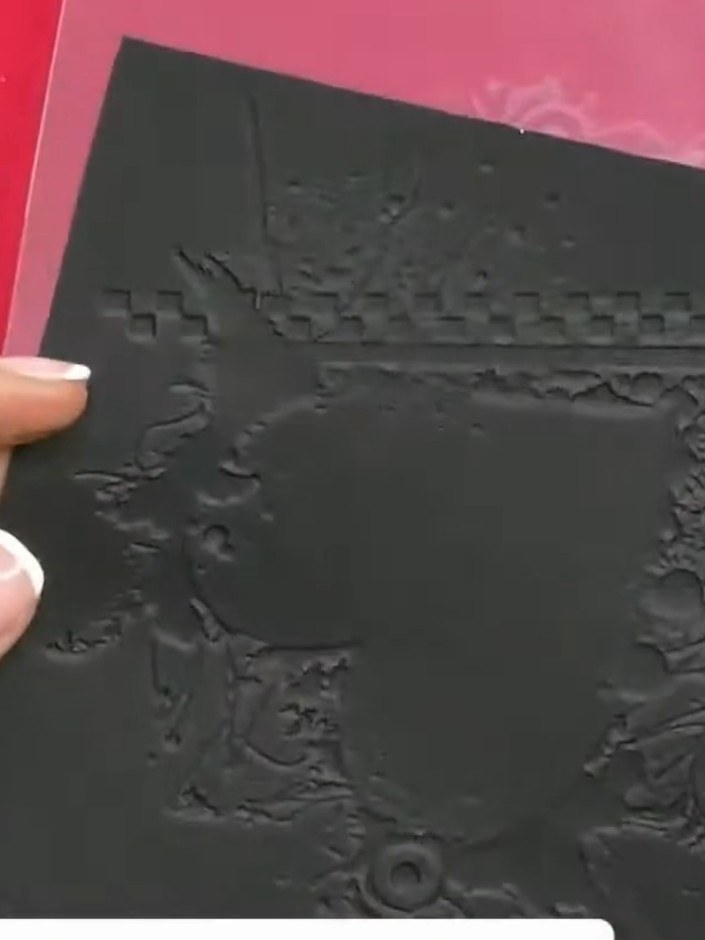
Apply white pigment ink to a brush and lightly brush it onto the black card to create a halo effect around the embossed area.
▶ watch this step (55:15)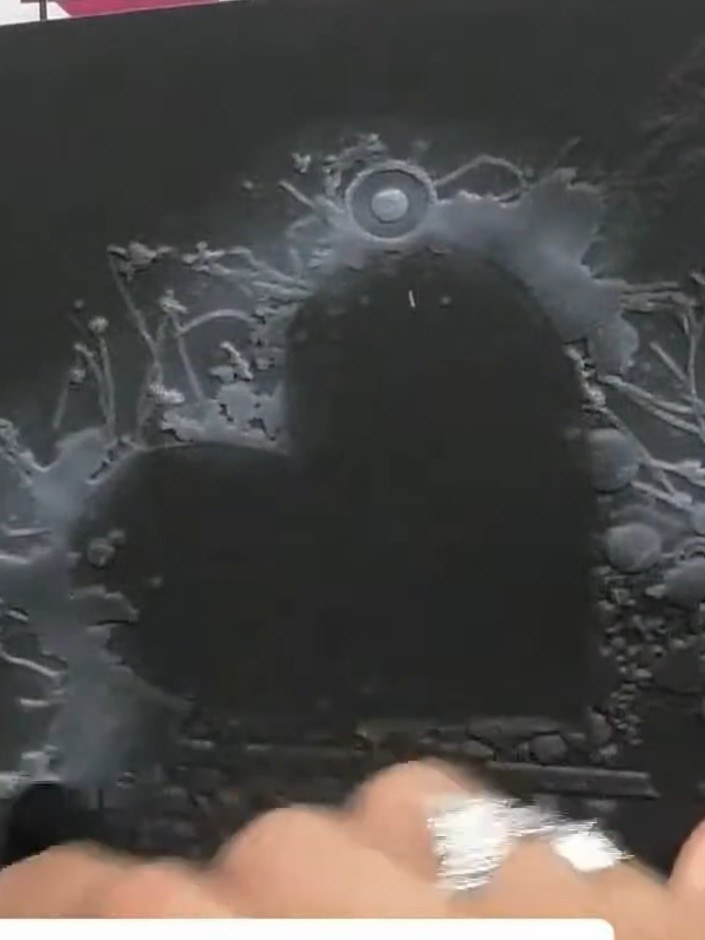
Using a soft brush, drag the white ink outward from the centre of the embossed design to create soft, blended edges without harsh lines.
▶ watch this step (55:30)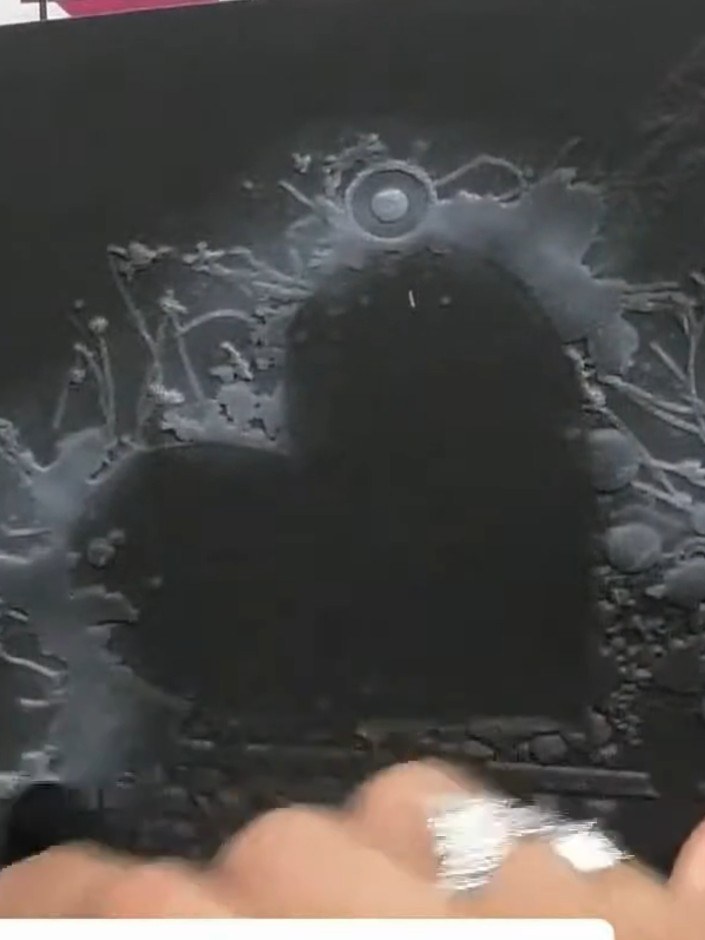
Place the black cardstock into the high-definition 3D heart embossing folder, ensuring it is positioned centrally within the folder.
▶ watch this step (55:45)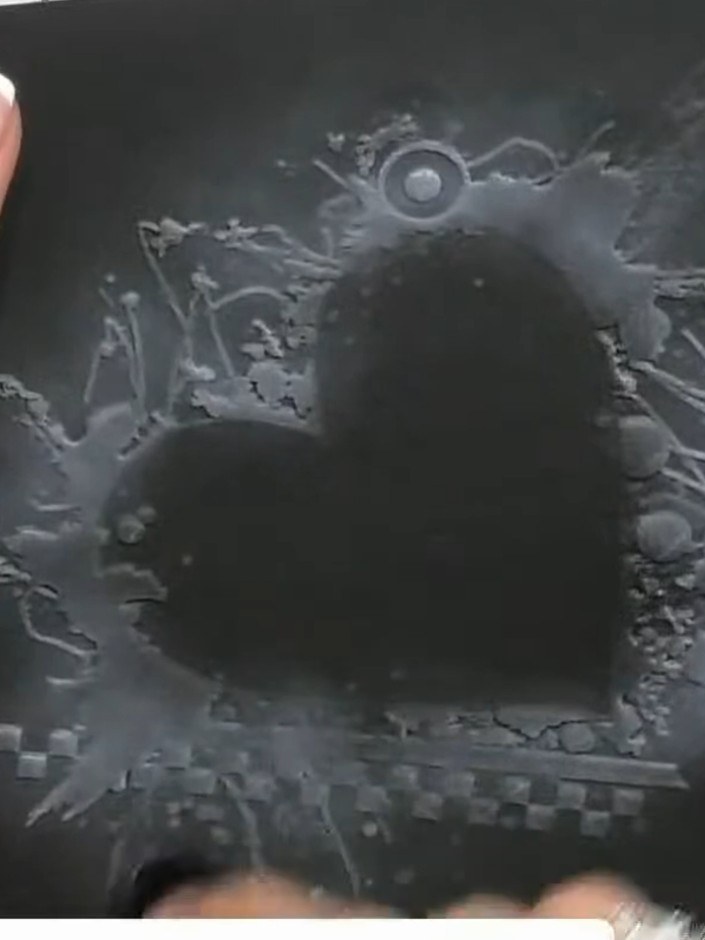
Run the embossing folder with your black card through your die-cutting machine to create the raised heart design with decorative flourishes.
▶ watch this step (56:00)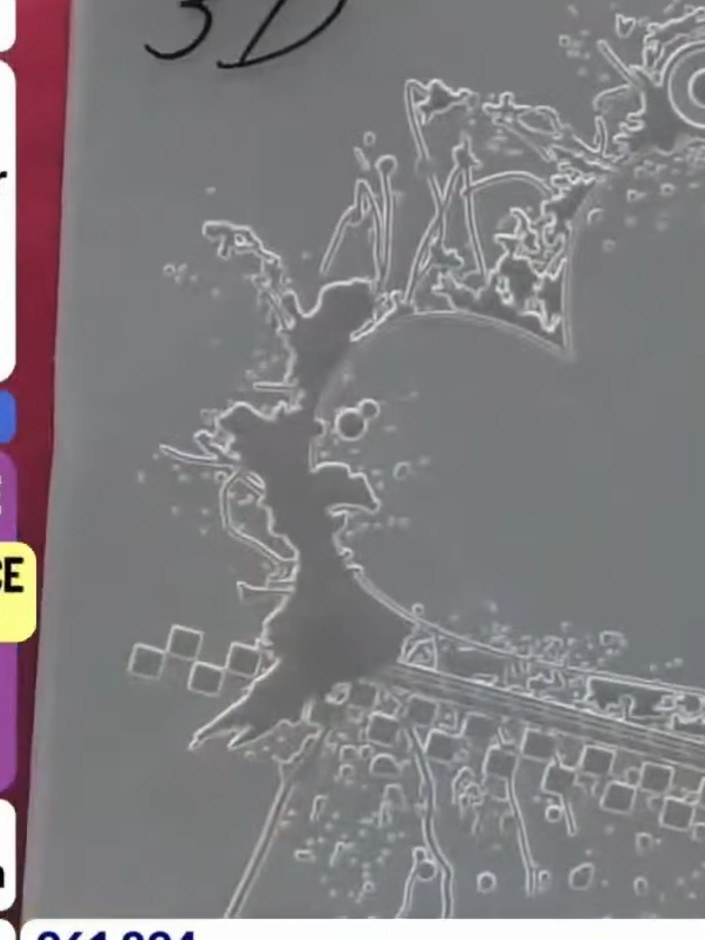
Remove the cardstock from the embossing folder to reveal the embossed design. The white ink beneath will highlight the raised detail, creating a striking contrast against the black card.
▶ watch this step (56:30)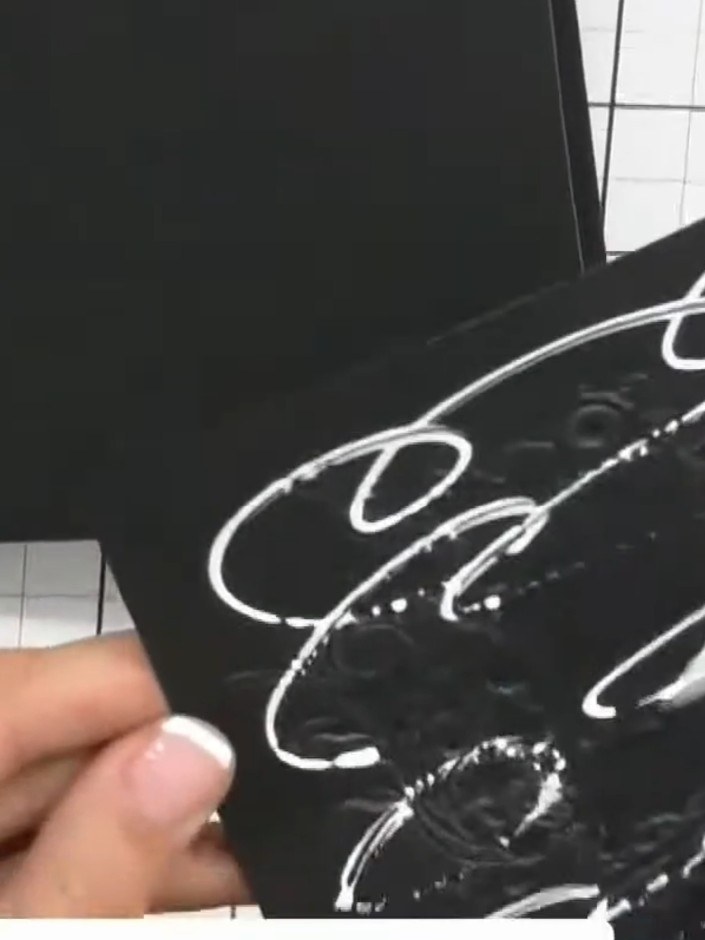
Adhere the die-cut cocktail embellishment to the black card using foam pads to add dimension.
▶ watch this step (57:00)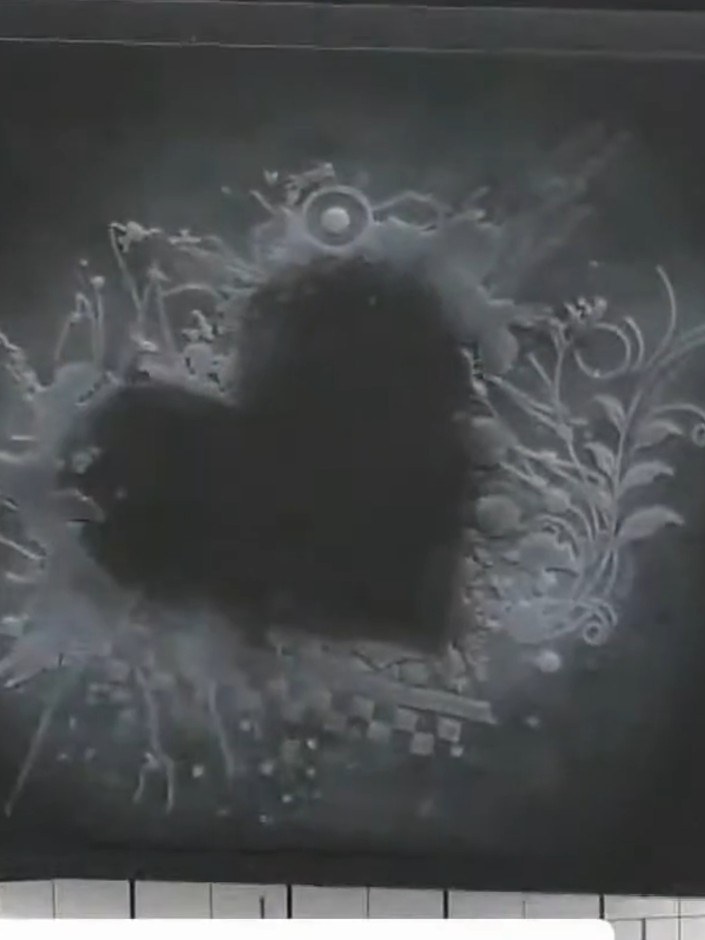
Add a stamped sentiment or greeting to complete your card. Position the sentiment in a suitable location on the black embossed card.
▶ watch this step (57:30)Written up from the show itself. See every guide from our shows · free how-to guides · watch live on My Telly