Give your friends £10 off their first order!
Refer a FRIEND








A project from our live show Create and Craft Show 12th JAN - Product Preview - Join Toni for her latest inspirations - Broadcast 10th JAN 22 · 10/01/2023 · watch it from 40:45
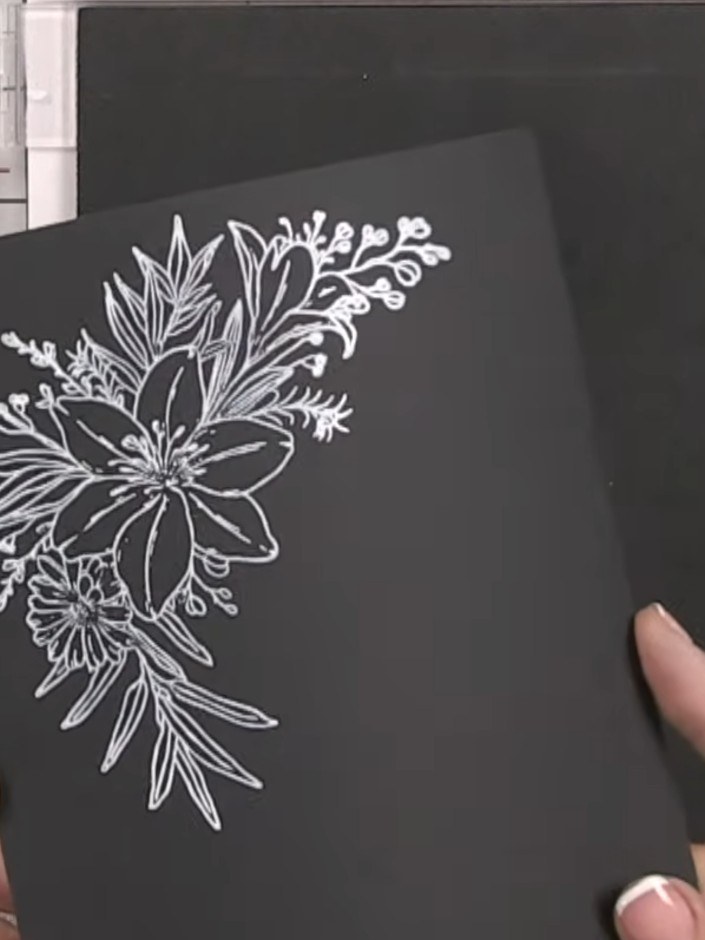
Create an elegant floral card featuring brilliant white stamped botanicals on dramatic black card stock. Using a high-quality white ink pad, you'll achieve crisp, opaque impressions that showcase intricate floral and foliage details with exceptional clarity. This striking high-contrast technique produces a sophisticated, contemporary finish perfect for special greetings.

Place a piece of black card stock on your craft mat as your base. This will be used for white ink stamping.
▶ watch this step (41:00)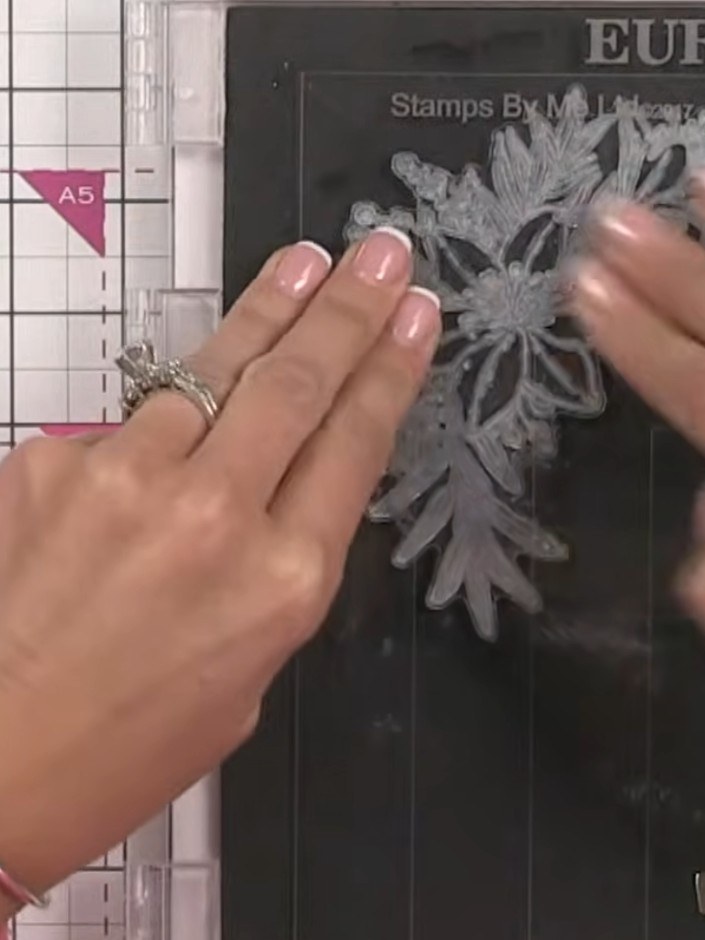
Take the white ink pad and apply light, gentle taps all over the stamp surface using a dabbing motion. Use gentle pressure rather than heavy pressing to ensure even ink coverage on the floral stamp design.
▶ watch this step (41:15)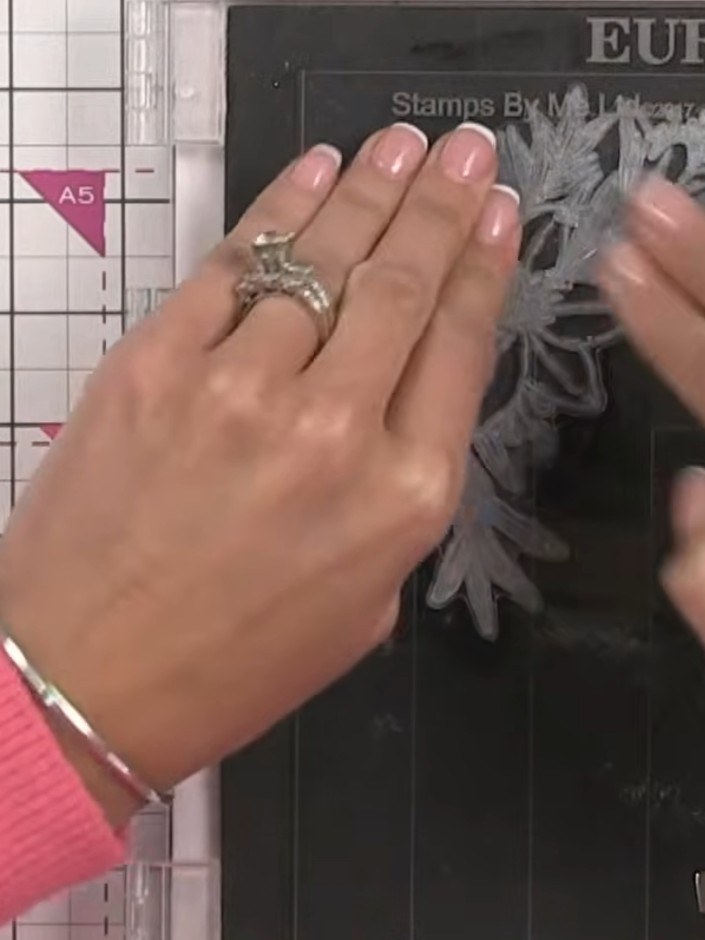
Press the white-inked stamp firmly onto the black card using light taps all over to transfer the design. Ensure even pressure across the entire stamp to achieve a clear white impression.
▶ watch this step (41:30)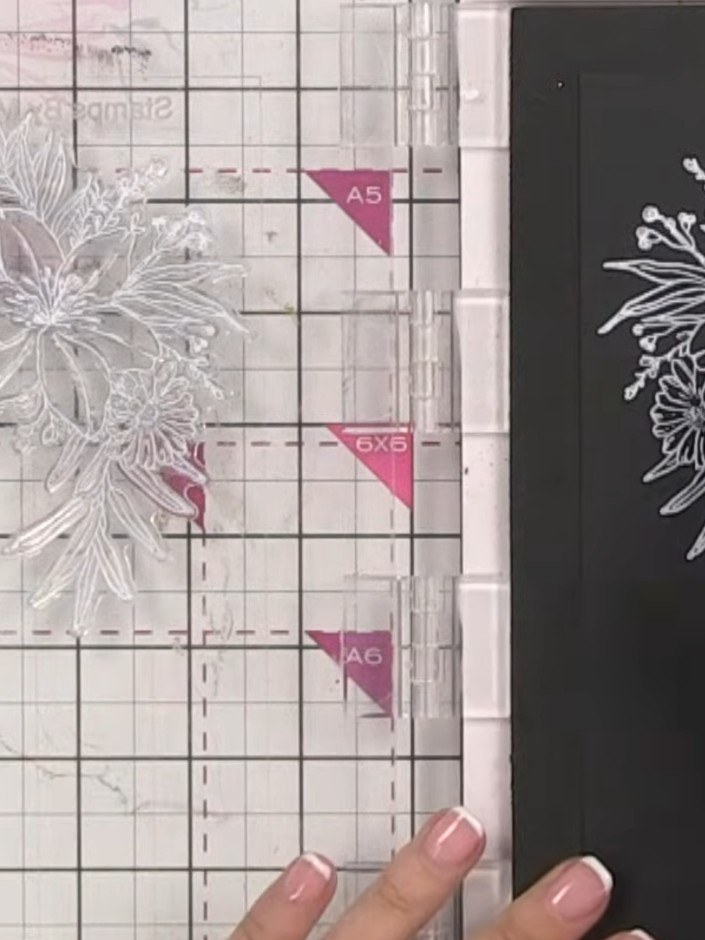
Carefully lift the stamp straight up from the black card to reveal the crisp white floral image. The white ink should show a clear, detailed impression of the botanical design on the black background.
▶ watch this step (41:45)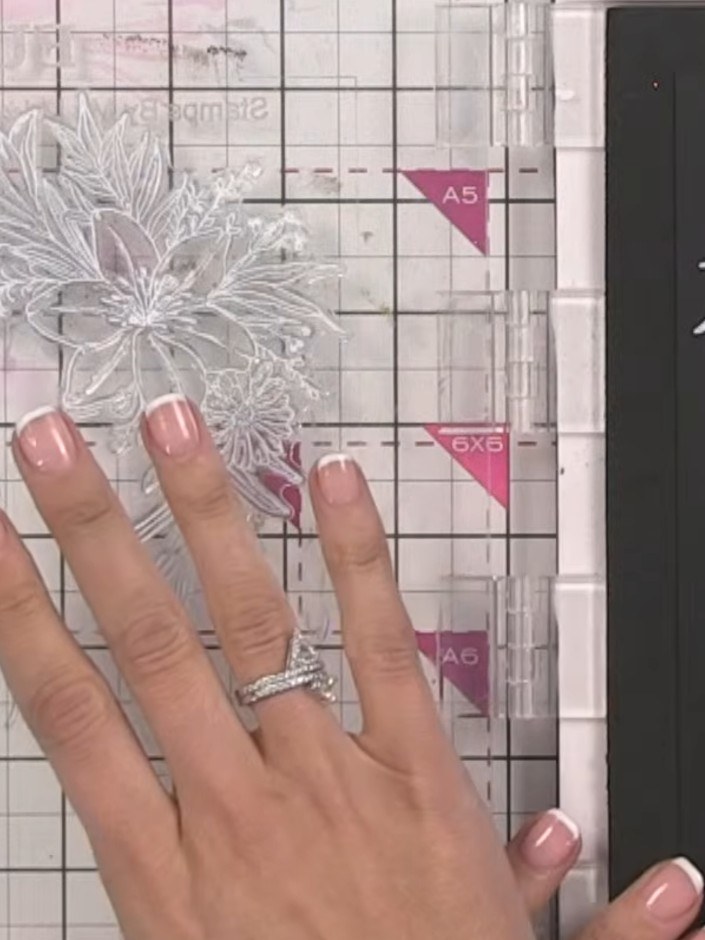
Allow the first layer of white ink to dry completely. If you wish to add more white to any areas, stamp over the design again to build up the opacity.
▶ watch this step (42:00)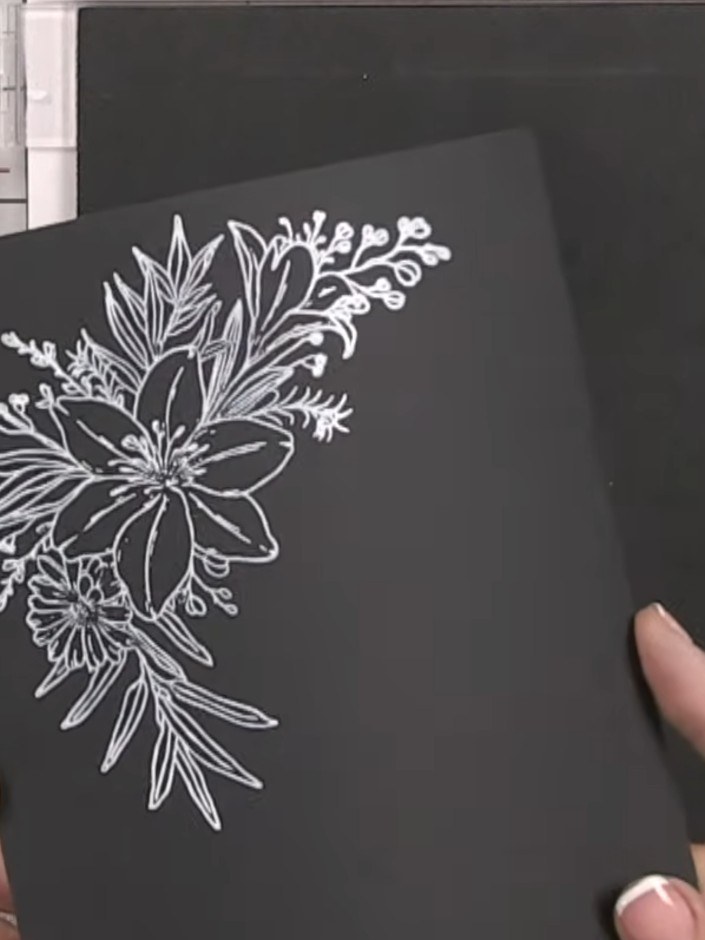
Observe the finished result - the white ink creates a beautiful lace-like appearance on the black card with exceptional brightness and contrast. The floral design stands out clearly against the dark background.
▶ watch this step (42:15)Written up from the show itself. See every guide from our shows · free how-to guides · watch live on My Telly