QUICK LINKS

info@howtocraftnetwork.com
We just got smarter - shop and watch with the SBM appGET THE APPWatch us live on your smart TVSEE HOWDiscover our dedicated IPTV channel - go to my-telly.comWATCHCollect loyalty points on every orderFIND OUT MORE
Welcome to the How to Craft Network
 
SBM SHOP
FOLLOW US
GIVE YOUR FRIENDS £10 OFF REFER A FRIEND › DISCOVER MY-TELLY.COM › WE JUST GOT SMARTER GET THE APP › AWARD WINNING CHANNEL ON YOUR TV › JOIN THE CLUB FOR SAVINGS ›
 

Steampunk Distress Ink Layered Background

A project from our live show BRAND SHOWCASE - ISOBEL CRAFT - Join us for this much loved event where the SMALL brands get to shout LOUDEST - Broadcast 20TH JAN 23 · 20/01/2023 · watch it from 44:45
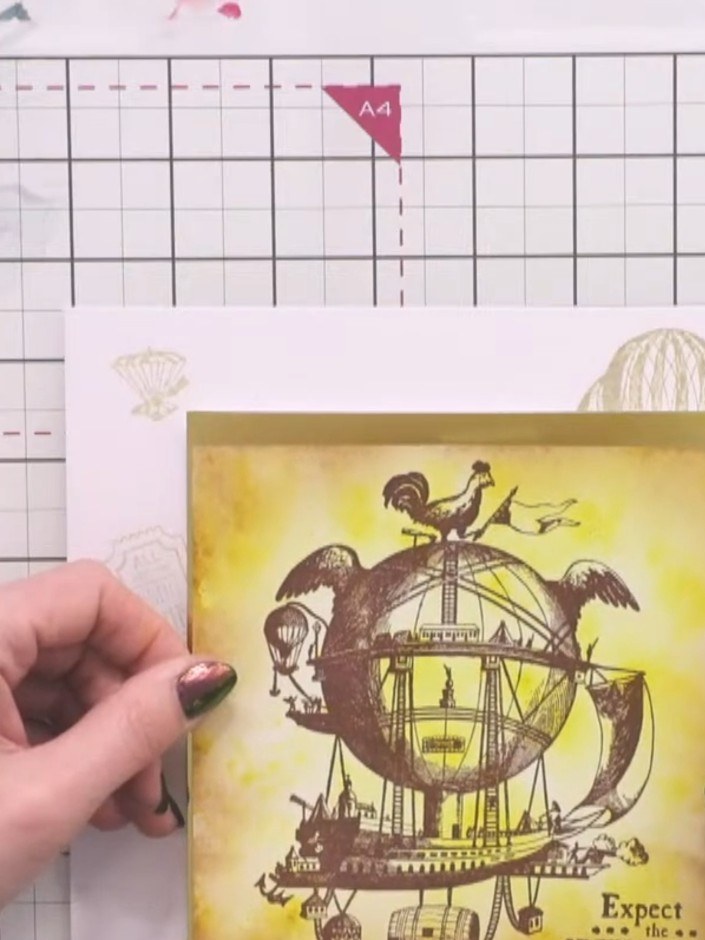
Steampunk Distress Ink Layered Background - the finished project
The finished project

Create a stunning vintage steampunk background featuring a fantastical airship design with warm yellow and antique tones. Using distress inks in antique linen and coordinating colours, you'll build up layers to achieve an aged, industrial aesthetic. This technique produces a beautifully faded background perfect for steampunk-themed cards and crafts.
DOWNLOAD THIS GUIDE (PDF)

Step by step

  1. Step 1: Apply a very pale antique linen distress ink across your white cardstock using a stamp platform, building up t

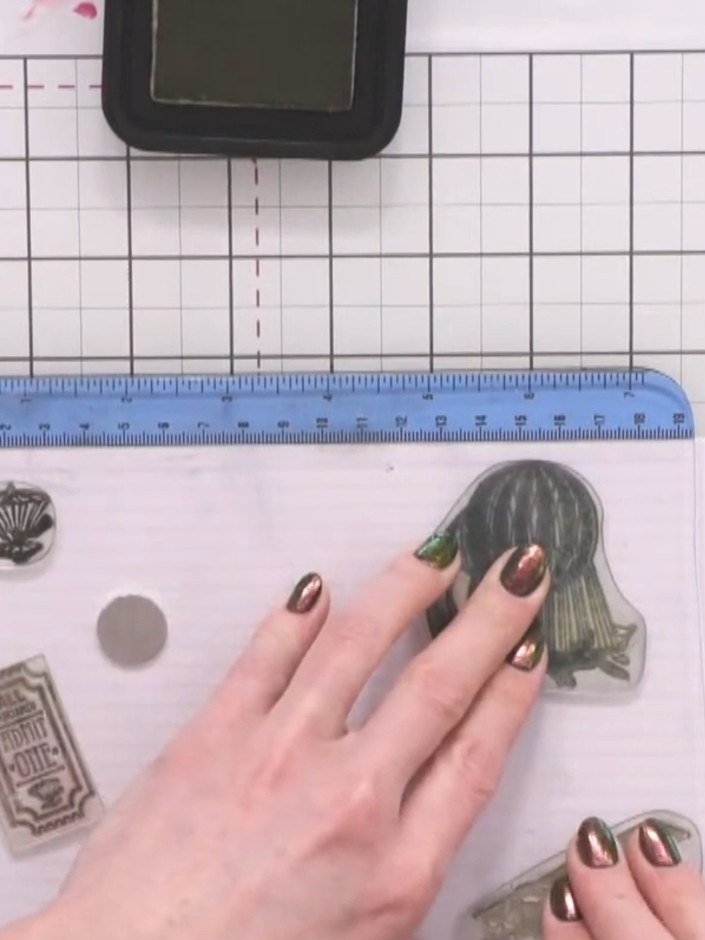
    Apply a very pale antique linen distress ink across your white cardstock using a stamp platform, building up the colour gradually with light layers.

    ▶ watch this step (44:45)
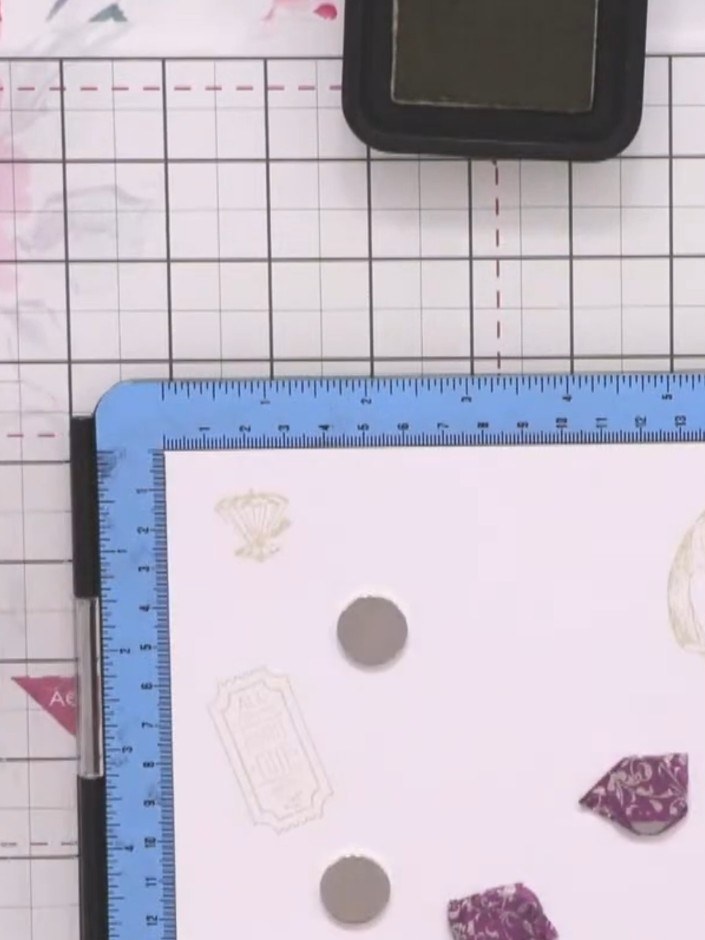
  2. Using the same pale gold ink, stamp the steampunk images multiple times across the white background. Vary the placement to create a layered, faded effect with the images overlapping. ▶ watch 45:15
  3. Step 3: Allow the ink to dry between applications to build up the vintage, aged appearance. Continue stamping and laye

    Allow the ink to dry between applications to build up the vintage, aged appearance. Continue stamping and layering the steampunk images across the white cardstock, varying the ink colours and stamp positions to create depth and interest.

    ▶ watch this step (45:45)
  4. Layer your steampunk images and sentiments on top of the prepared background card. Position the die-cut elements and stamped pieces to create your desired composition, building up the layers for dimension. ▶ watch 46:30

Tips from the show

More from this show

Written up from the show itself. See every guide from our shows · free how-to guides · watch live on My Telly







