Give your friends £10 off their first order!
Refer a FRIEND








 Hidden GemsWed 18 Nov 10am
 The Thursday DropThu 19 Nov 6pm
 The Friday Final CutFri 20 Nov 10am
Prices change straight away. Every language is our own translation, not Google.
A project from our live show MY PODCAST - Catch my latest updates broadcast 30th March 2026 · 30/03/2026
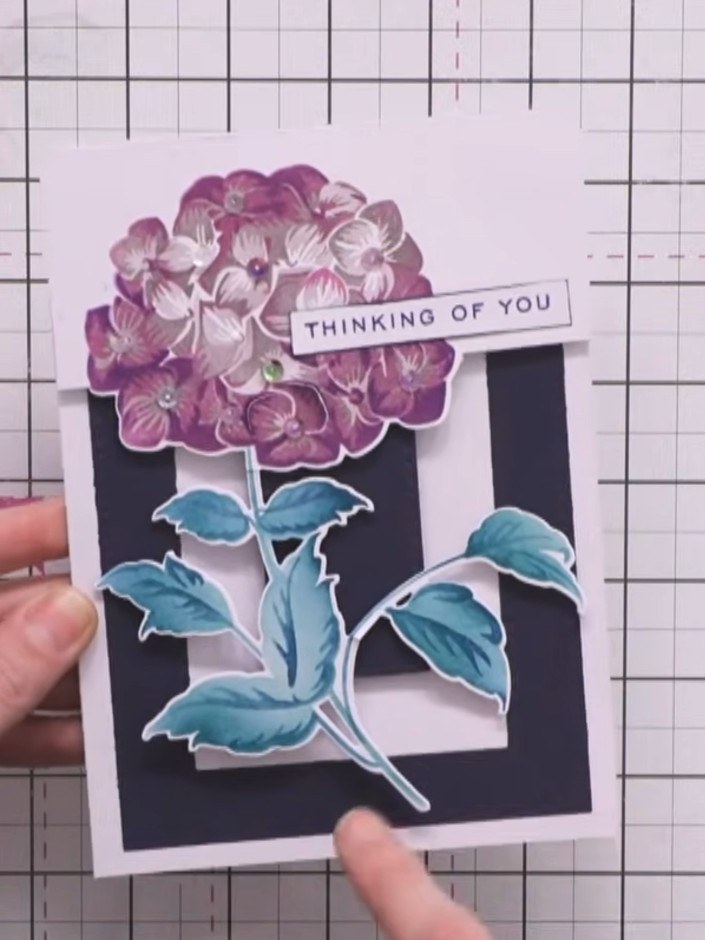
Create a stunning dimensional card featuring a layered hydrangea flower with a beautiful purple bloom and teal foliage. This elegant design combines partial die-cutting with stencilling techniques to create a nested frame effect, with the flower appearing to bloom through a dark aperture. The 'Thinking of You' sentiment completes this sophisticated handmade card perfect for any occasion.
 1
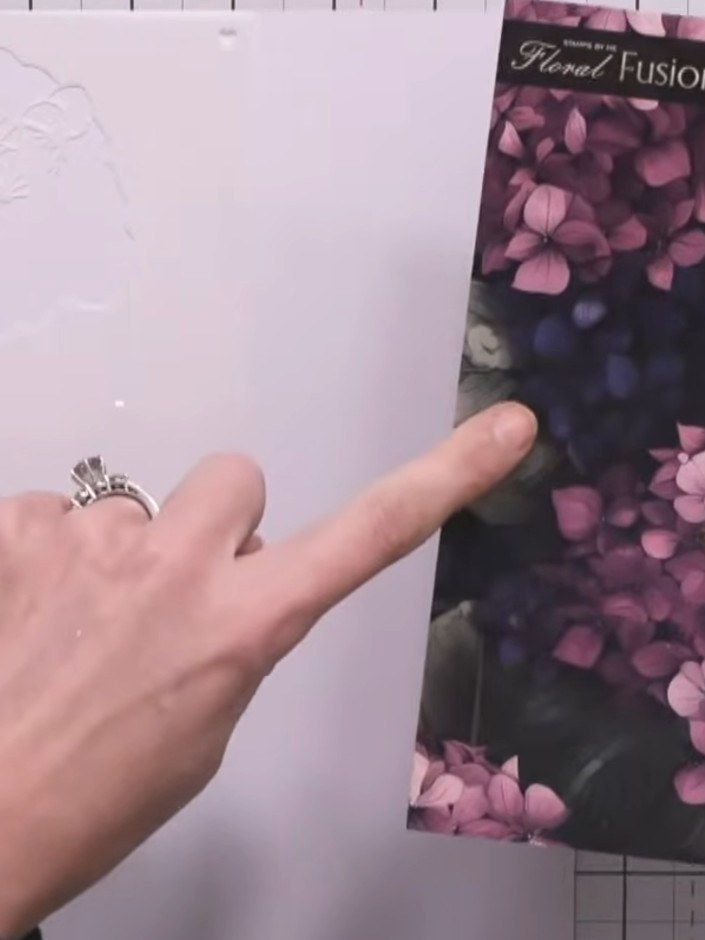
Gather your materials: a Floral Fusion stencil and die set (such as hydrangea design), white card stock, and navy card stock. Place these items on your craft mat ready for use.
 2
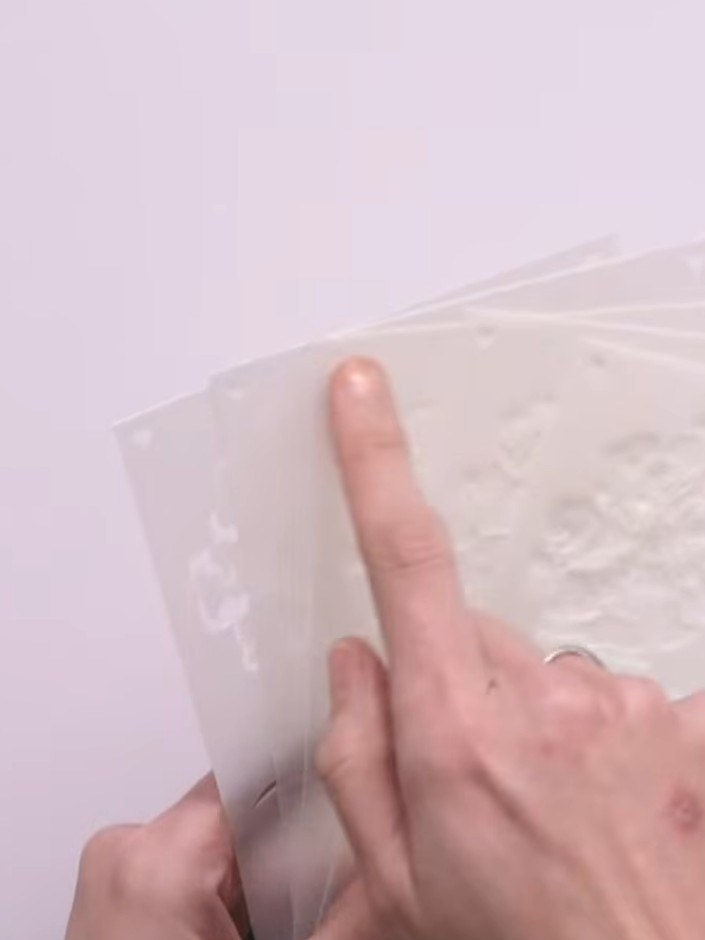
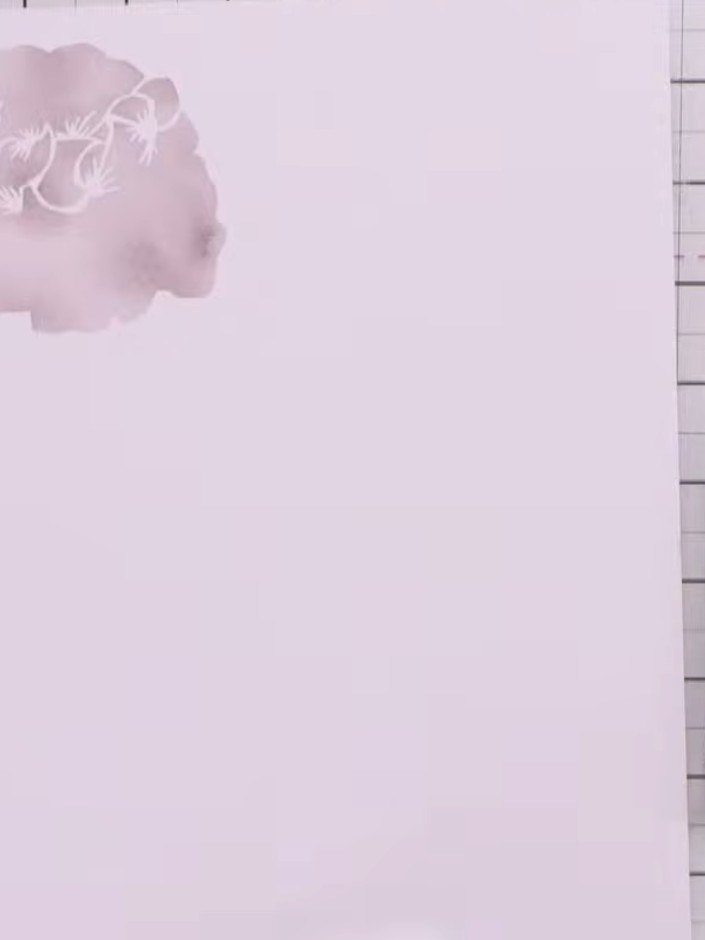
Position stencil number one in the corner of your A4 card base for alignment. Using a blending brush, lightly apply ink across the stencil to create the first colour layer.
 3
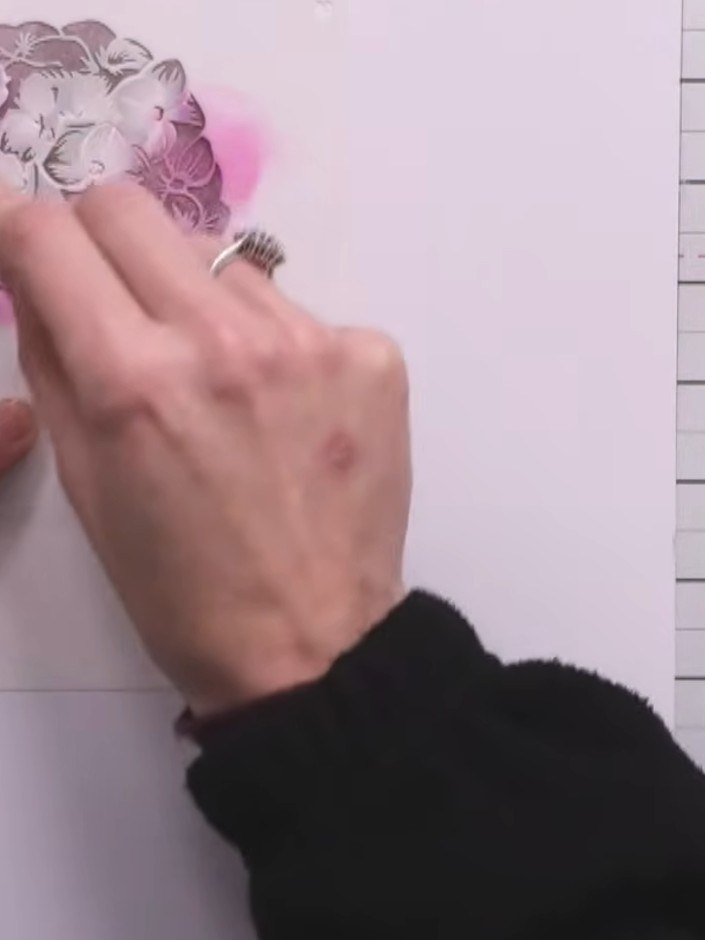
Position the second stencil over the stamped flower image, aligning it carefully. Apply the next layer of pink ink using a blending tool, building up the colour and depth of the hydrangea gradually.
 4
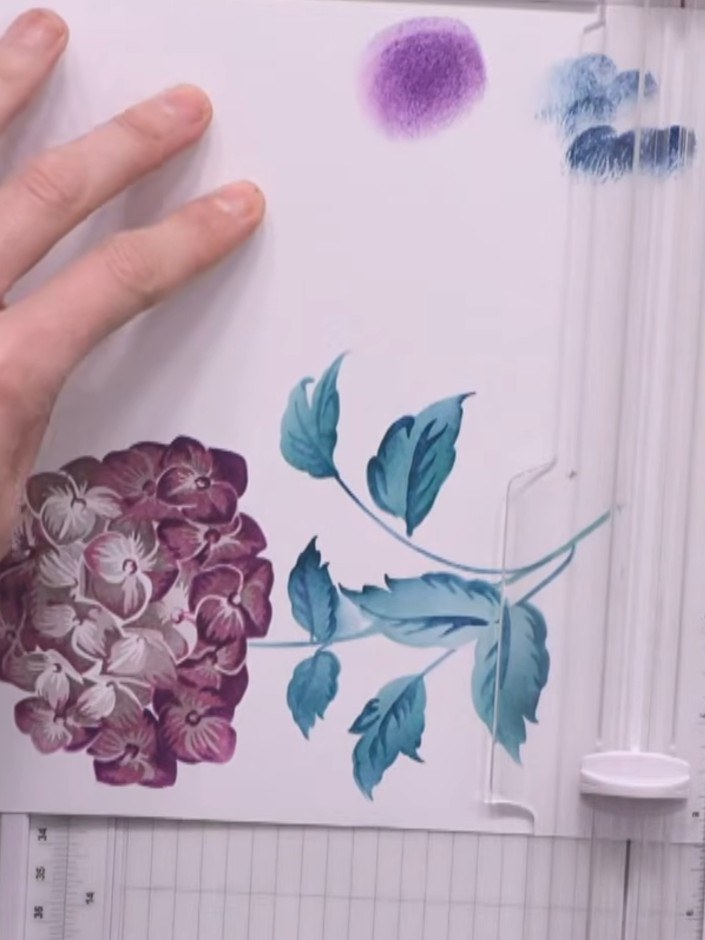
Continue layering with stencils three, four and five, using different ink colours to build depth and dimension. Vary your colours from light heather tones to deeper purples, and add teal shades for the leaves to create a realistic hydrangea effect.
 5
Once the stencilled image is complete, trim the card to size using a ruler and pencil to mark a straight cutting line.
 6
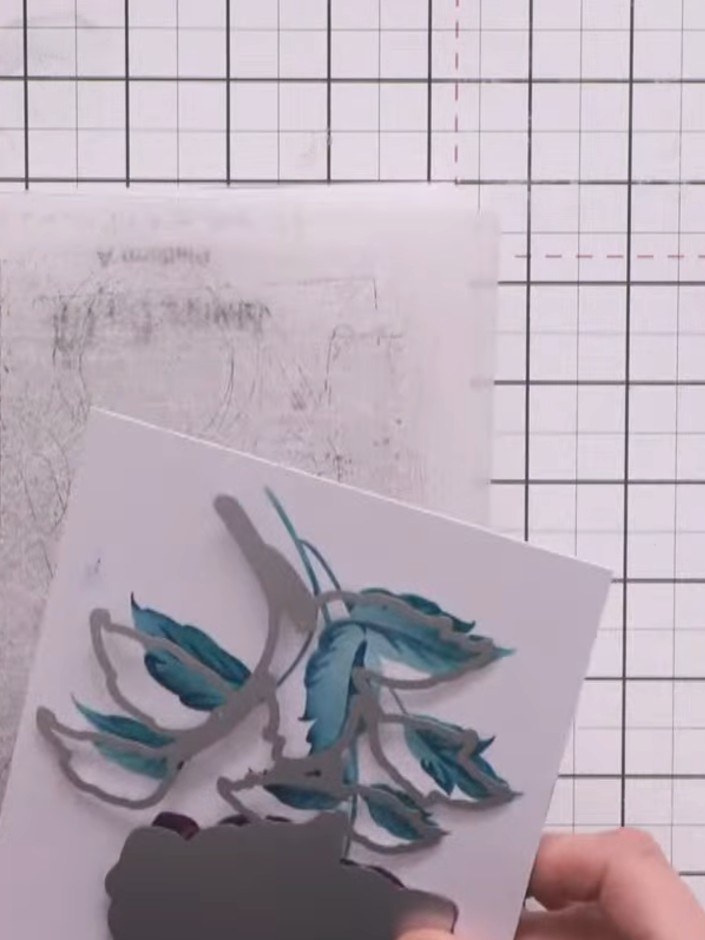
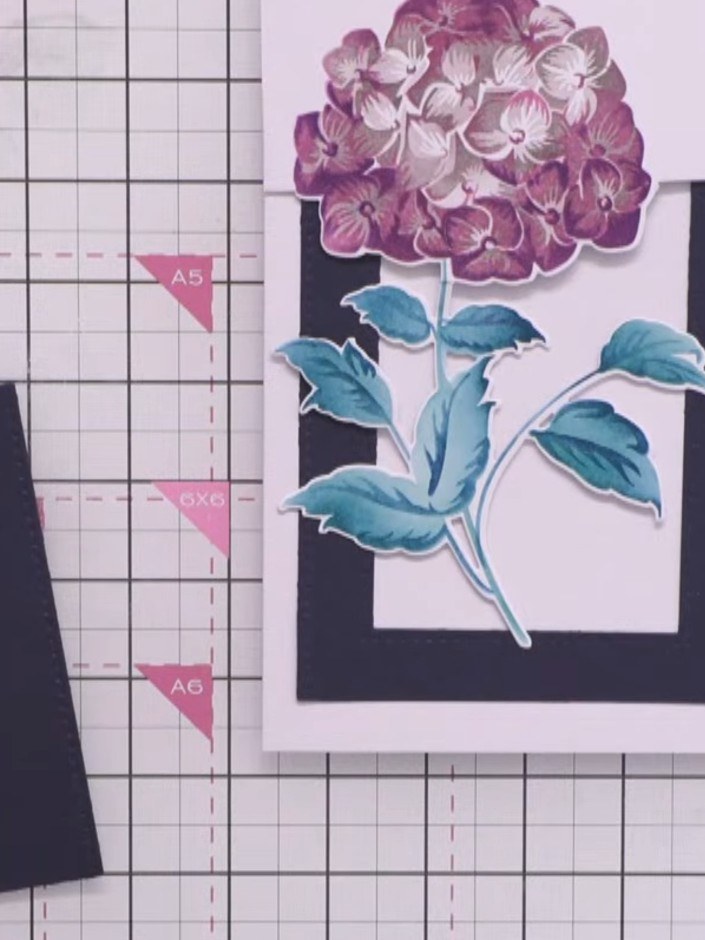
Use the largest waste-free die to cut the stencilled image from navy card stock. Nest the next size die inside to create a double frame effect.
 7
Adhere the largest black die-cut frame to your card base. Layer the smaller black die-cut frame on top to create a nested frame effect that grounds the hydrangea image.
 8
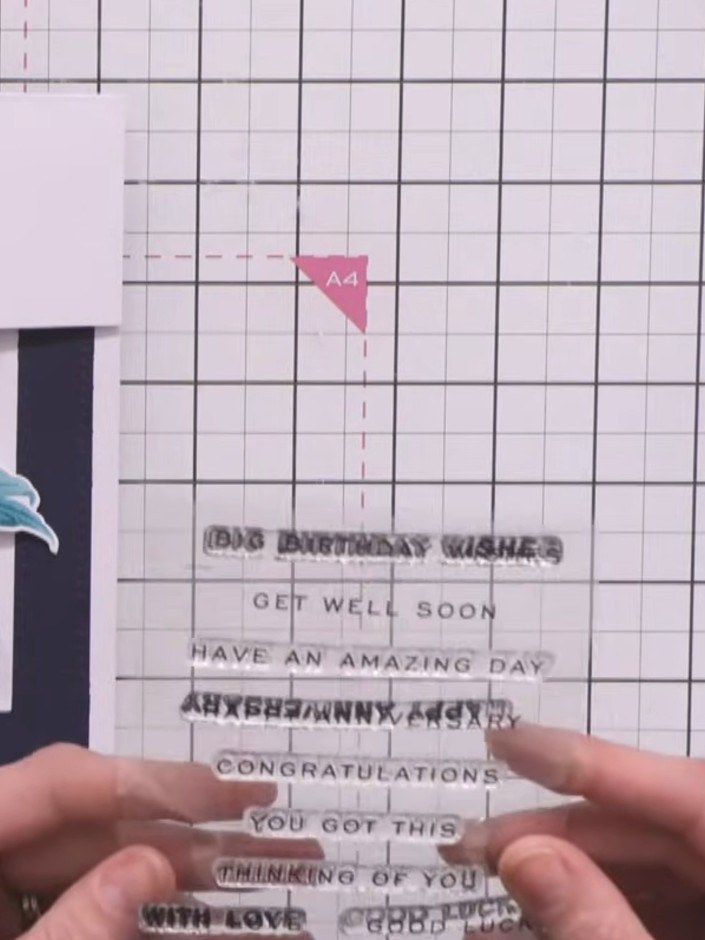
Stamp a sentiment such as 'Thinking of you' onto a small strip of white card stock using navy ink. Trim the strip neatly with scissors to create a sentiment banner for your card.
 9
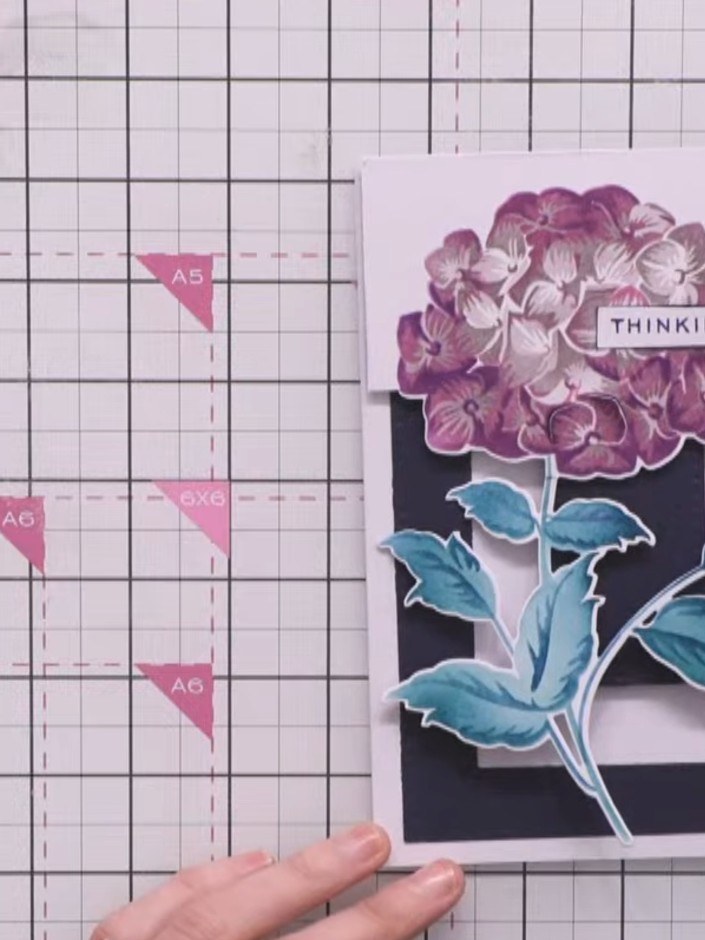
Adhere the 'THINKING OF YOU' sentiment to the top of the purple hydrangea flower using foam pads or adhesive. Position it centrally across the flower head for best effect.
 10
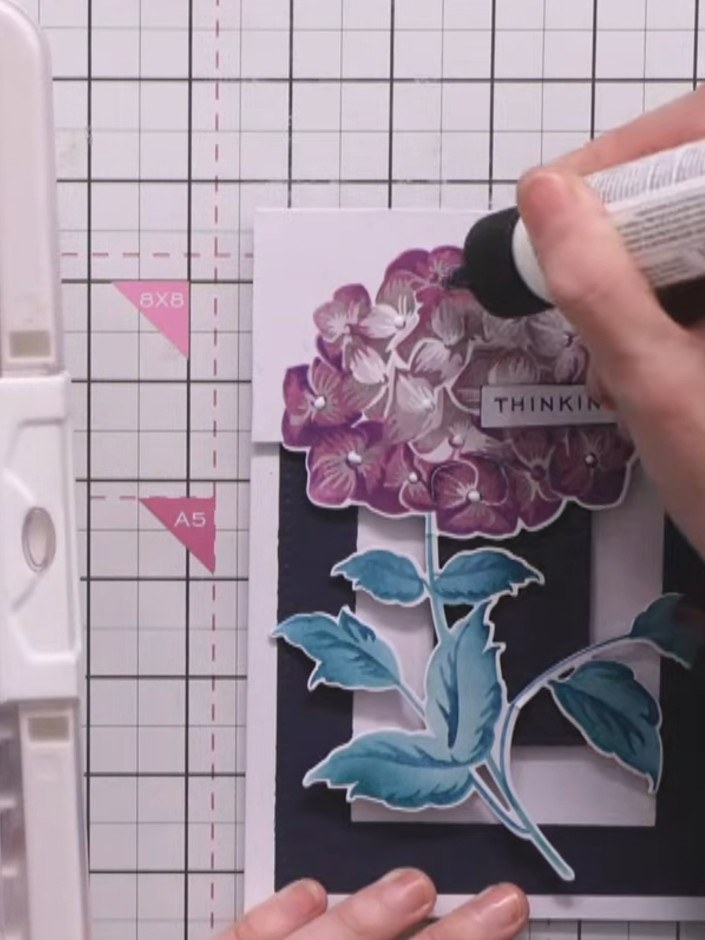
Apply small sequins or sparkles to the centres of the hydrangea flowers using a glue pen to add sparkle and dimension to your card.
Share your make with the Stamps By Me community - and keep this guide for next time.
Written up from the show itself. See every guide from our shows · free how-to guides · watch live on My Telly · the previous layout