Give your friends £10 off their first order!
Refer a FRIEND








 Hidden GemsWed 18 Nov 10am
 The Thursday DropThu 19 Nov 6pm
 The Friday Final CutFri 20 Nov 10am
Prices change straight away. Every language is our own translation, not Google.
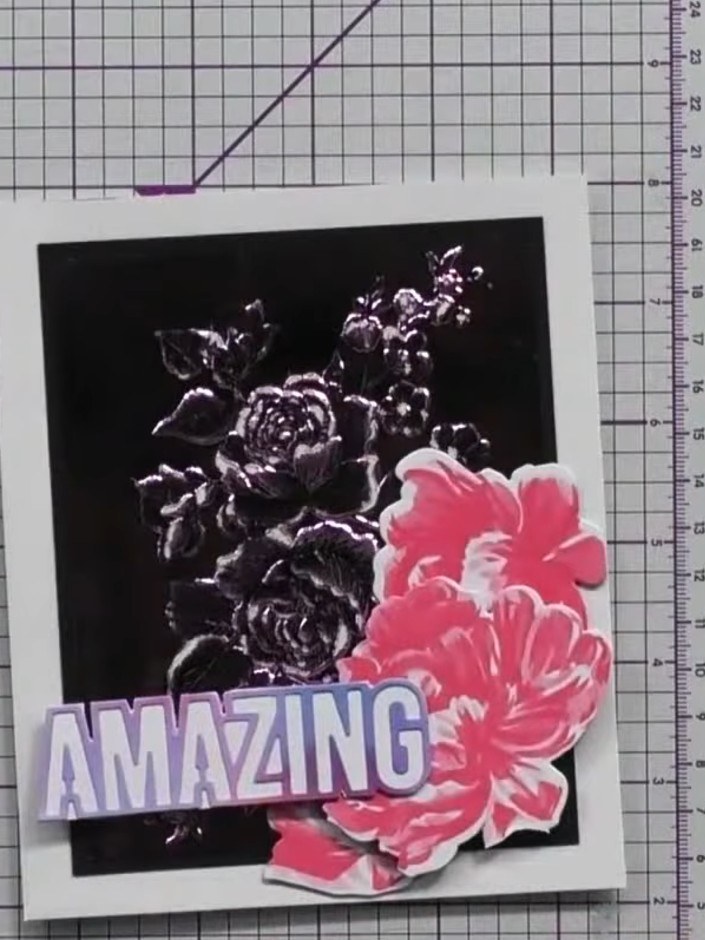
A project from our live show HOBBYMAKER TV - Join us for the latest show - Broadcast 3rd April 2026 · 03/04/2026
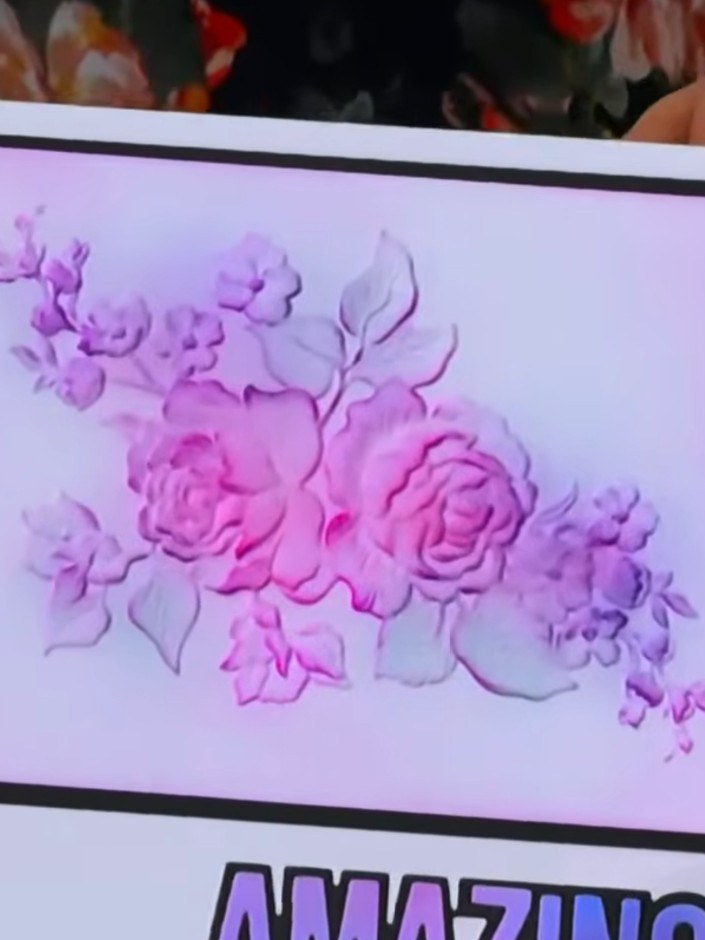
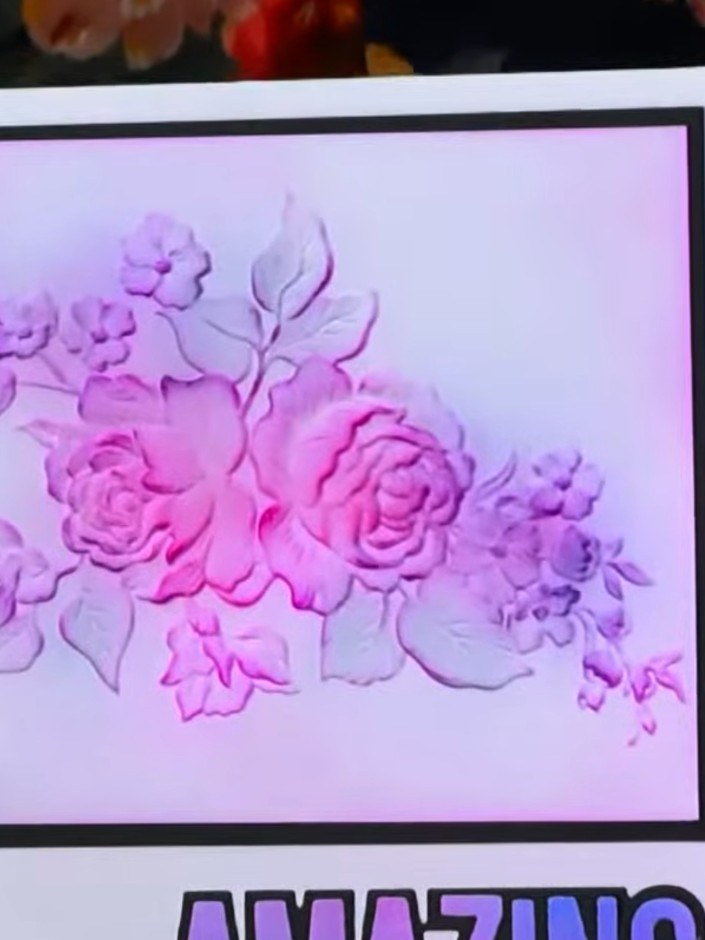
Create an elegant embossed card with a dimensional floral design brought to life through brush ink blending. Multiple ink colours are applied directly to the embossed surface, building up layers of colour for a soft, artistic finish. This technique transforms a simple white embossed card into a sophisticated piece with depth and visual interest.
 1
Emboss a piece of white card using the embossing folder. Run it through your die-cutting machine to create the raised floral design.
 2
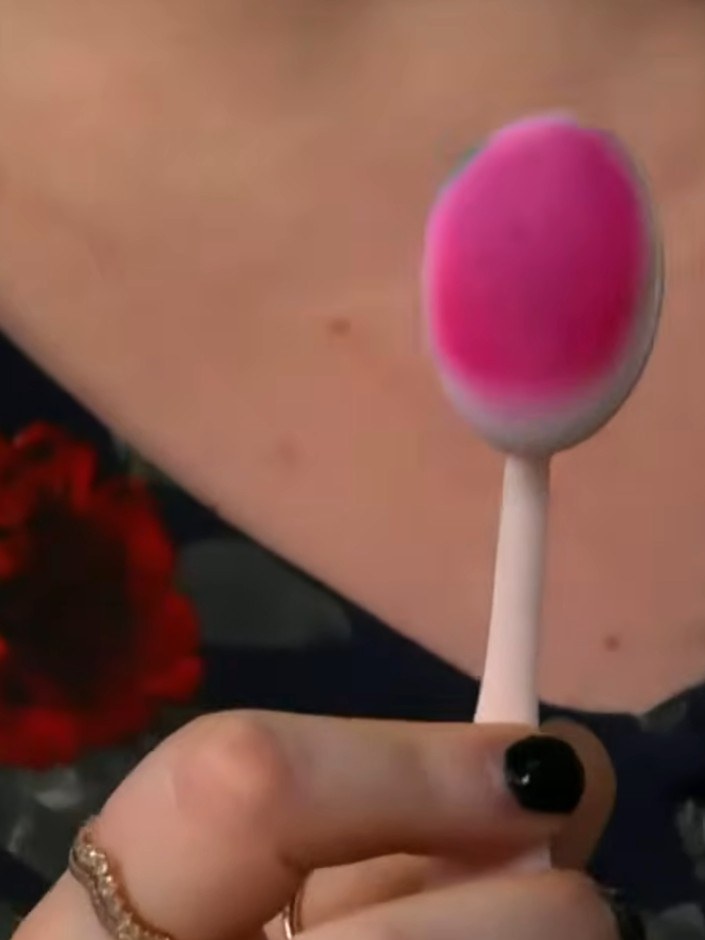
Gather several used or inky brushes that contain leftover ink from previous projects. These will be used to create the background colour on your card.
 3
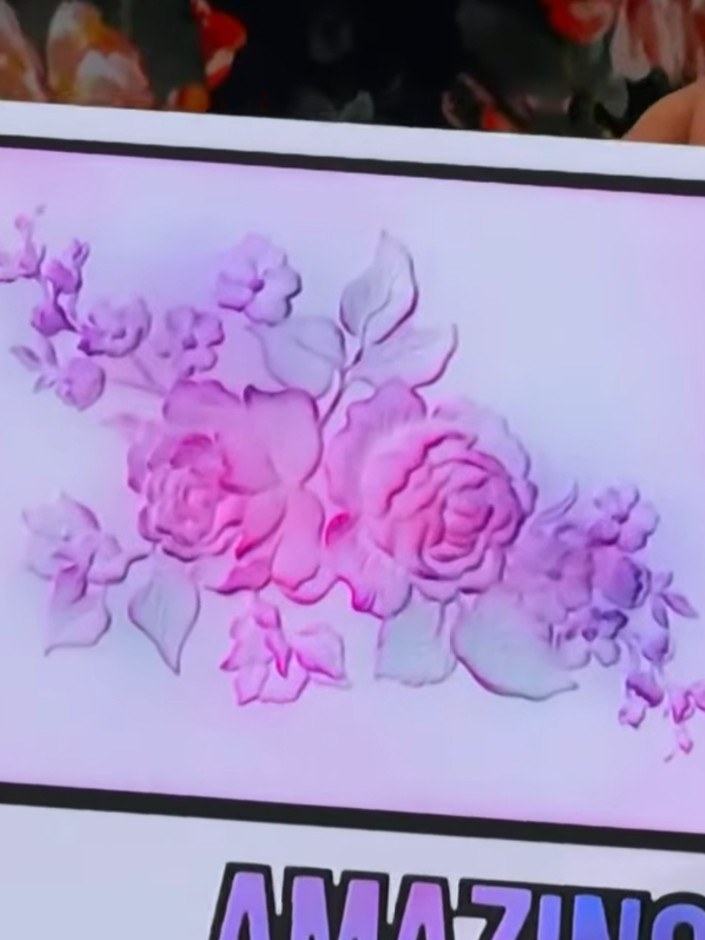
Rub the brushes across the embossed card surface, allowing the pink and purple ink colours to blend together naturally. Work the colour into the raised floral design, creating darker tones in the recessed areas.
 4
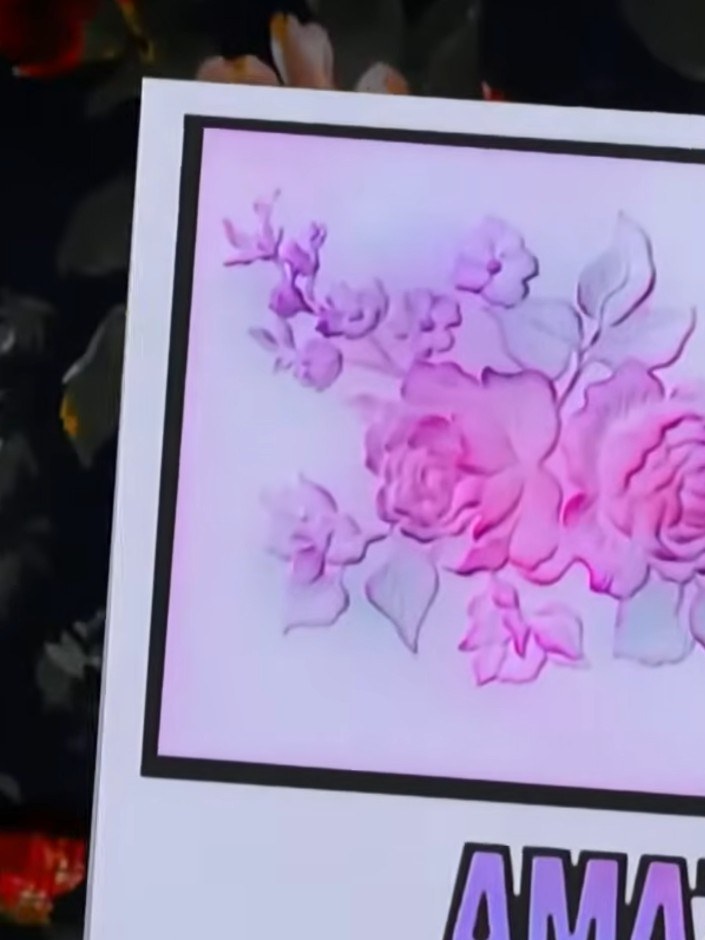
Using a darker ink, carefully apply colour to the raised embossed areas of the floral design. This will create depth and highlight the texture of the embossing. Focus on the roses and leaves to make them stand out.
 5
Continue building up the colour by repeating the brush technique with additional ink colours. Layer the colours gradually, working from lighter to darker shades to create depth and dimension on your embossed design.
 6
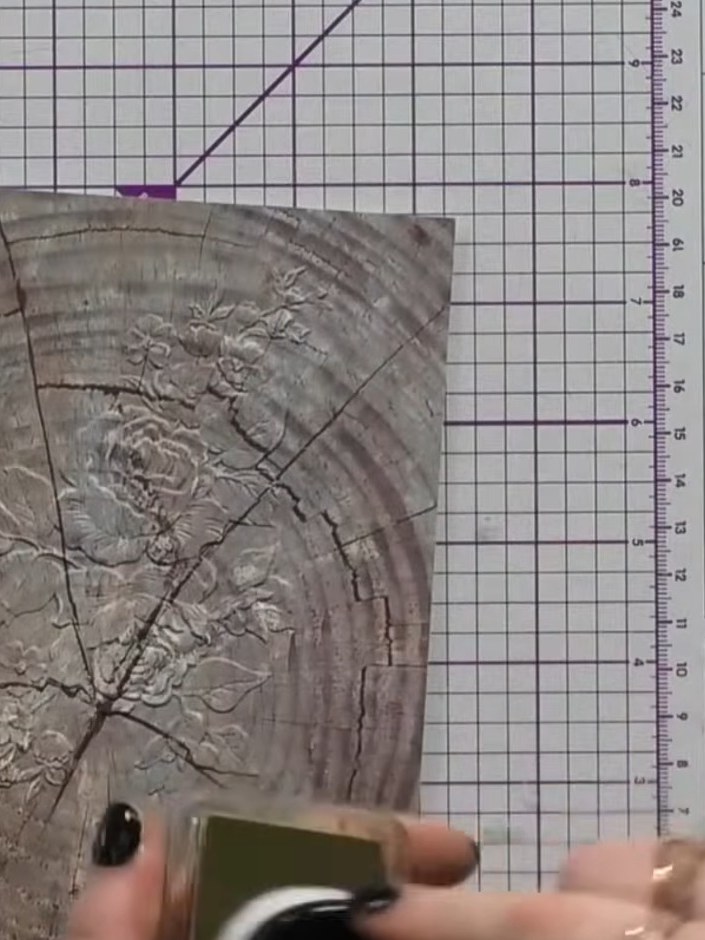
Apply white ink to the embossed card using a dauber or sponge, gently working it over the raised design. This will highlight the embossed detail and create contrast against the background.
 7
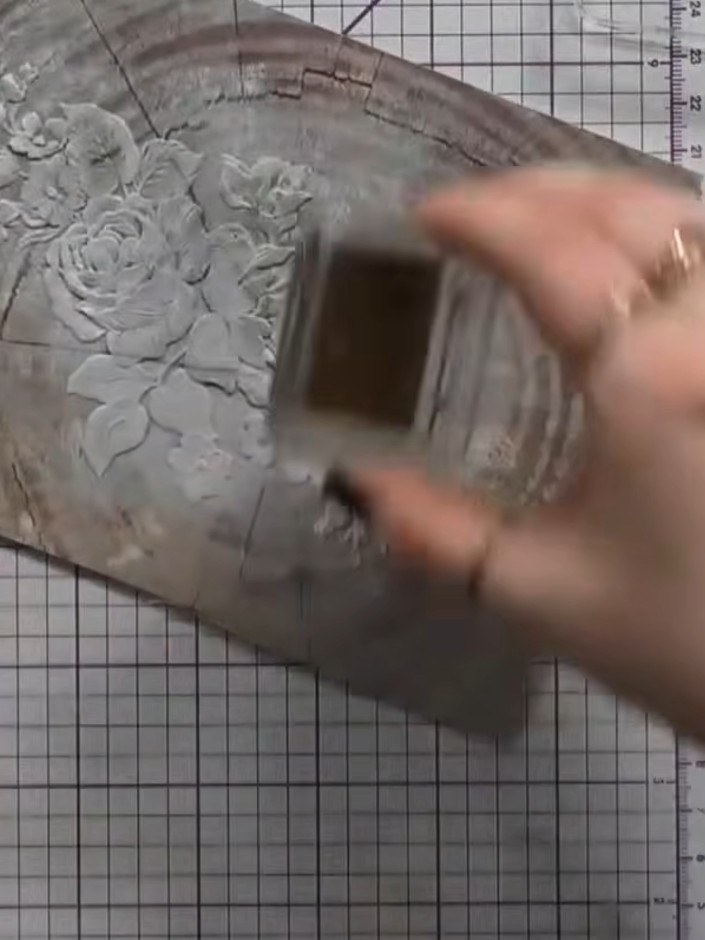
Apply metallic ink in bronze or gold over the white embossed areas using a sponge applicator. Build up the colour gradually to add shimmer and definition to the raised floral design.
Share your make with the Stamps By Me community - and keep this guide for next time.
Written up from the show itself. See every guide from our shows · free how-to guides · watch live on My Telly · the previous layout