Give your friends £10 off their first order!
Refer a FRIEND








Prices change straight away. Every language is our own translation, not Google.
A project from our live show THE THURSDAY DROP - Latest Products from Toni - Broadcast 10th September 2026 · 10/09/2026
Create a delightful freestanding gnome card using layering dies in festive Christmas colours of red and green. This charming project demonstrates how Halloween-themed dies can be cleverly repurposed for the festive season. The technique involves die-cutting multiple layers and assembling them to create a dimensional, self-standing card perfect for Christmas greetings.
 1
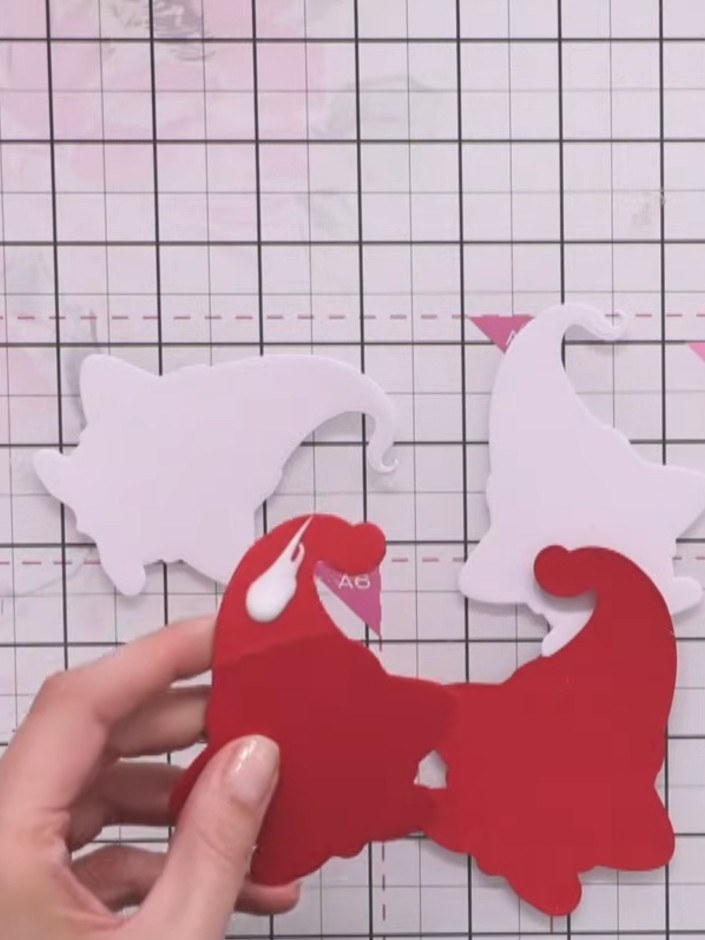
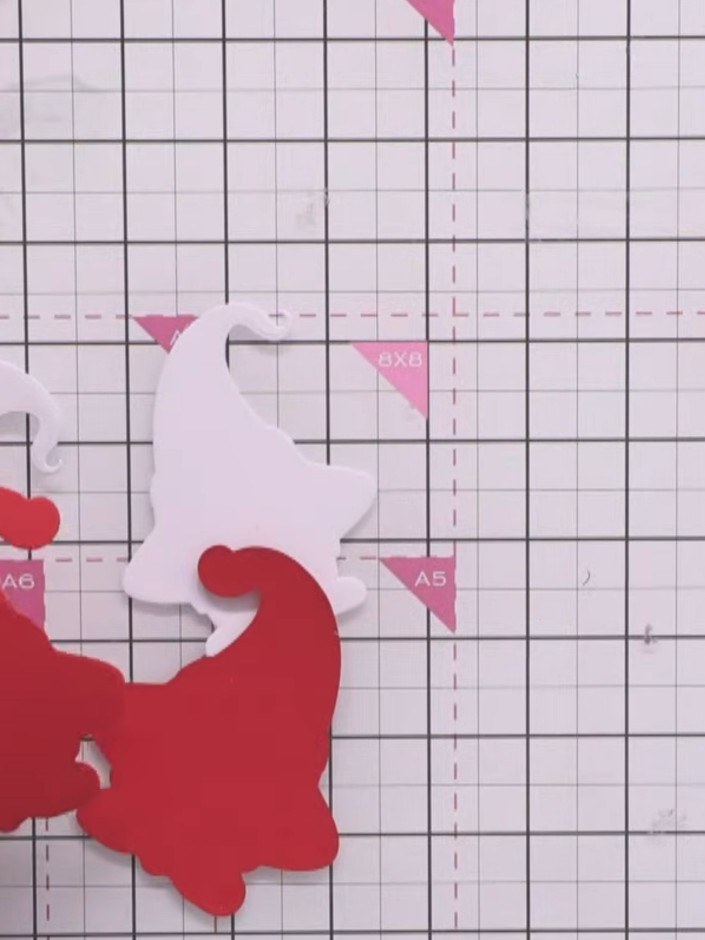
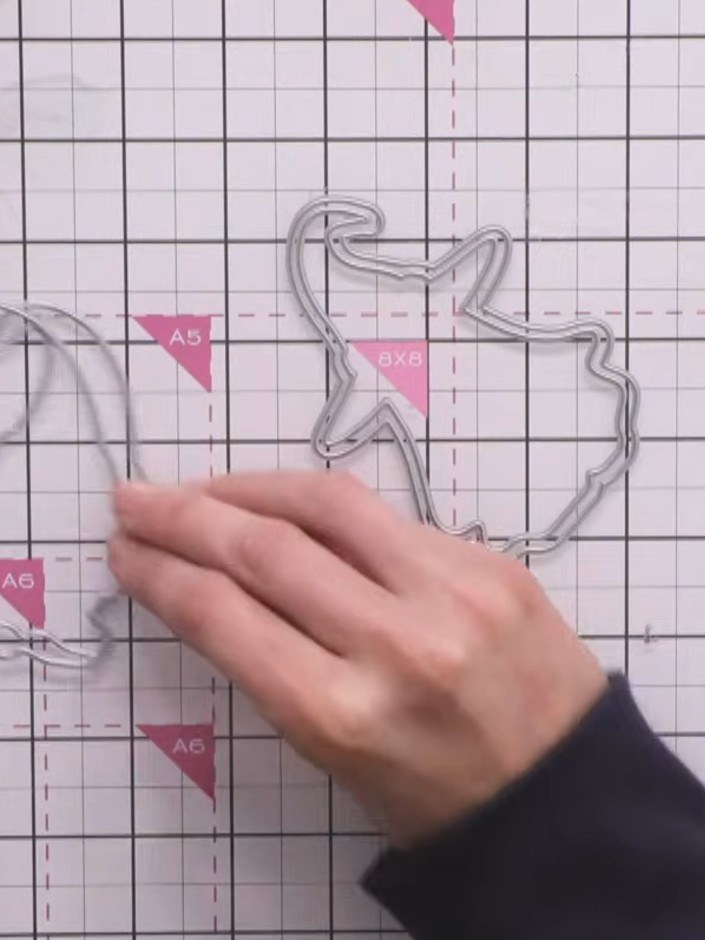
Cut the gnome outline die twice from red card to create the front and back of the freestanding card.
 2
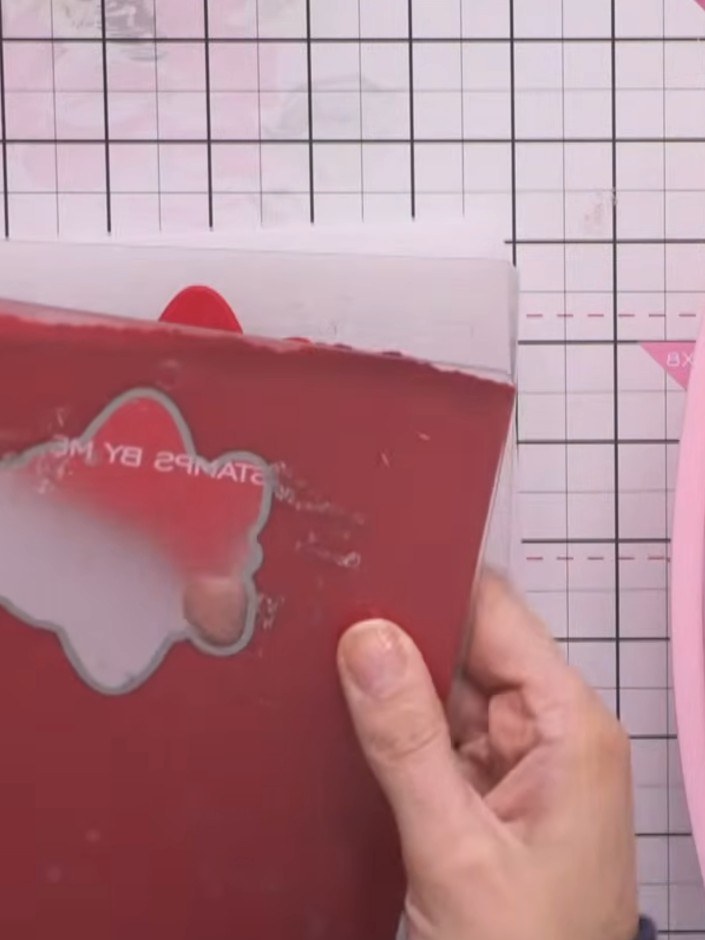
Cut the gnome's beard detail from white card using the die-cutting machine. This will create the decorative beard element for your Halloween gnome. Cut the gnome's hat belt detail from green card using the die template.
 3
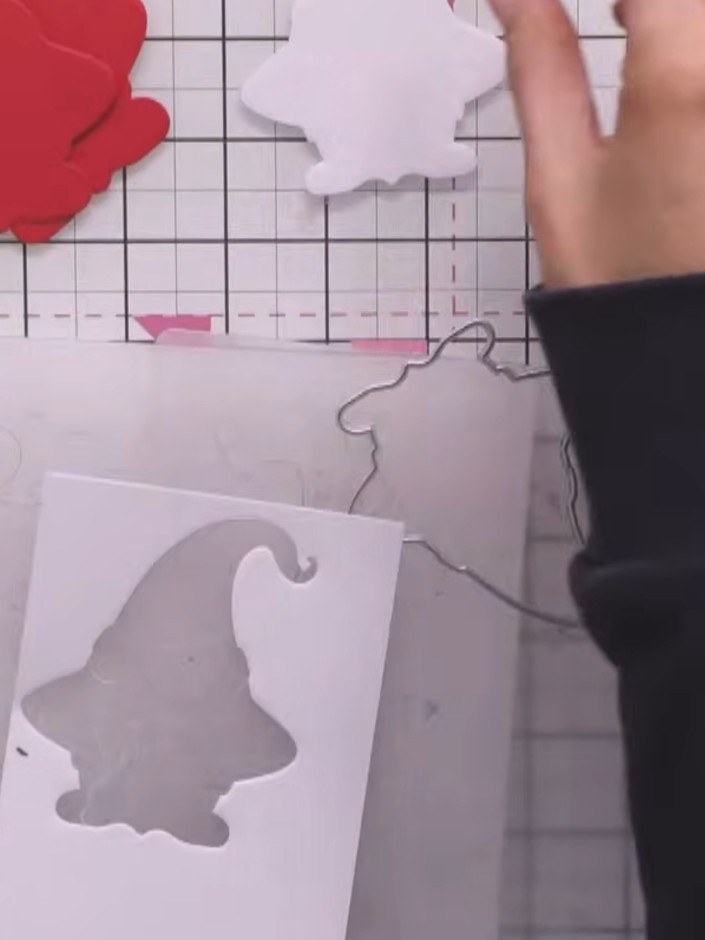
Using a very light grey ink, gently blend around the edges of the white beard and hat belt on the gnome to add subtle shading and dimension.
 4
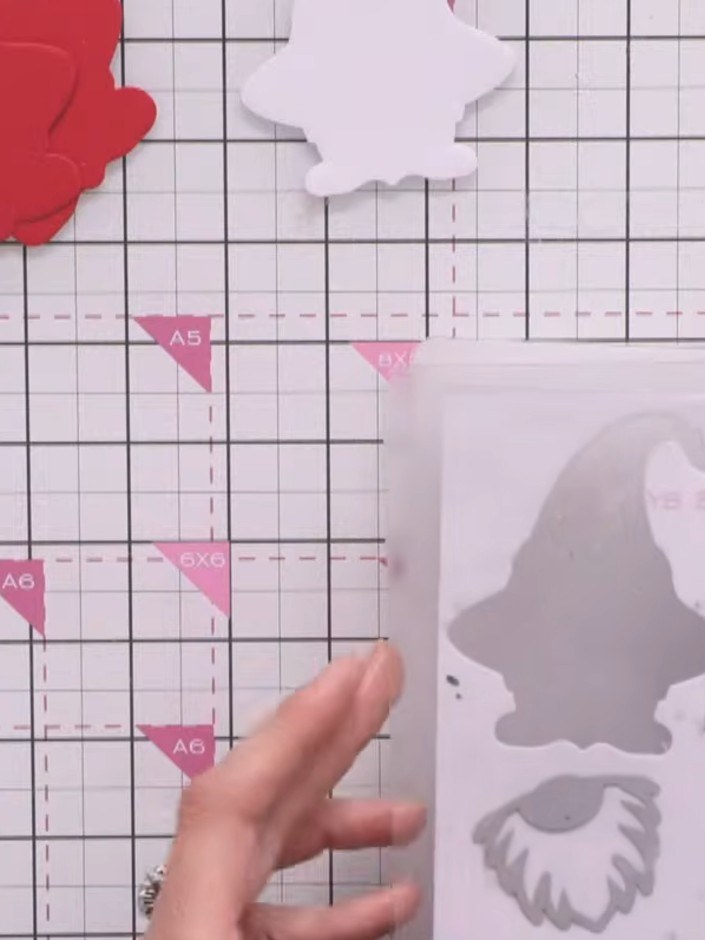
Layer the beard and hat belt details onto the red gnome outline. Position the beard piece at the bottom and the belt across the middle of the hat to complete the gnome assembly.
 5
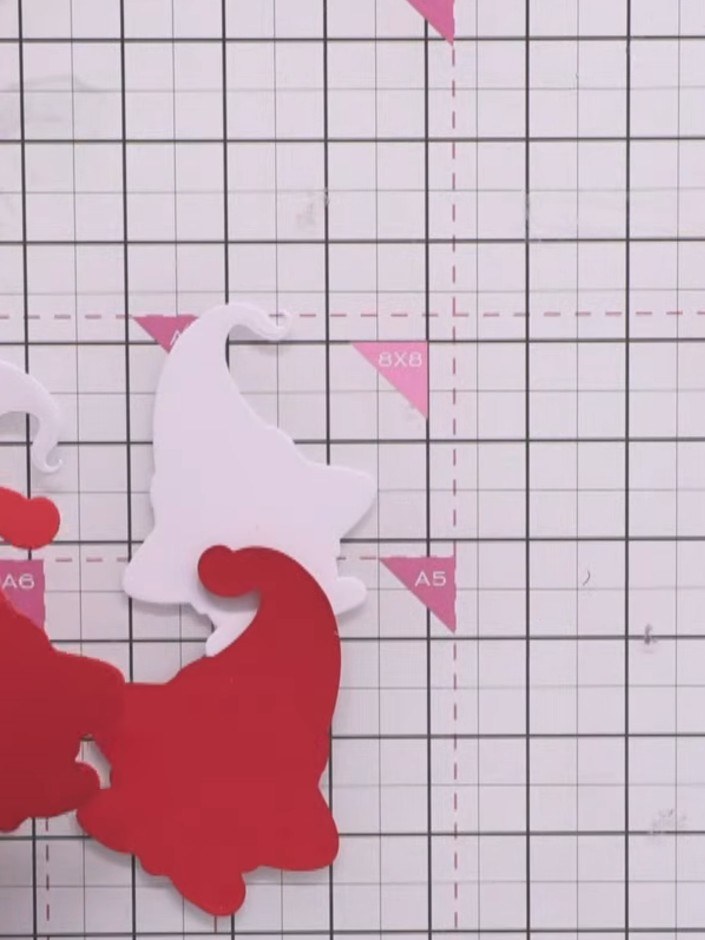
Take the two red outline pieces and score them down the centre back. Fold each piece in half along the score line to create the freestanding structure for your gnome card.
 6
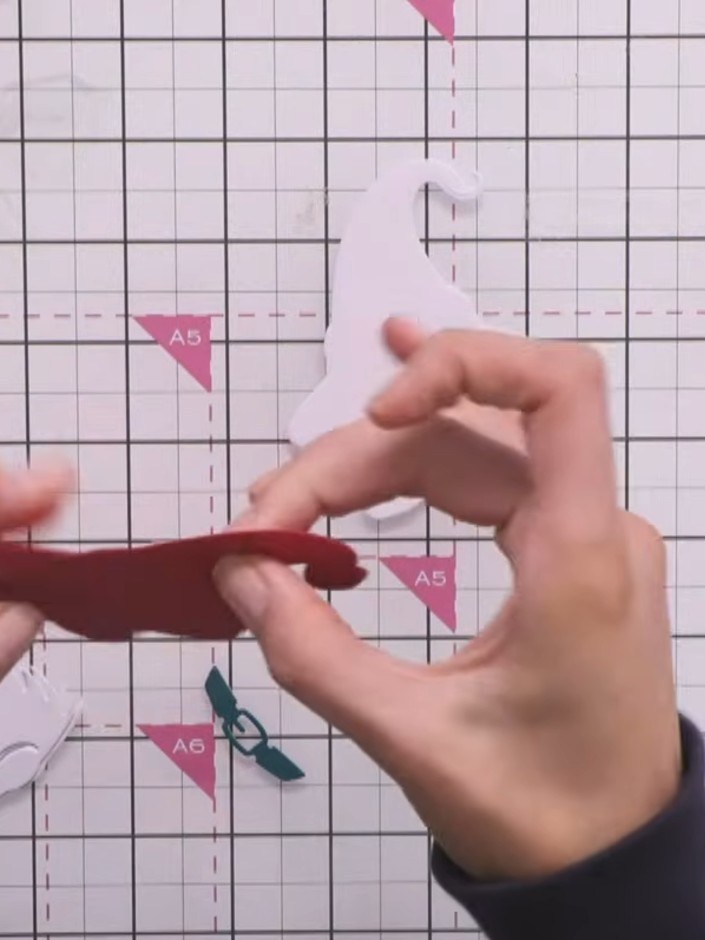
Align the two gnome halves together at the fold and glue them flush to create the freestanding structure.
 7
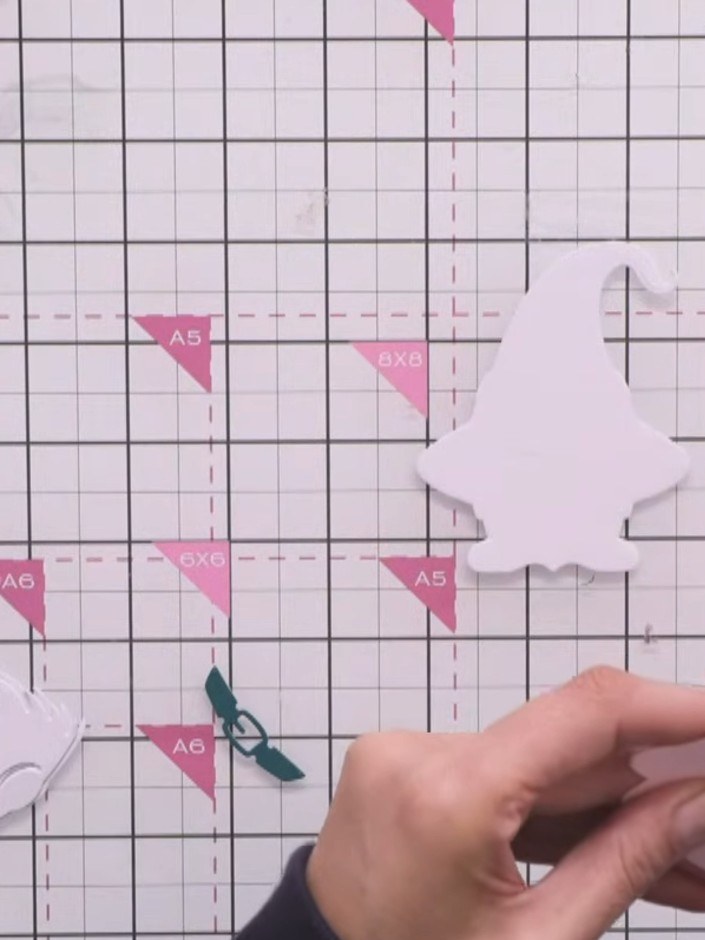
Attach a small ribbon bow to the back of the card using adhesive for a decorative finishing touch.
Share your make with the Stamps By Me community - and keep this guide for next time.
Written up from the show itself. See every guide from our shows · free how-to guides · watch live on My Telly · the previous layout