Give your friends £10 off their first order!
Refer a FRIEND








A project from our live show HOBBYMAKER TV - Join us for the latest show - Broadcast 2 p.m. (UK) 7th May 2026 · 07/05/2026 · watch it from 51:30
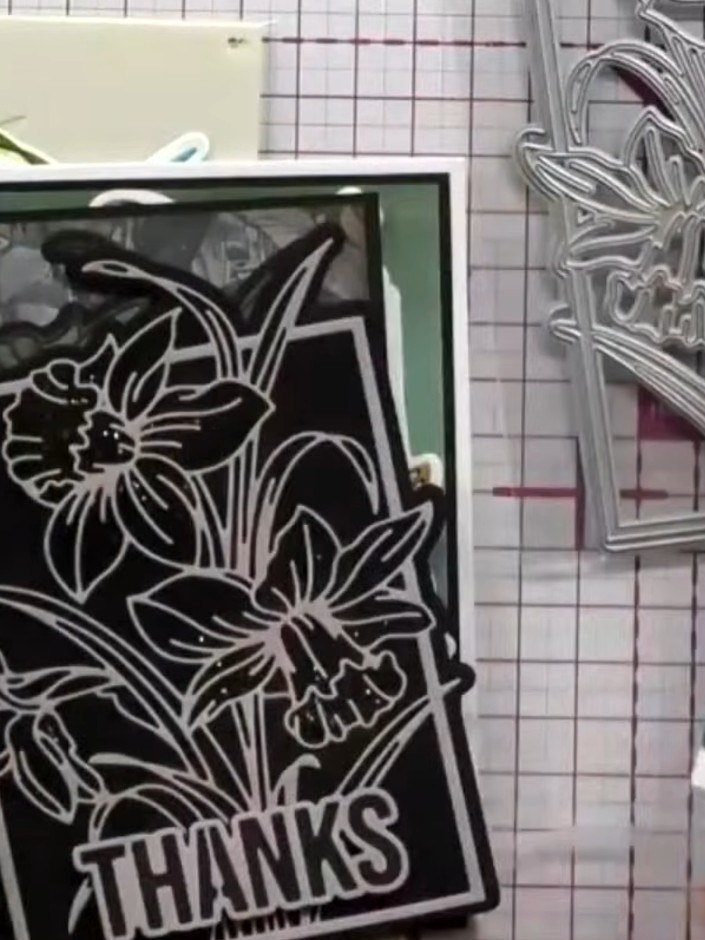
Create a stunning shaped daffodil card featuring beautiful stencil layering and die-cutting techniques. This project combines delicate floral imagery with dimensional effects, perfect for spring greetings or thank you cards. Layer vibrant or vintage-toned daffodils within an elegant frame to produce a truly eye-catching handmade card.
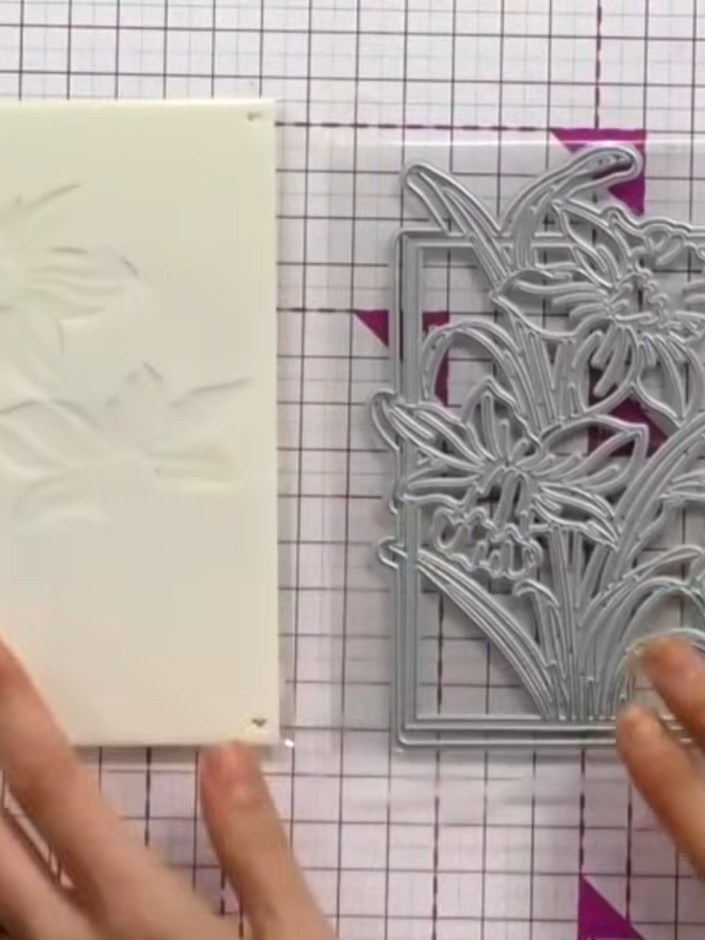
Prepare your card stock and use the Daffodil Stencil & Die set. Follow the numbered stencil system (1-8) to layer colours for the daffodil design, creating a vibrant floral image with yellow, orange and green tones.
▶ watch this step (51:30)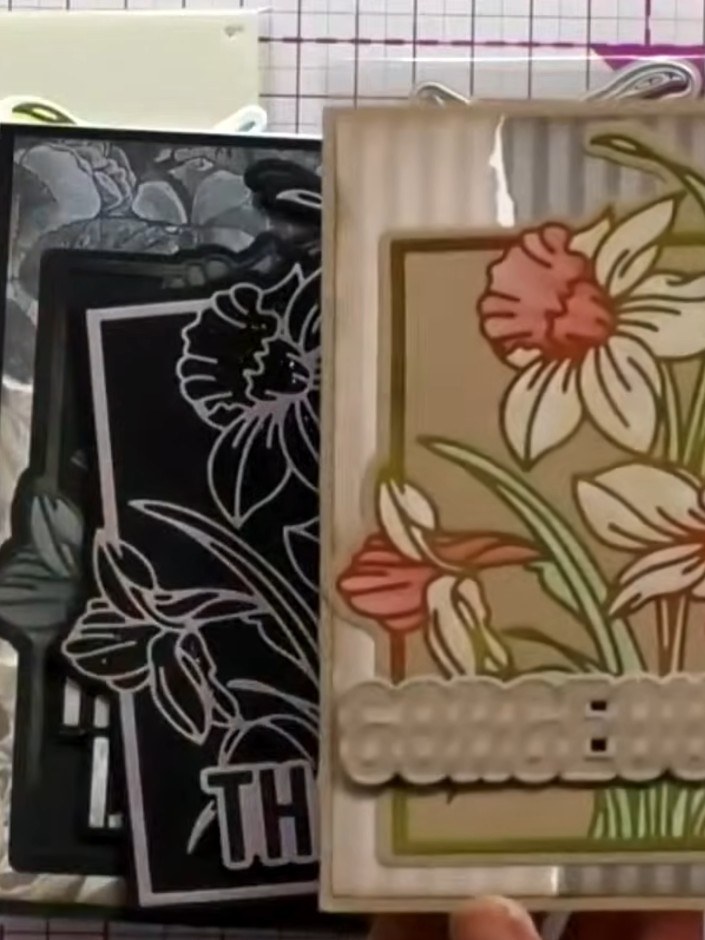
Use the first stencil to apply the base colour to your daffodil image. Progress through each numbered stencil in sequence, building up the layers of colour on the flowers and leaves.
▶ watch this step (52:00)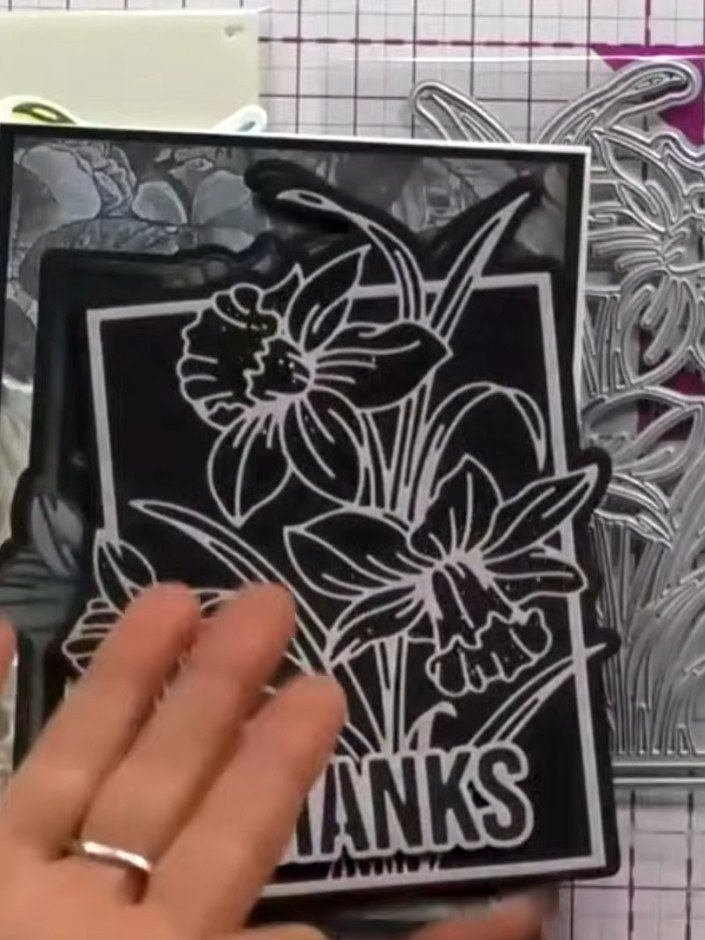
Use the large daffodil die to cut out the coloured and stenciled image. Position the die over the completed stencil work and run through your die-cutting machine to create the detailed daffodil shaped piece.
▶ watch this step (52:15)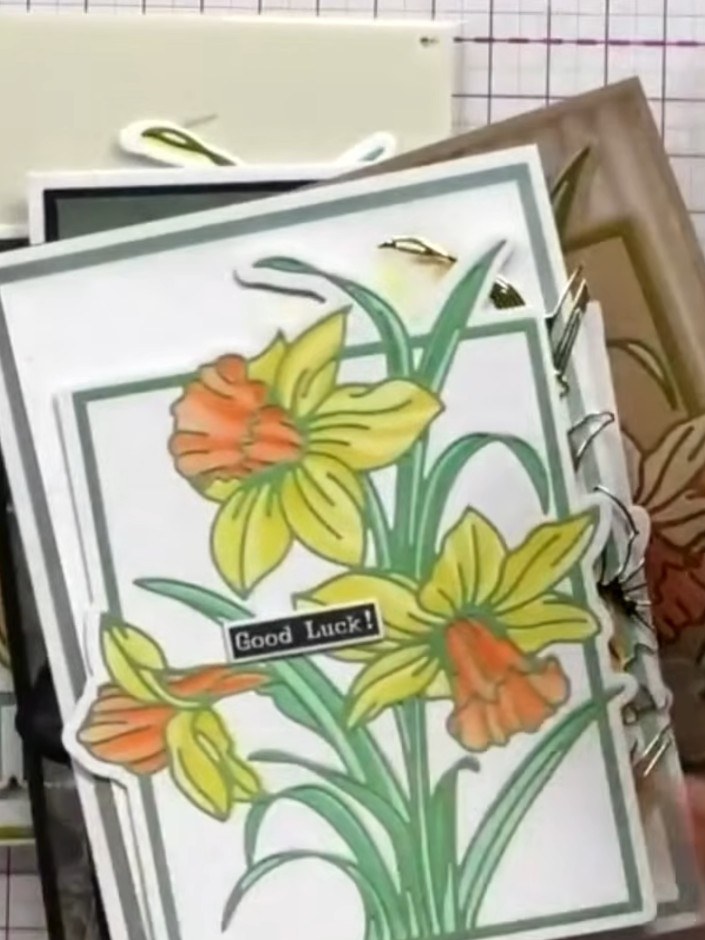
Use the exterior die from the Daffodil Stencil & Die set to cut the outer shape of your card. This creates a shaped card that will stand upright on a desk or surface.
▶ watch this step (52:30)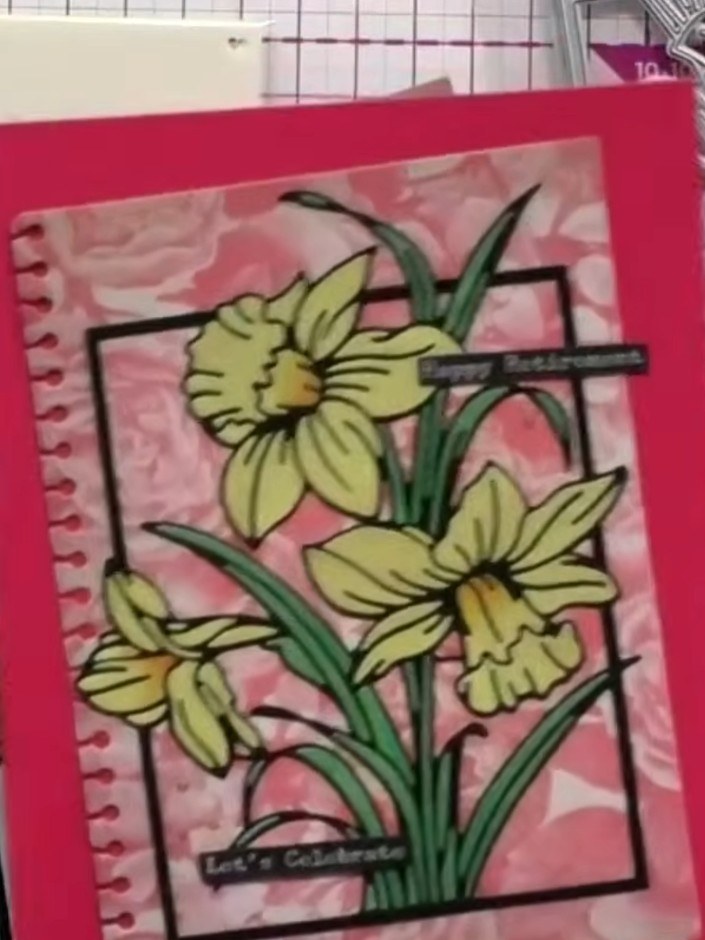
Mount the coloured daffodil panel onto a pink background card with a coordinating patterned paper insert. Position it centrally on the red card base to create a layered effect.
▶ watch this step (52:45)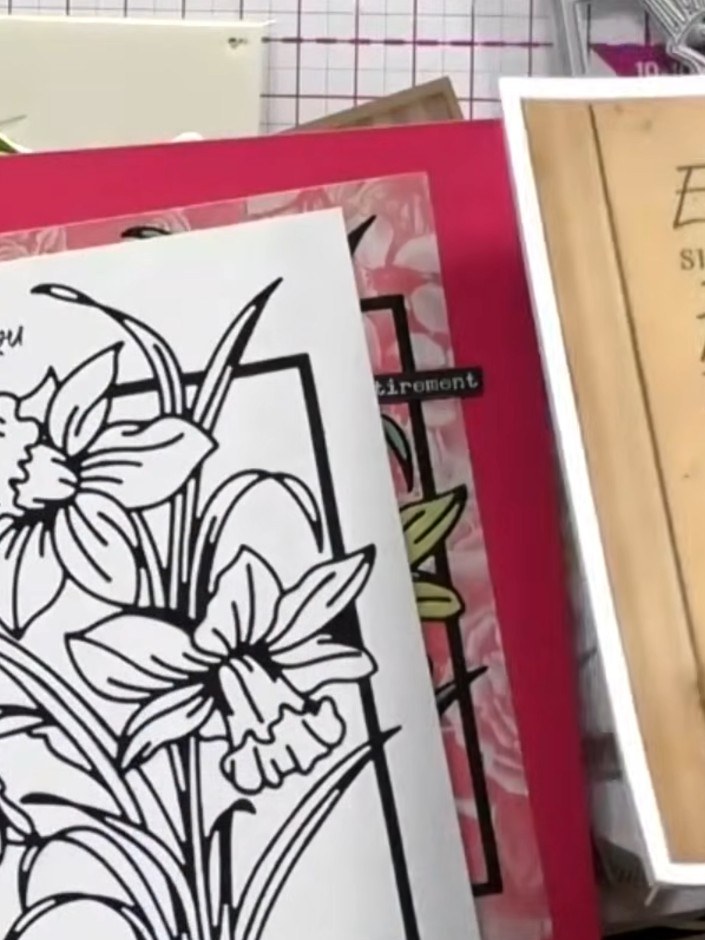
For a flat card design, use the daffodil stencils to create layered images without die-cutting. Layer the stencils on white cardstock and apply colour through them to build up the daffodil design, then add sentiment stamps.
▶ watch this step (53:00)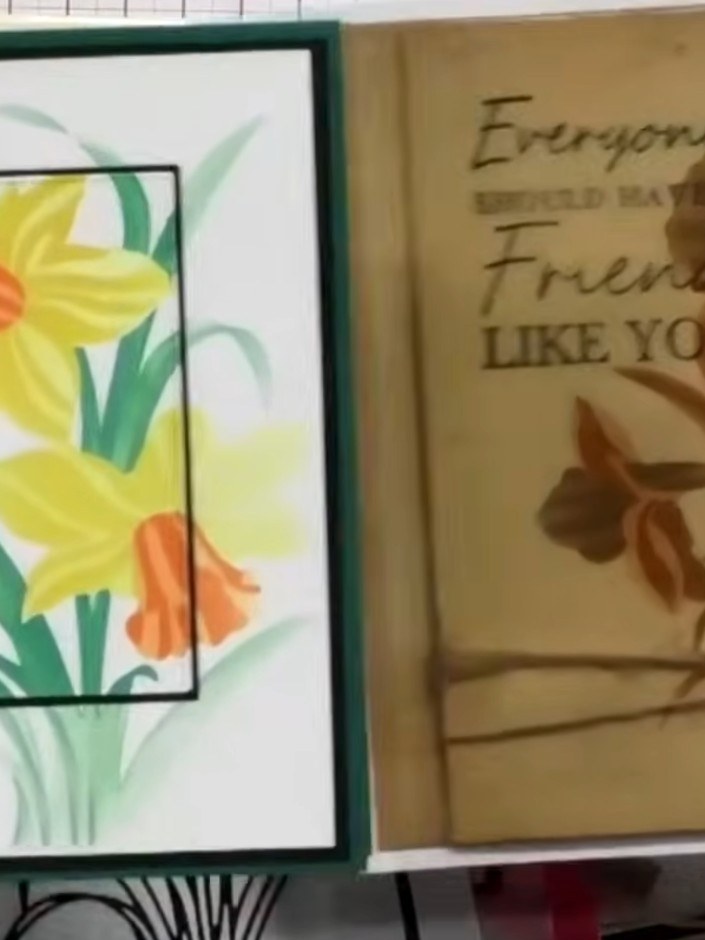
Apply 3D foam pads to the back of the coloured daffodil layers. Build up dimension by adhering the foam-mounted layers onto the card front, positioning them over the stamped outline.
▶ watch this step (53:15)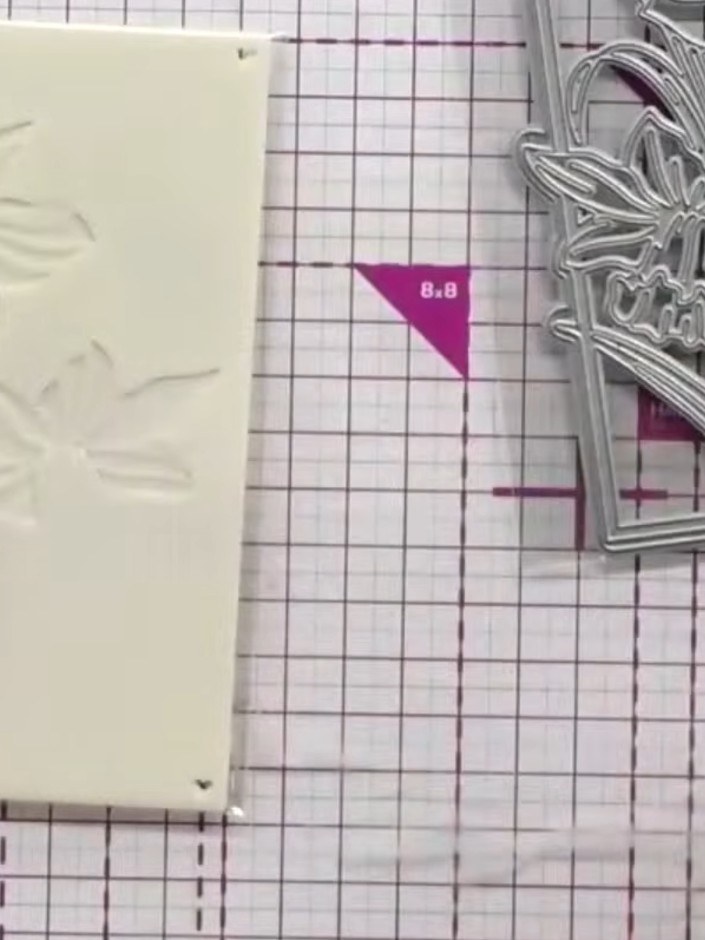
For a sparkly variation, apply glitter paste through the daffodil stencil onto cream cardstock instead of using the final detailed die-cut overlay. This creates a shimmering alternative finish to your shaped card.
▶ watch this step (53:30)Written up from the show itself. See every guide from our shows · free how-to guides · watch live on My Telly