Give your friends £10 off their first order!
Refer a FRIEND








 Hidden GemsWed 18 Nov 10am
 The Thursday DropThu 19 Nov 6pm
 The Friday Final CutFri 20 Nov 10am
Prices change straight away. Every language is our own translation, not Google.
A project from our live show HOBBYMAKER TV - Join us for the latest show - Broadcast 2 p.m. (UK) 7th May 2026 · 07/05/2026 · watch it from 47:30
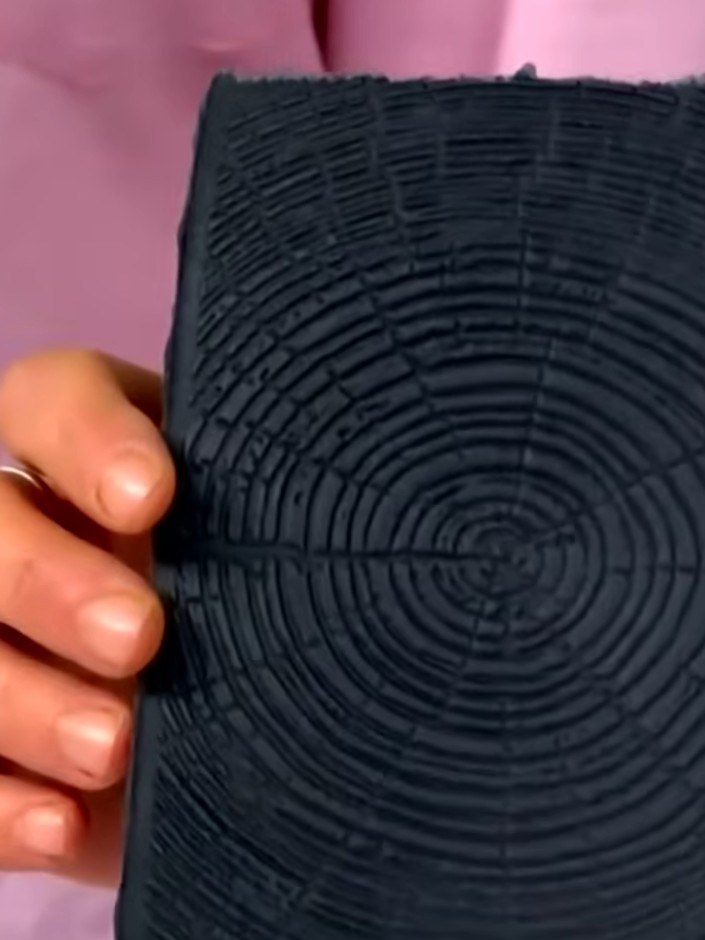
Create a beautiful wood-grain textured background using an embossing folder to add tactile depth to your cardmaking projects. This technique produces a striking black and white timber effect that works perfectly for rustic designs, masculine cards, or Christmas themes. The embossed pattern creates wonderful dimension that can be enhanced with inking or left natural for a clean, modern look.
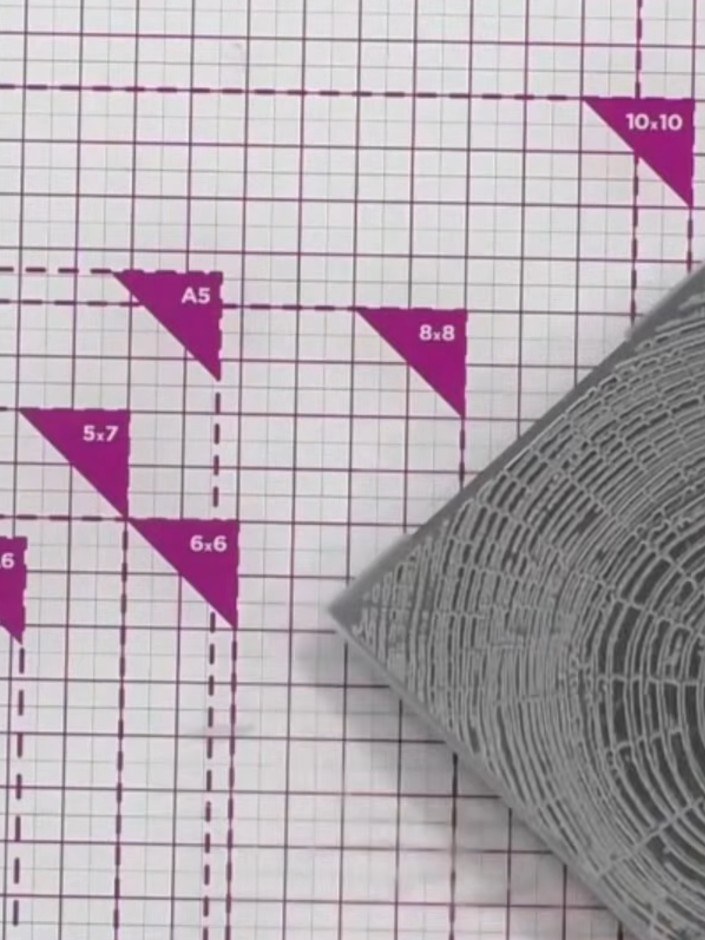
Take a piece of white or cream card stock and run it through your die-cutting machine with the Timber embossing folder to create a wood grain texture on the surface.
▶ watch this step (47:30)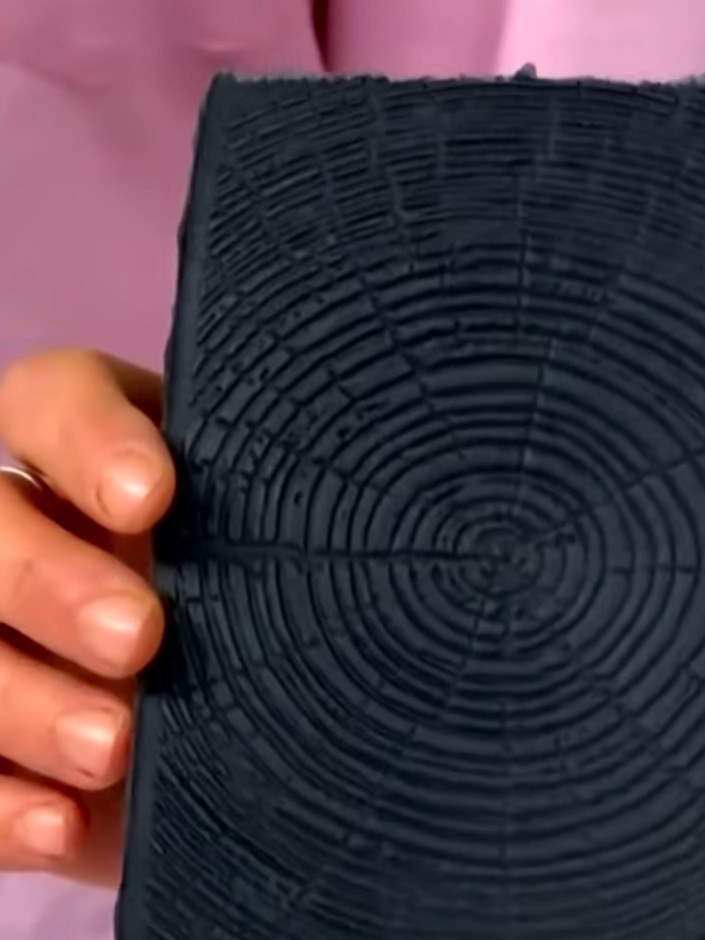
Swipe the embossed card with black ink using an ink pad to highlight the wood grain texture and detail.
▶ watch this step (48:15)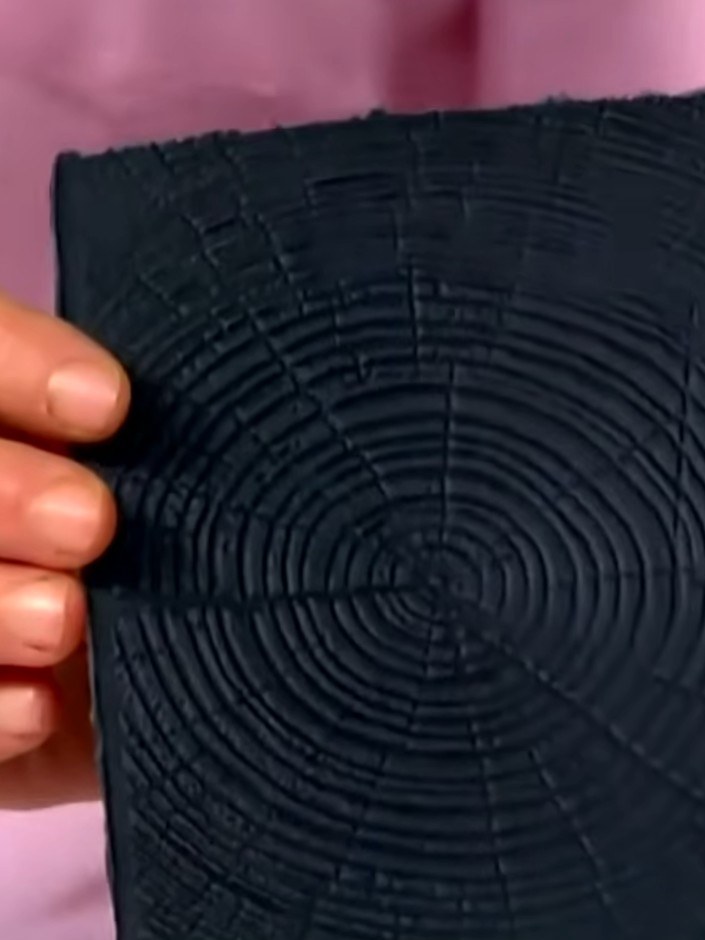
Blend the black ink with your finger to create a softer, more natural wood appearance. Gently rub the ink across the embossed surface to soften the texture and achieve a realistic timber effect.
▶ watch this step (48:45)
For a more realistic timber effect, swipe the embossed card with brown ink. Work the ink across the raised texture to enhance the wood grain pattern.
▶ watch this step (49:15)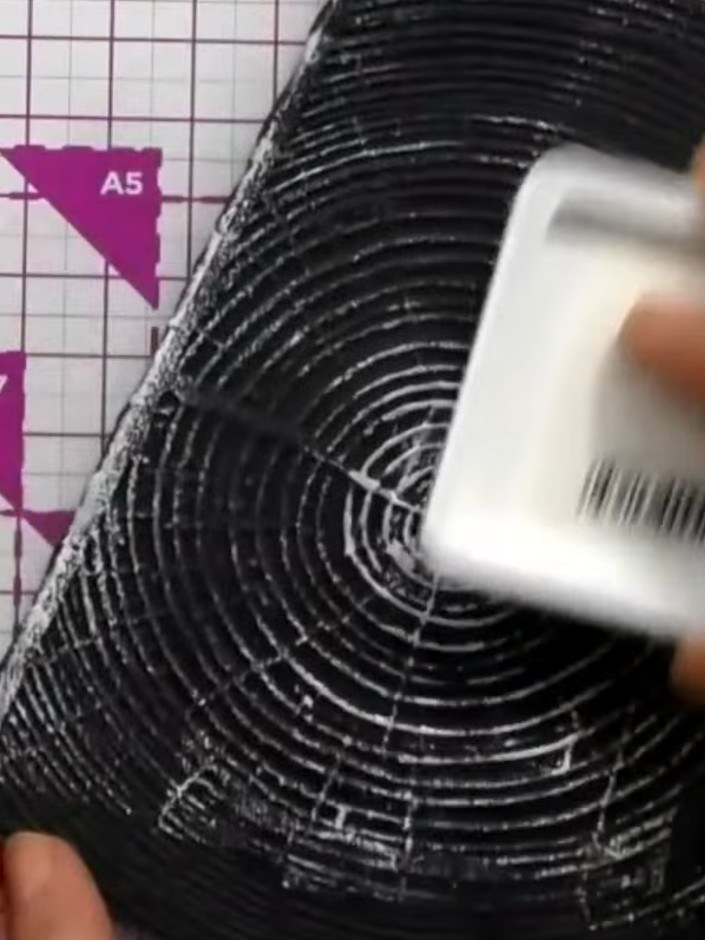
Apply white ink to the embossed black card stock using an ink pad or dauber. Work the ink over the raised circular pattern to highlight the wood grain texture and create contrast against the dark background.
▶ watch this step (49:30)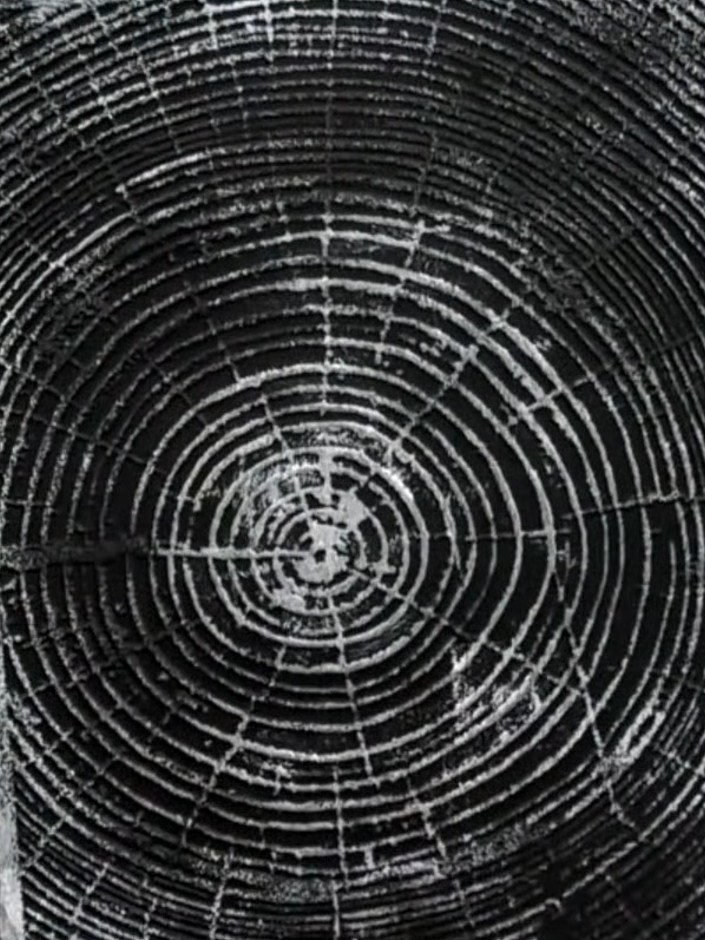
Apply gold ink to the embossed circular texture pattern using an ink applicator or sponge, dabbing it over the raised areas to highlight the design.
▶ watch this step (50:00)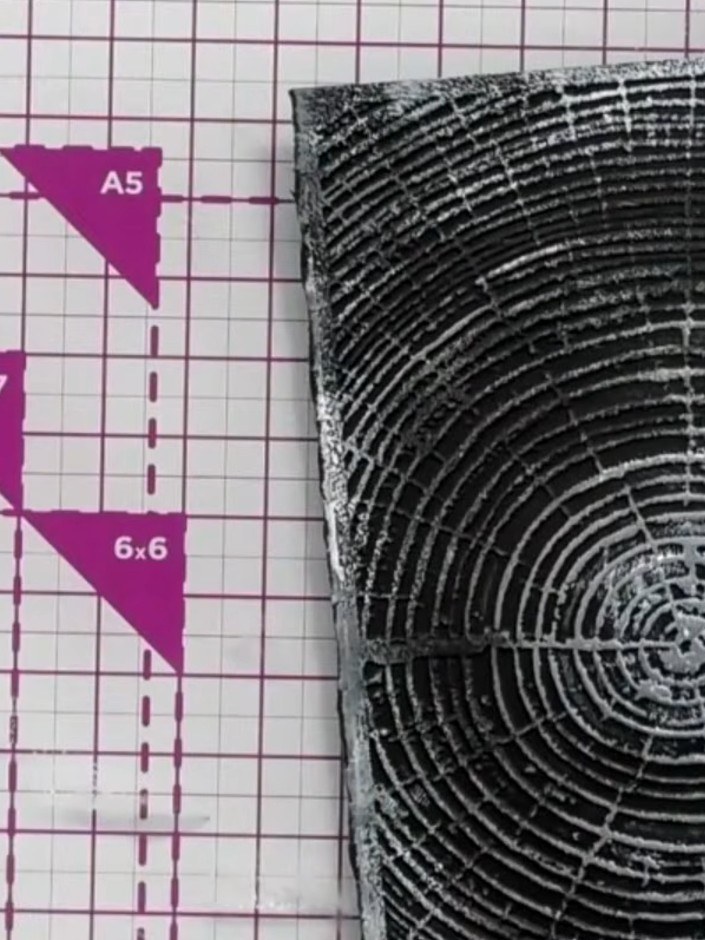
Mount your textured background onto your card base or incorporate it as a decorative element within your design. The embossed pattern creates a striking focal point for your finished card.
▶ watch this step (50:15)Written up from the show itself. See every guide from our shows · free how-to guides · watch live on My Telly