tap a picture to see it big · tap DONE as you go - this device remembers
Step 1 of 12
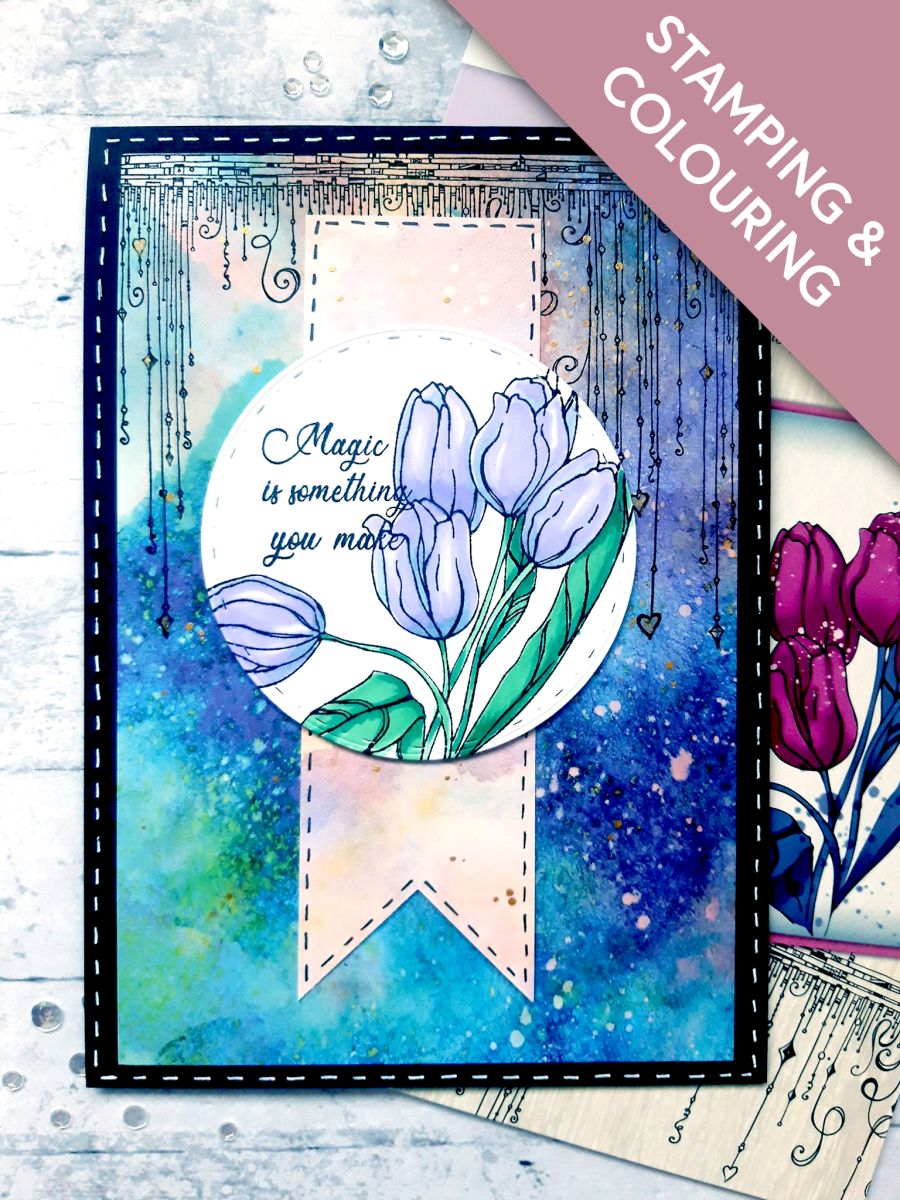
Tear out this decorative paper, from the Northern Lights paper pad, and trim to 7 3/4 x 5 1/4".
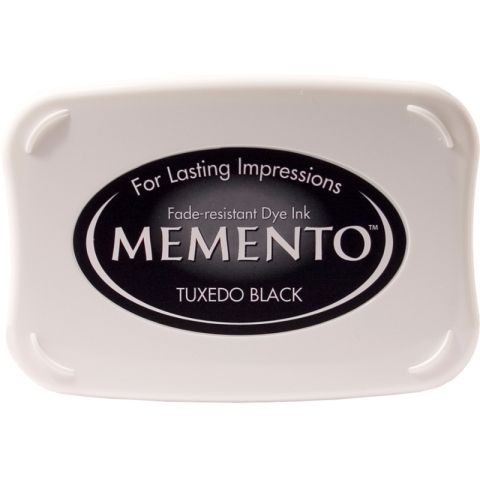
Ink up the hanging doodle stamp, from the Adventure Begins Stamp Collection, with the Memento Tuxedo Black, and stamp across the top of the patterned paper.
Dry off the Memento before proceeding to next stage.
Step 2 of 12
Spray some water on to your Confetti paint, and splatter gold paint over your artwork, as required.
Step 3 of 12
Once all the paint and ink is dry, adhere this on to the front of your black, top folding card blank.
Set your card to one side.
Step 4 of 12
Tear this sheet of paper, from the Northern Lights paper pad, and trim to 6 1/2 x 2"
Use your banner tag punch, to create a banner strip, as shown here.
Step 5 of 12
Add splatters of the Confetti Goldmine to the banner, as before, and dry off the paint.
Step 6 of 12
Use a black pen to draw a stitched frame around your banner, then adhere down the centre of your card, applying glue at the top only, to allow movement.
Set to one side.
Step 7 of 12
Place the circle die that measures approx 4 1/4" diameter, on to the 5 x 5" white card, and run through your die cutting machine.
Step 8 of 12
Ink up the floral stamp, from the Adventure Begins Stamp Collection, with the Memento,and stamp on to your die cut circle.
Step 9 of 12
Once the Memento ink is dry, colour in your stamped image, with your Gossip Alcohol Markers.
Step 10 of 12
Ink up the sentiment stamp from the same collection, with the Memento, and stamp on to your artwork.
Step 11 of 12
Cut a circle, from the double sided adhesive foam sheet, just smaller than your stamped topper, and adhere on the reverse. (You can use foam pads instead).
Step 12 of 12
Peel off the backing from the foam sheet, and adhere stamped topper on to your card, over the banner tag, as shown.
You made it!
Share your make with the Stamps By Me community - and keep this guide for next time.
Hello! I'm Toni's AI craft helper - I know the projects from Toni's shows, our guides and everything in the shop. Ask me anything, like "which dies go with this stamp set?" or "what do I need to start ink blending?"
An AI helper (not Toni herself), answering from Toni's shows and our shop - please check the product page before you buy.