


Step 1 of 7
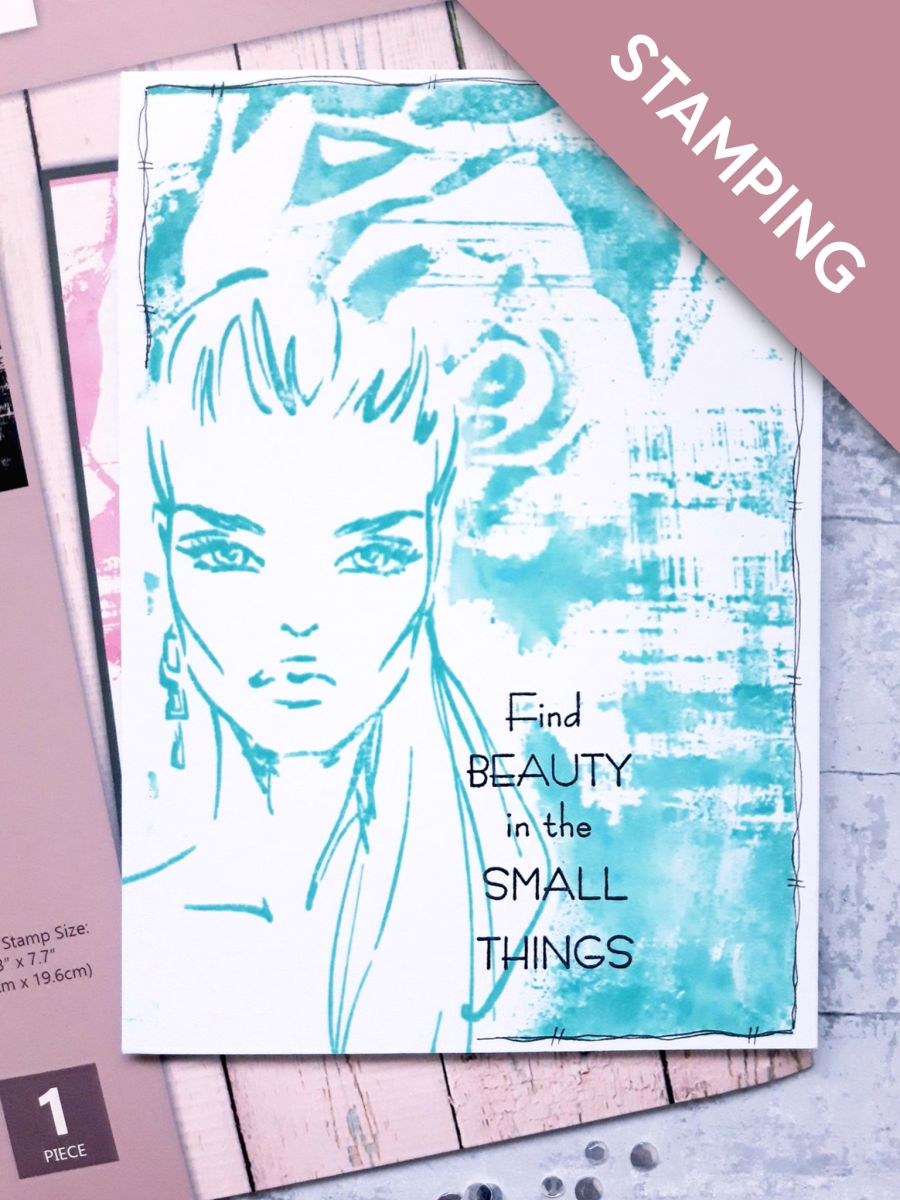
You need to create a "mask" for the stamp, from Imala She Is stamp set. You can either place stamp on to a thin piece of acetate, and cut around it, or stamp her on to a masking sheet or piece of copier paper, and cut her out.








Prices change straight away. Every language is our own translation, not Google.
 Eureka 101 Replacement Bar MagnetsEureka 101£10.99BUY✓ ADDED
You need to create a "mask" for the stamp, from Imala She Is stamp set. You can either place stamp on to a thin piece of acetate, and cut around it, or stamp her on to a masking sheet or piece of copier paper, and cut her out.
Secure the card blank in your Eureka, using the magnet, and having decided where you want your stamped lady to be, place the mask in position (you can pop a piece of temporary adhesive tape on the reverse, to hold the mask in place, if this is easier).
Ink up the Rose Background stamp, with the Salvaged Patina Distress Oxide.
Spritz the stamp with water and stamp on to your card blank. You can reink and stamp again, until you are happy with the result.
Carefully remove your mask and either allow it to dry naturally, or speed things up with a heat gun, being careful not to warp the front of your card blank.
Ink up She Is, with the Salvaged Patina, and stamp in position, within the masked off area.
Ink up the sentiment from the Romantic Rose Stamp And Die Collection, with the Onyx Black Versafine.
Stamp to the bottom right of the stamped lady.
Use a black pen to draw a decorative, wiggly frame around your artwork, as required, to finish.
Share your make with the Stamps By Me community - and keep this guide for next time.
Prefer the previous layout? Open the old page.



