


Step 1 of 15
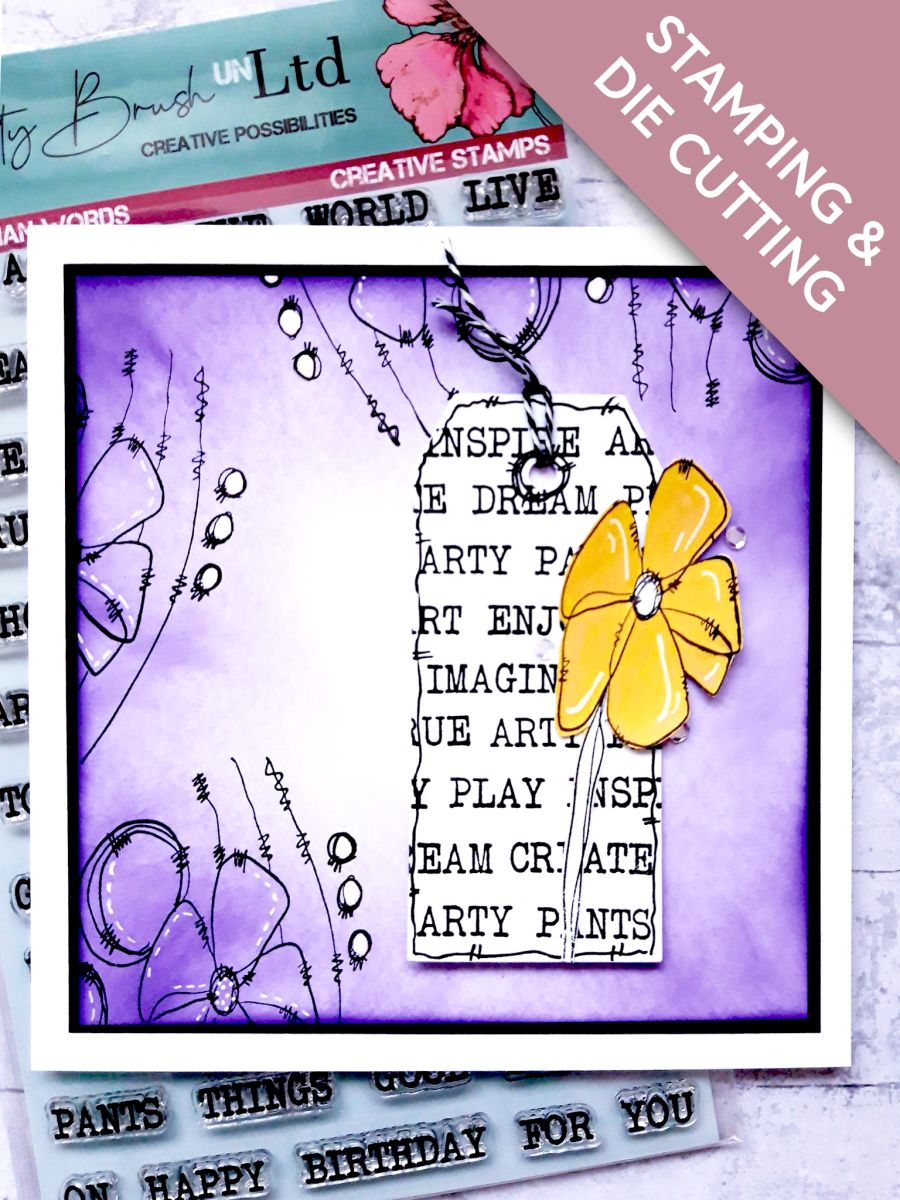
Blend the Villainous Potion Oxide around the edges of the 6x6" white card, with your blending brush, fading the colour out towards the centre.








Prices change straight away. Every language is our own translation, not Google.
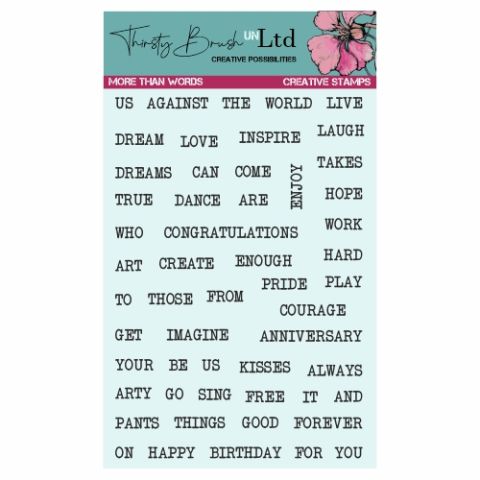 100219 - Htcn - Tv - Thirsty Brush Unltd - A5 Stamp - More Than WordsStamps from Thirsty Brush UnLtd More Than Words Creative Stamps£17.99BUY✓ ADDED
 Eureka 101 Replacement Bar MagnetsEureka 101£10.99BUY✓ ADDED
Blend the Villainous Potion Oxide around the edges of the 6x6" white card, with your blending brush, fading the colour out towards the centre.
Ink up the floral stamp from the Buttercup Bubbles stamp set, with the Onyx Black Versafine.
Stamp just off the top and left hand sides of your background.
Once the ink is dry, use your white gel pen to add stitched detail to your stamped images, and colour in the little circles.
Glue your background on to the black card.
Glue this on to the front of your card blank, and set to one side.
Ink up the same floral stamp again, with the Versafine, but you will only need the flower head and stem.
Stamp on to the 5 x 2" white card.
Once ink is dry, cut out your flower.
Apply the Fossilized Amber Oxide on to a craft or glass mat.
Spritz with water and use a paint brush to colour in your petals.
Once the ink is dry, colour over the top with the clear Gossip Glitter pen.
Set to one side.
Place the tag die, that measures approx 4 1/2 x 2", from the Tagged Creative Dies set, on to the 5 x 3" white card.
Run through your die cutting machine.
Inking up stamps from the More Than Words Creative Stamps set, with the Versafine, create a words background on the tag.
Punch a hole at the top of your tag, with a hole punch.
Use a black pen to draw a decorative, wiggly frame, around your tag, and the punched hole.
Tie Bakers Twine through the punched hole.
Apply glue to the top of the tag, and adhere it on to your background.
Adhere the die cut flower to the right of your tag.
Use your white gel pen to add highlights to the petals of your flower.
To finish, add sequins around your artwork.
Share your make with the Stamps By Me community - and keep this guide for next time.
Prefer the previous layout? Open the old page.



