


Step 1 of 8
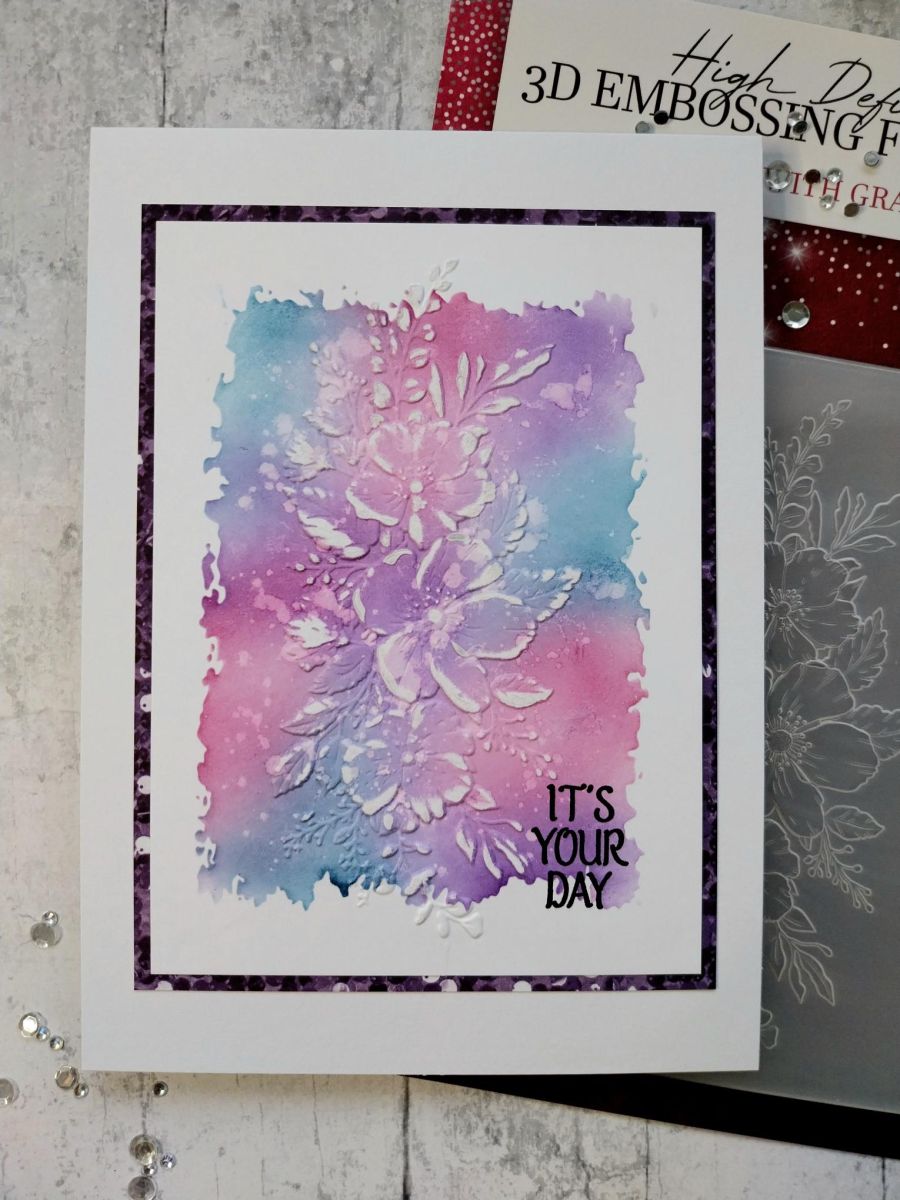
Cut a piece of white card to 4 x 5 1/2". Secure the Stylized stencil on top.








Prices change straight away. Every language is our own translation, not Google.
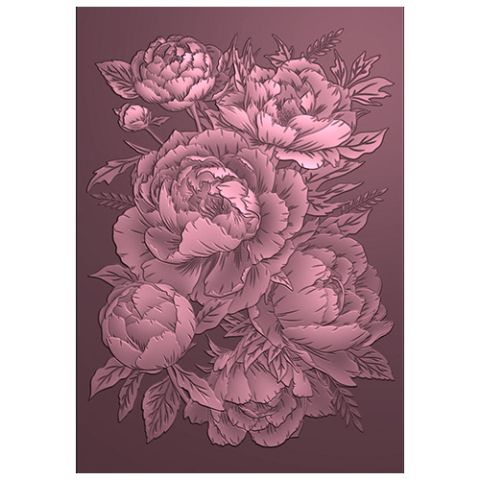 Signature Watercolour High Definition 3d Embossing Folder - Pretty Peony£12.99BUY✓ ADDED
 Cardstock WhiteWhite cardstock£4.25BUY✓ ADDED
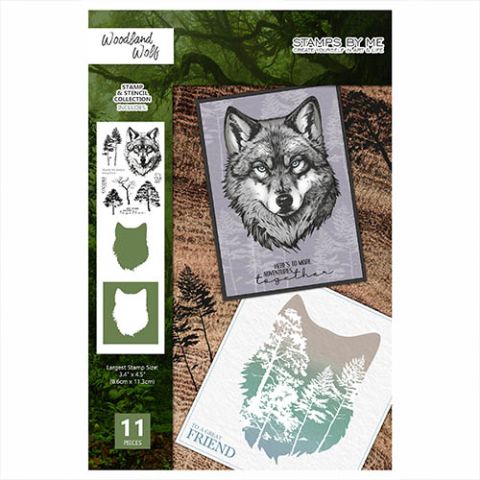 Stamps By Me - Woodland Wolf - Stamp And Stencil SetWoodland Wolf Stamp & Stencil Collection£24.99BUY✓ ADDED
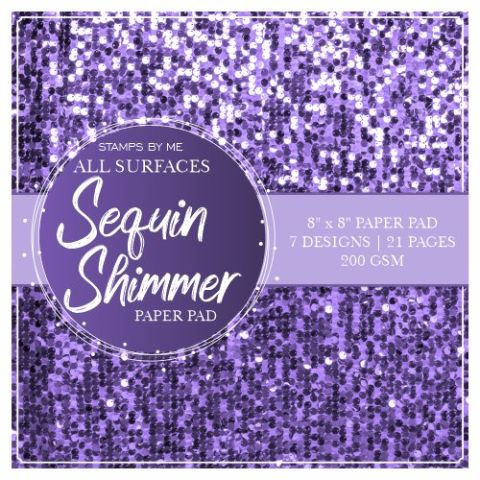 STAMPS BY ME - ALL SURFACES - SEQUIN SHIMMER - 8 x 8 PAPER PADAll Surfaces Sequin Shimmer Paper Pad£12.99BUY✓ ADDED
 Blending Tool RectangleBlending tool
Cut a piece of white card to 4 x 5 1/2". Secure the Stylized stencil on top.
Blend within the aperture frame, with your water reactive inks.
Splatter with water, wait a few seconds then mop up the excess water/ink with a paper towel.
Remove stencil and dry ink before placing the card inside your Blossom With Grace embossing folder. Run it through your machine.
Gently sand over the embossed areas with a sanding block. You can gradually build up the pressure until you are happy with the result.
Stamp your sentiment from the Woodland Wolf, in Midnight, in the bottom right corner.
Mat onto a decorative sheet from the Sequin Shimmer paper pack, trimmed to 4 1/4 x 5 3/4".
Mat your artwork onto the decorative paper and then onto your card blank to finish.
Share your make with the Stamps By Me community - and keep this guide for next time.
Prefer the previous layout? Open the old page.



