


Step 1 of 8
Choose two coordinating papers from your paper pads. Cut one to 6 3/4 x 4 3/4" and the other 6 1/4 x 4 1/4".








Prices change straight away. Every language is our own translation, not Google.
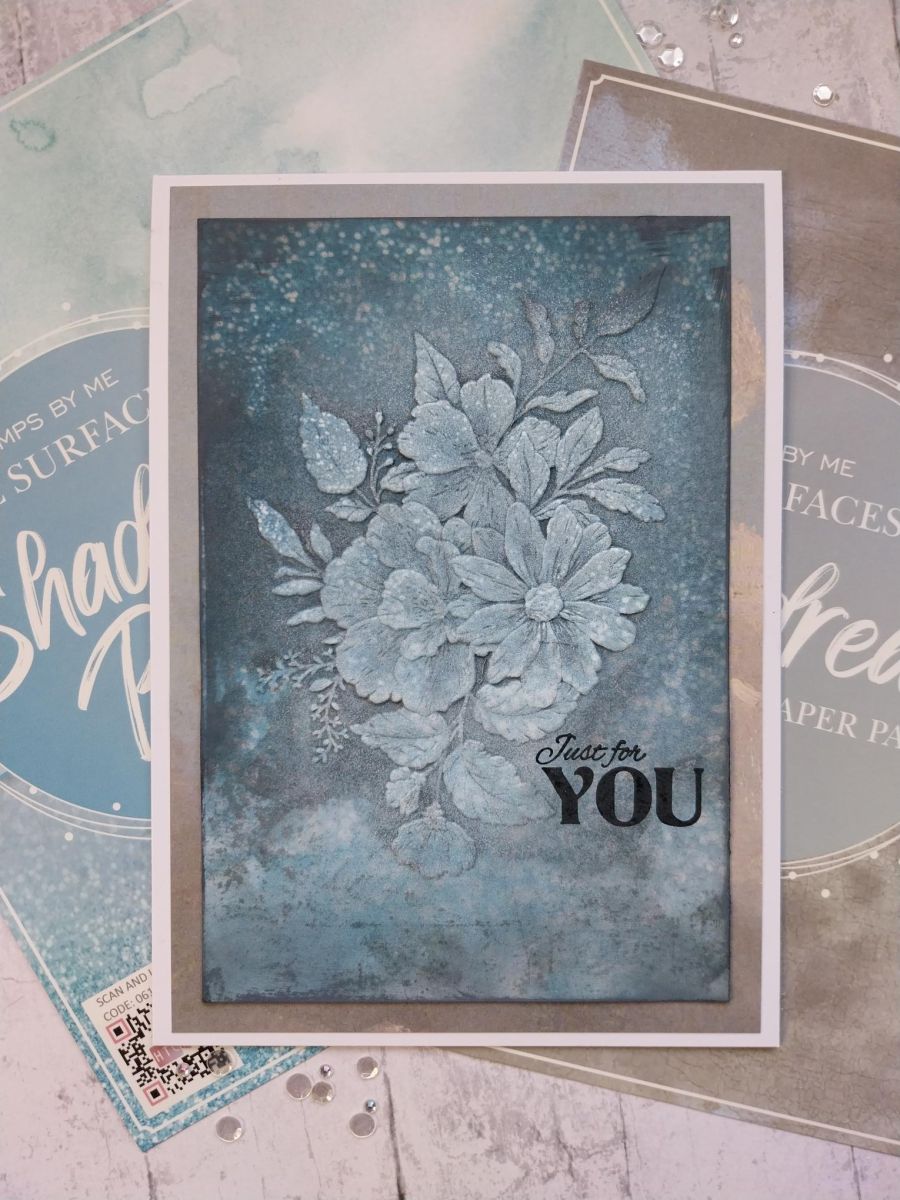
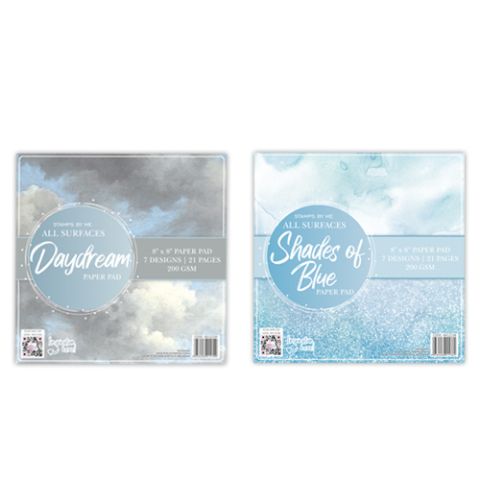 Stamps By Me - All Surfaces - Daydream & Shades Of Blue BundleAll Surfaces Daydream & Shades Of Blue Bundle£25.98BUY✓ ADDED
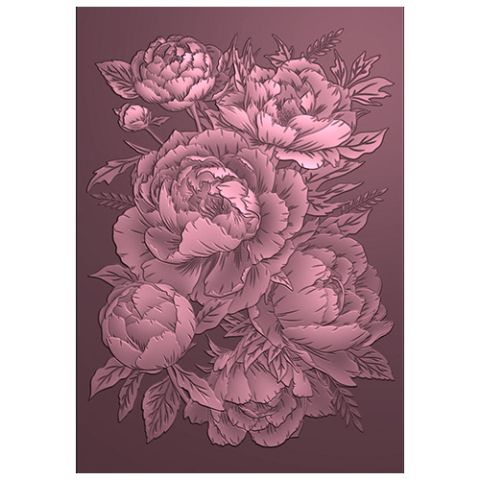 Signature Watercolour High Definition 3d Embossing Folder - Pretty Peony£12.99BUY✓ ADDED
 840267 - Tv - A5 Stamp - Lamination - Be The Best
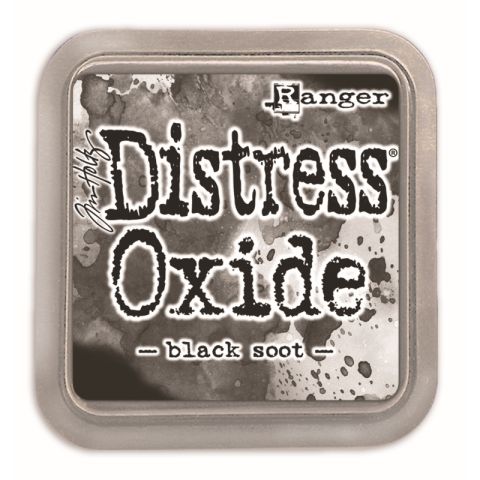 Tim Holtz - Distress - Oxide Pad Black SootDistress Ink/Oxide Ink Pad: Black Soot
 Blending Tool RectangleBlending tool
Choose two coordinating papers from your paper pads. Cut one to 6 3/4 x 4 3/4" and the other 6 1/4 x 4 1/4".
Ink the debossed side of the Wild & beautiful folder with your Black Soot ink pad and lightly spritz with water.
Place the smaller paper panel inside the folder and run it through your machine.
Dry the ink thoroughly then "pounce" your Cotton ink pad over the raised areas of your design. Pigment ink is slow drying so you will need to dry with a heat tool.
Blend around the outside areas of the paper with your Black Soot, bringing your eyes into the focal image.
Stamp the sentiment in Midnight, to the lower right of your embossed design.
Mat onto the other decorative paper you trimmed earlier.
Mat onto your card blank to finish.
Share your make with the Stamps By Me community - and keep this guide for next time.
Prefer the previous layout? Open the old page.



