


Step 1 of 11
Choose two papers from your Evergreen paper pad. Trim one to 6 1/4" square and the other 4 3/4" square.








Prices change straight away. Every language is our own translation, not Google.
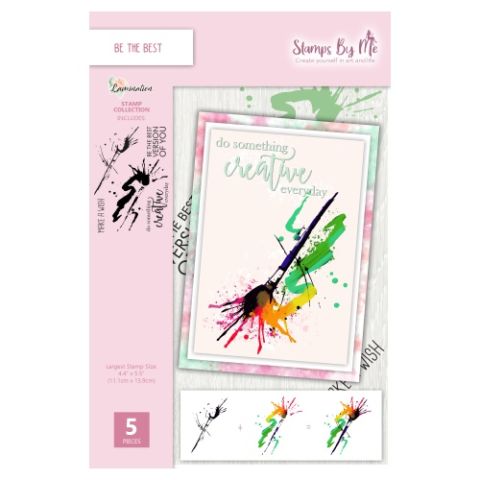 840267 - Tv - A5 Stamp - Lamination - Be The Best
Choose two papers from your Evergreen paper pad. Trim one to 6 1/4" square and the other 4 3/4" square.
Cut two pieces of kraft card 6 1/2" square and 5" square and adhere the papers in place.
Adhere the smaller panel in the centre of the larger one.
Using your layered toppers as a guide, cut a piece of white card the same width as the inner panel. It can be as deep as you choose. Cut a mat from kraft card so it's the same width and slightly deeper.
Set the layered toppers and kraft mat to one side.
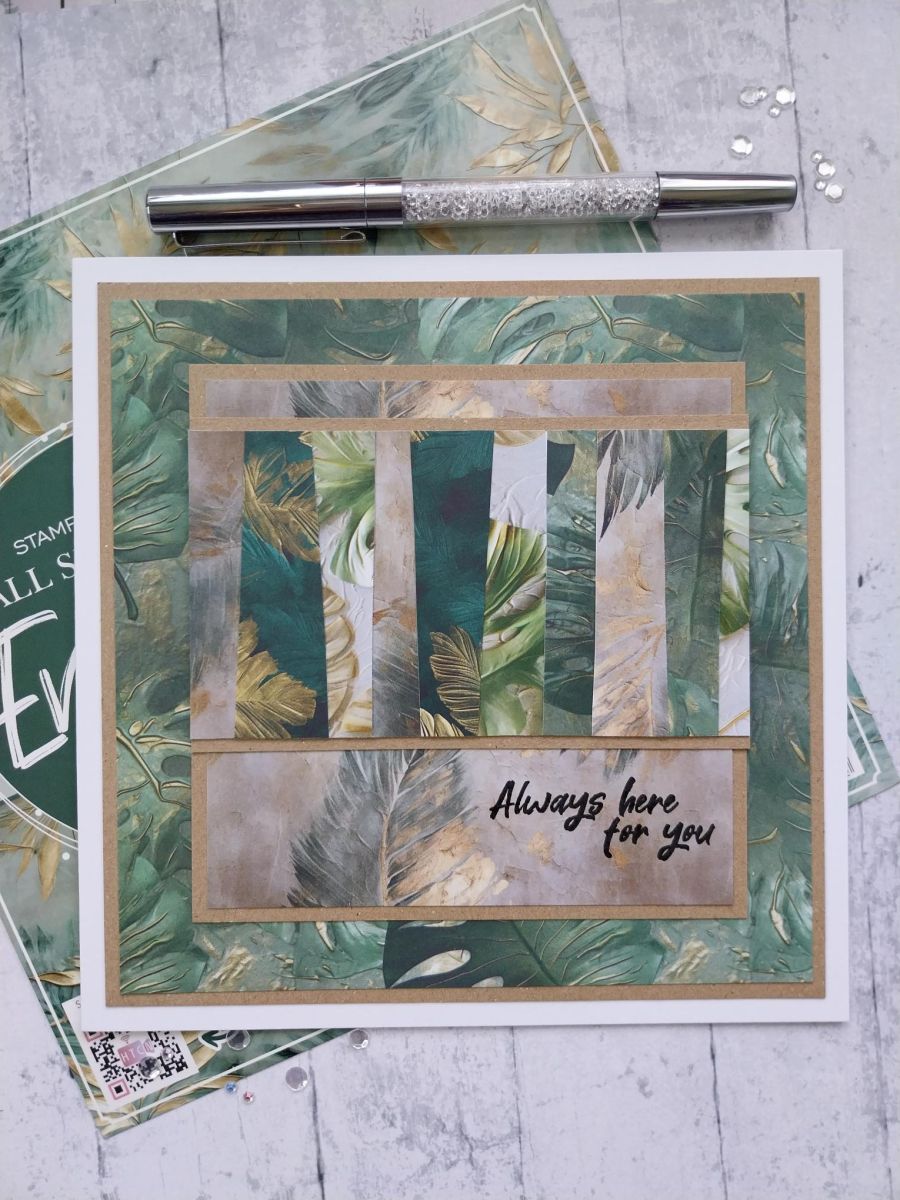
Cut multi-panels of the Evergreen paper, in various widths and slanted at different angles but ALL must be longer than the depth of the white card cut in the previous step. This is a good way of using up any left-over scraps of paper you may have!!
Randomly adhere the cut strips onto the white card, allowing them to overhang top and bottom. You can overlap the strips as and where you want.
Turn over and trim off the overhanging papers.
Mat onto the kraft card you cut in the earlier step.
Using the paper panel as a positional guide, stamp your sentiment in Midnight, so it will sit below the panel, when secured in place.
Secure your panel in place across the top third of the centre panel, above your stamped sentiment, as seen here.
Finally, adhere to the front of your card blank.
Share your make with the Stamps By Me community - and keep this guide for next time.
Prefer the previous layout? Open the old page.



