


Step 1 of 8
You need TWO sheets the same, from your Great Outdoors paper pack.








Prices change straight away. Every language is our own translation, not Google.
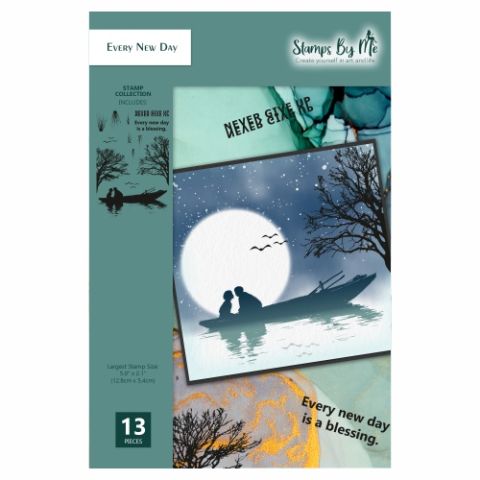 Tv - A5 Reflection Stamp - Every New Day£18.99BUY✓ ADDED
You need TWO sheets the same, from your Great Outdoors paper pack.
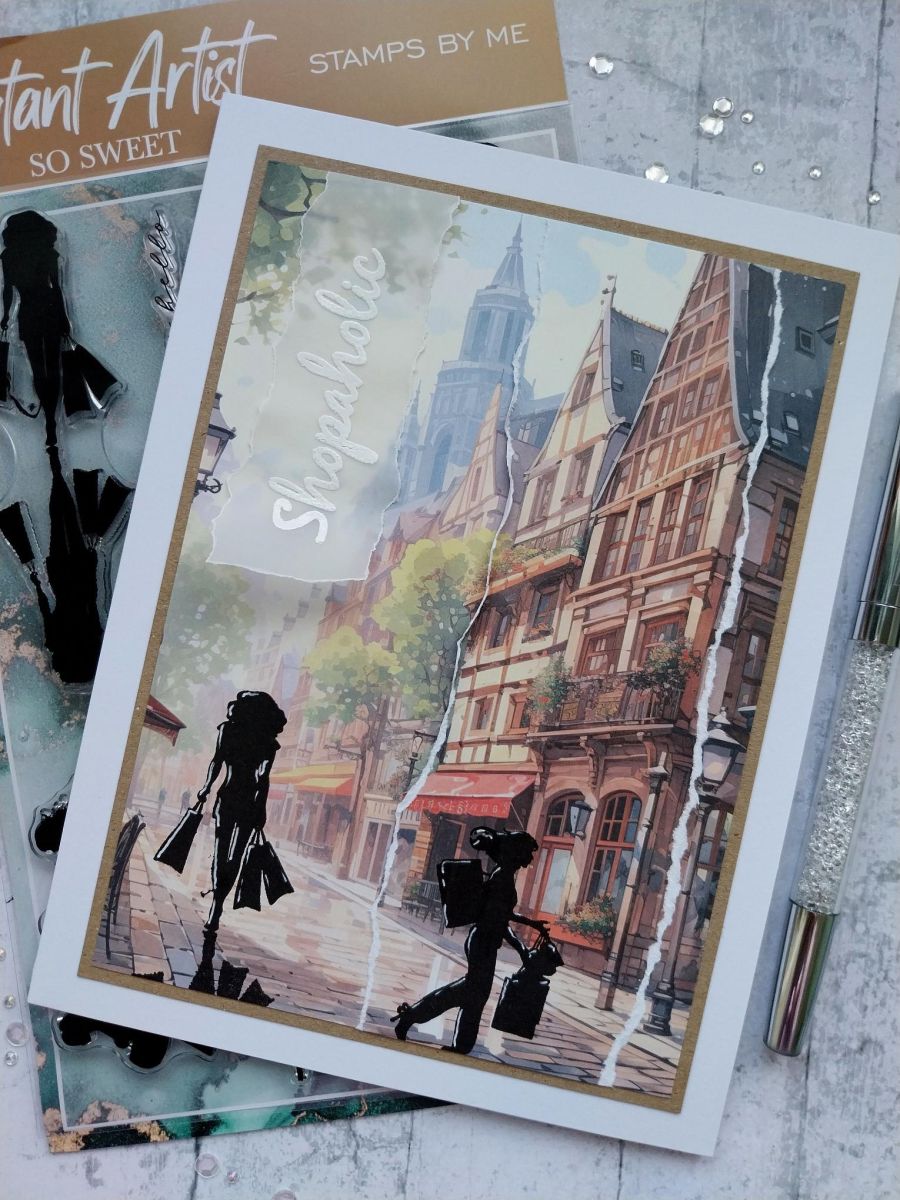
Tear a panel from the right hand side of ONE of the sheets. Lift and scrunch up the torn edges.
Adhere in place on the second sheet, ensuring you line up the printed design.
Stamp two of the lovely ladies from your So Sweet set, in Midnight. One on the left and the second on the torn panel and slightly lower than the first.
Use your white gel pen to add accents and highlights to the stamped images, as required.
Tear a panel of vellum so the Shopaholic sentiment fits, with excess vellum to the right of the word, as seen here.
Wipe over the vellum with your anti-static bag before stamping Shopaholic with the sticky embossing ink.
Apply the white embossing powder over the stamped sentiment, decanting any excess powder back in the pot.
Get your heat tool hot BEFORE you start heat setting the powder.
Place the stamped vellum down the left side of your artwork, tuck the excess vellum over the top and secure on the reverse of the paper with your glue/tape.
Mat onto kraft card trimmed to 5 1/4 x 7 1/4" and then onto your card blank, to finish.
Share your make with the Stamps By Me community - and keep this guide for next time.
Prefer the previous layout? Open the old page.



