


Step 1 of 5
Place a piece of white card measuring 5 1/2 x 3 3/4" inside the embossing folder and run it through your machine.








Prices change straight away. Every language is our own translation, not Google.
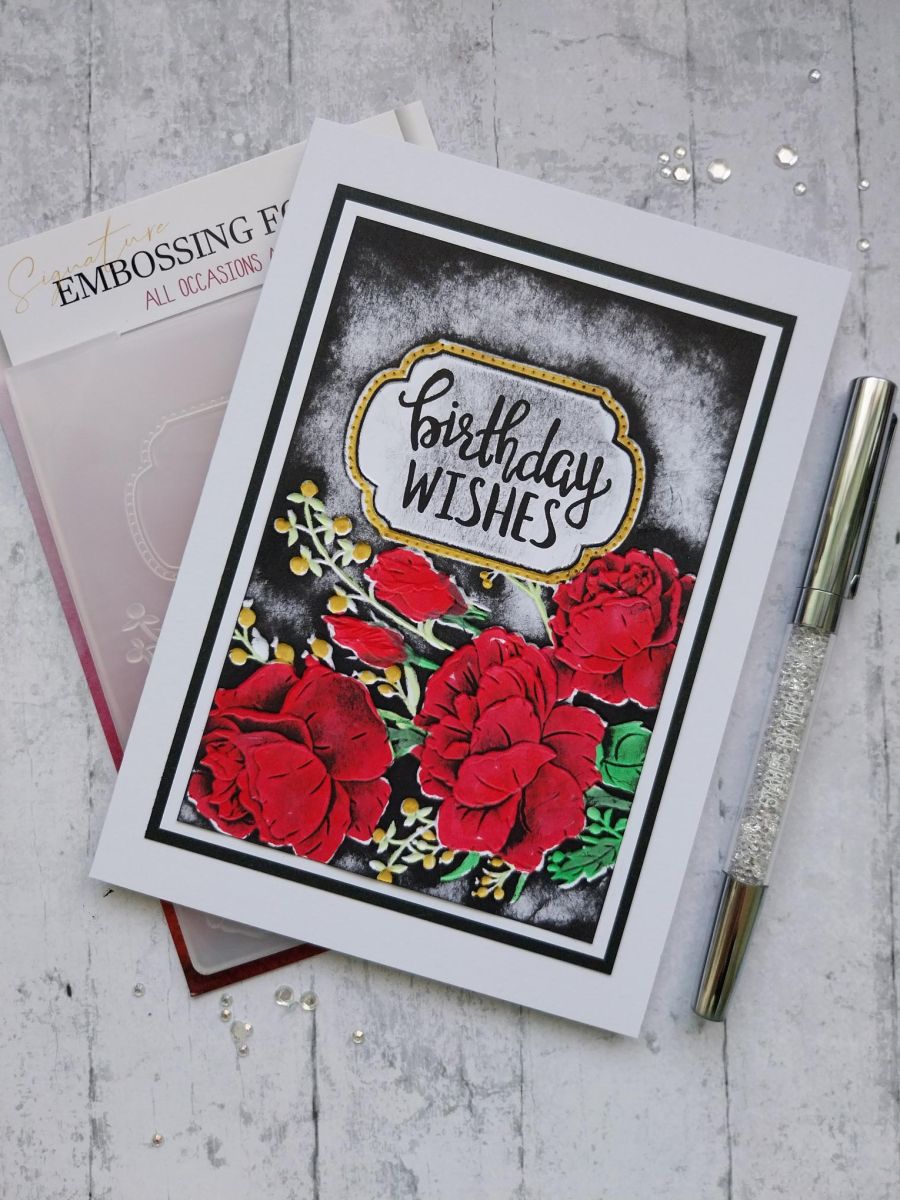
Place a piece of white card measuring 5 1/2 x 3 3/4" inside the embossing folder and run it through your machine.
Colour in the DEBOSSED side with your alcohol markers. You're aiming for nice bright colours. If you're not working on your glass mat then pop a sheet of card or paper underneath as the alcohol ink will bleed through the card and mark your work surface!
Swipe the Black Soot ink pad over the debossed card. Start off lightly then you can gradually build up the intensity until you're happy with the result. Splatter a few drops of water on to the ink, wait a few seconds then mop up the lifted ink with a paper towel.
Stamp the sentiment in Midnight, in the centre of the embossed frame.
Mat on to white card measuring 5 3/4 x 4", then on to black card cut to 6 x 4 1/4" and finally adhere to your card blank.
Share your make with the Stamps By Me community - and keep this guide for next time.
Prefer the previous layout? Open the old page.



