


Step 1 of 6
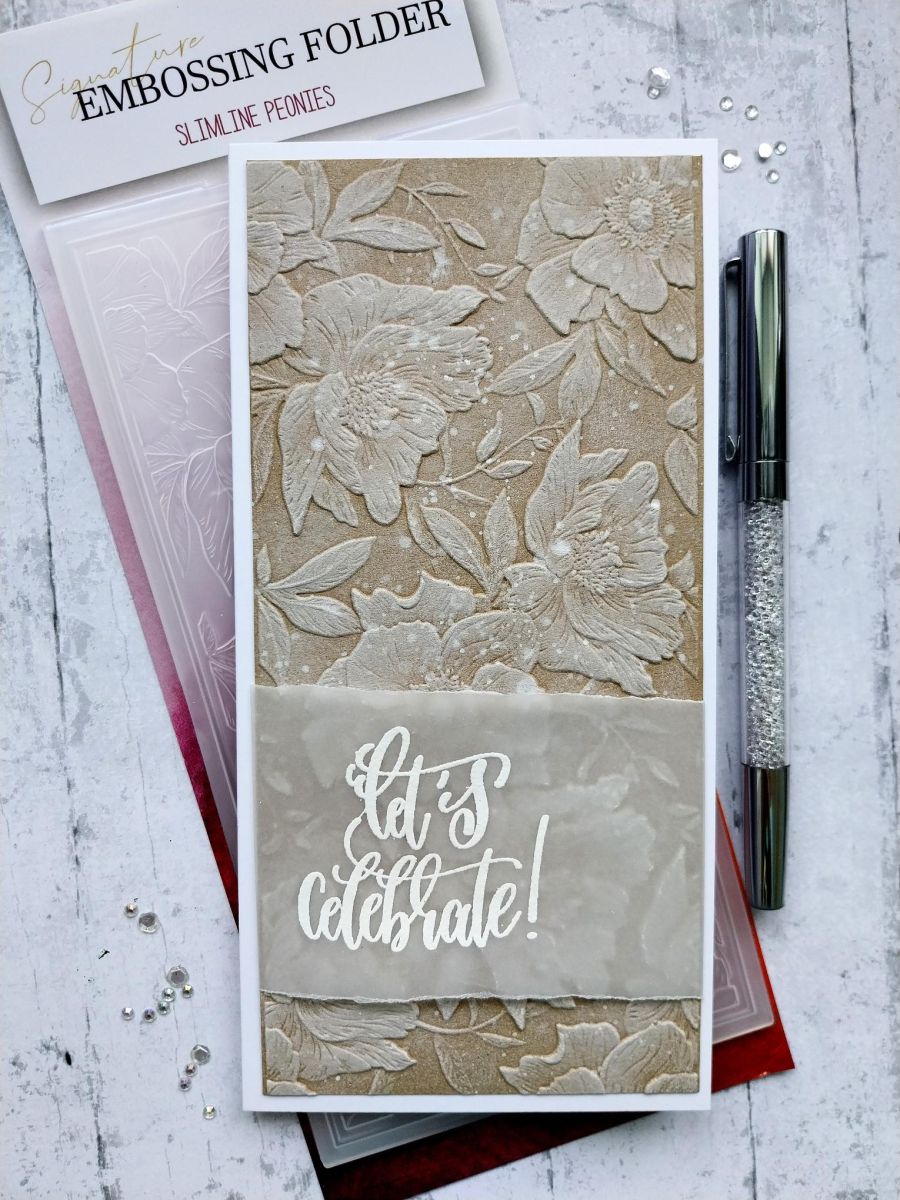
Place a piece of kraft card slightly bigger than the embossing folder, inside and run it through your machine. Trim the embossed card around the embossed frame edges as required.








Prices change straight away. Every language is our own translation, not Google.
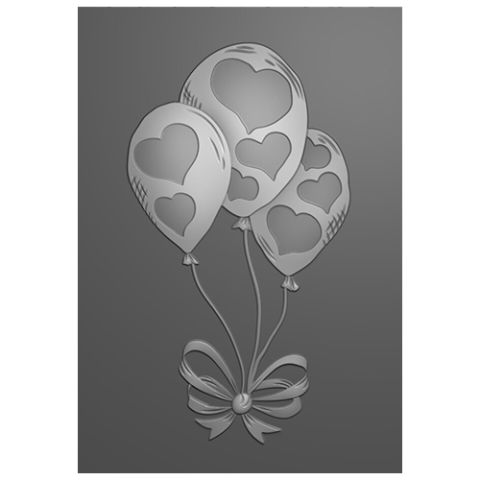 Signature Watercolour High Definition 3d Embossing Folder - Birthday Love£9.99BUY✓ ADDED
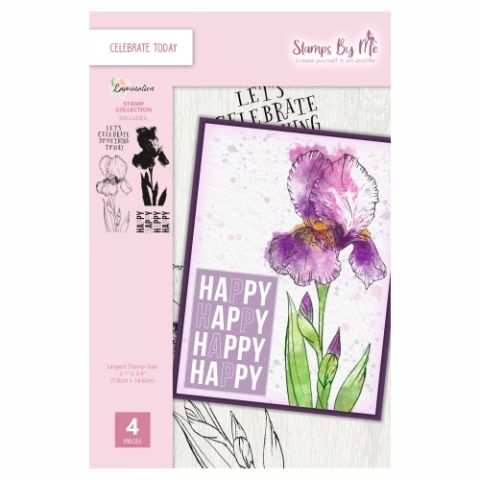 100566 - Htcn - A5 Stamp - Lamination - Celebrate TodayCelebrate Lamination A5 Stamp
Place a piece of kraft card slightly bigger than the embossing folder, inside and run it through your machine. Trim the embossed card around the embossed frame edges as required.
Swipe the Cotton ink pad over the embossed areas until you are happy with the effect. Blast dry with your heat tool as pigment ink is very slow drying and it will smudge!!
Dilute a little of the Cotton ink on your glass mat and splatter over your card with a paint brush. Don't forget to dry the splats before moving on to the next stage.
Tear a panel of vellum slightly wider than the embossed card and deep enough for the sentiment (from the Celebrate set) to fit.
Wipe over the vellum with your anti-static bag before stamping the sentiment in the sticky WOW embossing ink. Apply the white embossing powder over the stamped sentiment, decanting any excess back in to the tub. Get your heat tool hot before heat setting the powder. Move the heat tool as soon as the powder starts to turn as this will minimise burning the powder and warping the vellum.
Lay the stamped vellum over the bottom half of the embossed card, tuck the edges over and secure on the back with double-sided adhesive tape.
Adhere on to your DL card blank to finish.
Share your make with the Stamps By Me community - and keep this guide for next time.
Prefer the previous layout? Open the old page.



