


Step 1 of 9
Glue the white card (6 1/4 x 6 1/4"), on to the black card, (6 1/2 x 6 1/2").








Prices change straight away. Every language is our own translation, not Google.
 Eureka 101 Replacement Bar MagnetsEureka 101£10.99BUY✓ ADDED
Glue the white card (6 1/4 x 6 1/4"), on to the black card, (6 1/2 x 6 1/2").
Glue this on to the front of your white card blank, and set to one side.
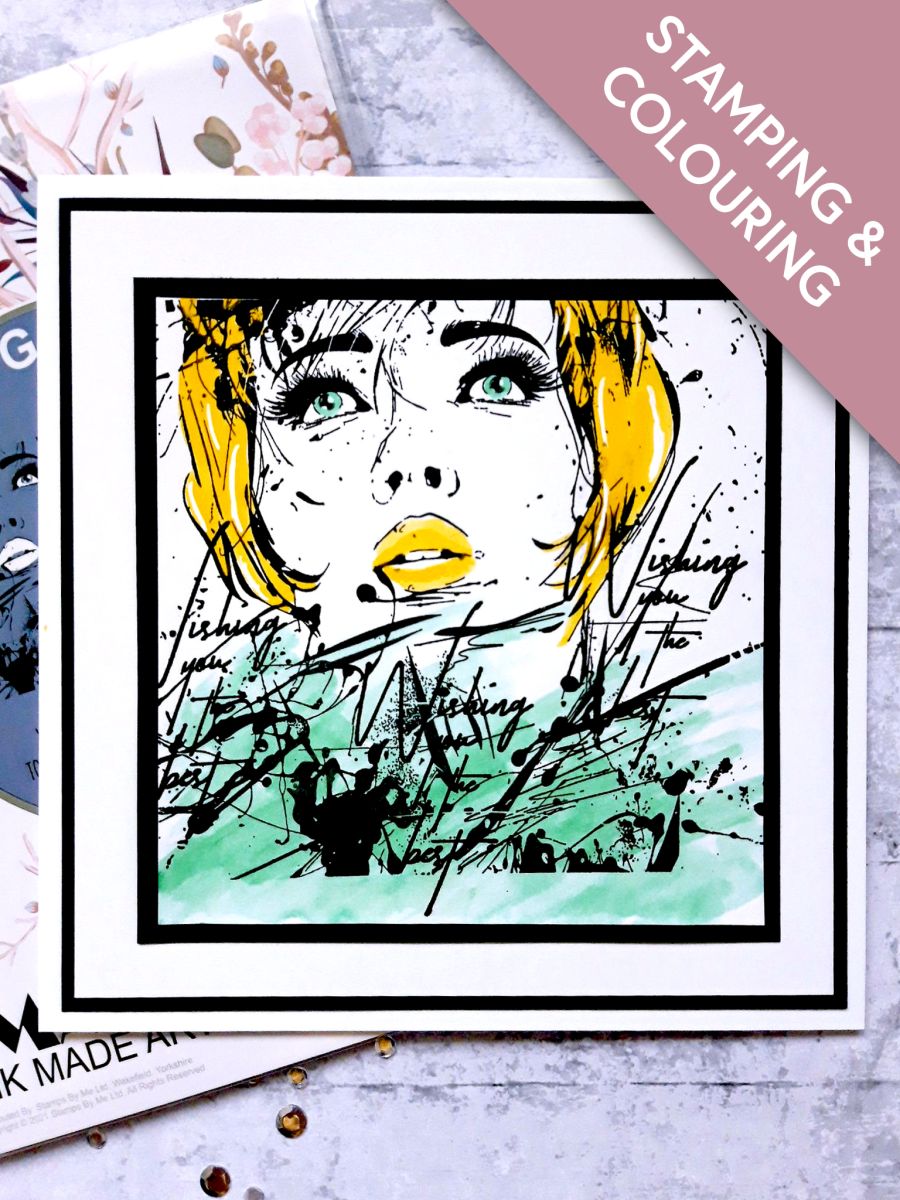
Ink up the image from the Imala Good For You Stamp Collection, with the Onyx Black Versafine.
Stamp on to the white card (5 x 5").
Add a little of the Izink Mimosa Pigment on to a glass, or craft mat.
Add a little water and use a paint brush to paint her hair and lips.
Spray the Izink Vert D'Eau on to a craft or glass mat.
Add a little water and using loose brush strokes, create a watercolour wash, as shown on this image. Follow some of the lines and patterns on the design, to accentuate them more.
Paint her eyes with the same colour.
Dry off the artwork before proceeding to the next step.
Ink up the sentiment, from the My Sunshine Lamination Stamp Collection, with the Onyx Black Versafine.
Stamp over your artwork where required.
Re ink and stamp the sentiment TWICE more, over your artwork, so it becomes part of the design.
Once your artwork is dry, glue it on to the black card (5 1/4 x 5 1/4").
Glue this on top of the prepped card blank, you set to one side earlier.
Use a white gel pen to add accents, and highlights, to her lips, hair and eyes, as required.
Share your make with the Stamps By Me community - and keep this guide for next time.
Prefer the previous layout? Open the old page.



