tap a picture to see it big · tap DONE as you go - this device remembers
Step 1 of 7
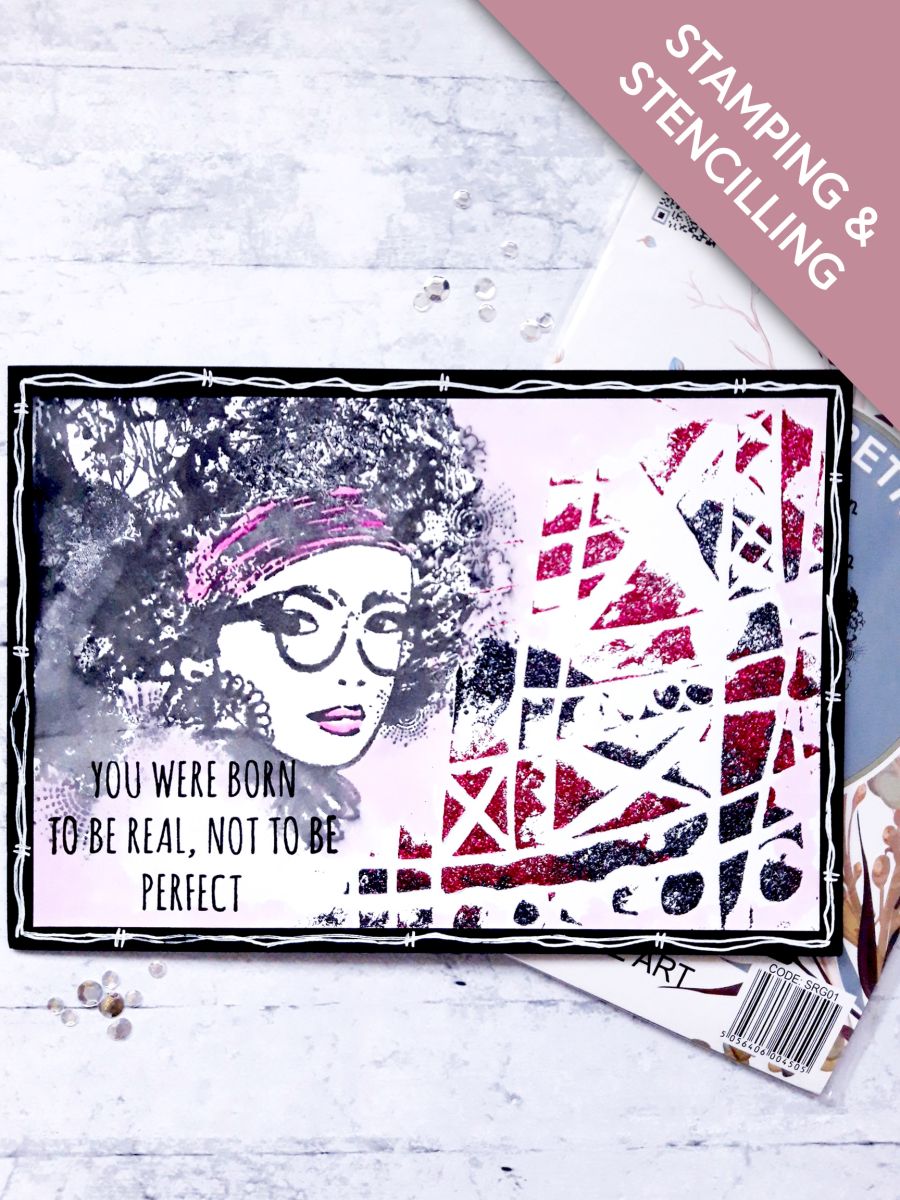
Lay the Thirsty Brush Mask off the right hand side of the white card, laid landscape. Use the Retro Girl stamp as a guide, as you want the paste background to be to her right.
Using a palette knife, randomly apply the Izink Diamond Glitter Paints through the mask, so it goes off the right hand edge of the card.
Carefully peel off the mask, and wash immediately.
Allow the paste to dry naturally, if possible, but you can use a heat gun, if you're impatient like me!
Step 2 of 7
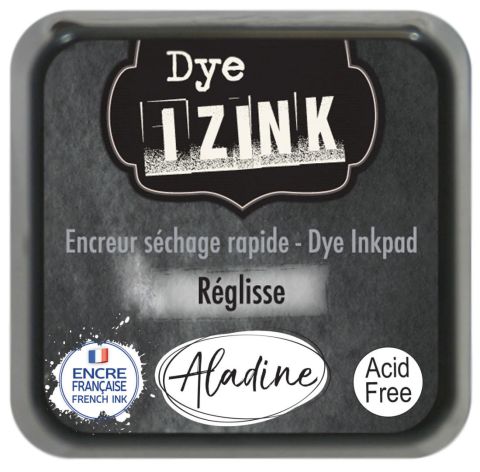
Ink up the Imala Retro Girl with the Izink Reglisse ink pad.
Spritz the stamp with water, and stamp off the left hand edge of your background.
You can reink, spray and stamp, as many times as you want, until you are happy with the effect.
Dry off your artwork.
Step 3 of 7
Apply a little of the Izink Cerise ink on to a glass, or craft mat.
Spritz with a little water and use a paint brush to paint elements of your Retro Girl, such as her bandana headband, and her lips.
Step 4 of 7
Use your blending brush to blend the Izink Cerise ink softly, around the edges of your artwork.
Step 5 of 7
Ink up the sentiment, from the Imala Good For You Stamp set, with Onyx Black Versafine.
Stamp in the bottom left corner of your artwork.
Step 6 of 7
Mat your artwork on to the front of your landscape, black top folding card blank.
Step 7 of 7
Use a white gel pen to draw a decorative frame, on the card blank, around your artwork.
You made it!
Share your make with the Stamps By Me community - and keep this guide for next time.
Hello! I'm Toni's AI craft helper - I know the projects from Toni's shows, our guides and everything in the shop. Ask me anything, like "which dies go with this stamp set?" or "what do I need to start ink blending?"
An AI helper (not Toni herself), answering from Toni's shows and our shop - please check the product page before you buy.