QUICK LINKS

info@howtocraftnetwork.com
We just got smarter - shop and watch with the SBM appGET THE APPWatch us live on your smart TVSEE HOWDiscover our dedicated IPTV channel - go to my-telly.comWATCHCollect loyalty points on every orderFIND OUT MORE
Welcome to the How to Craft Network
 
SBM SHOP
FOLLOW US
GIVE YOUR FRIENDS £10 OFF REFER A FRIEND › DISCOVER MY-TELLY.COM › WE JUST GOT SMARTER GET THE APP › AWARD WINNING CHANNEL ON YOUR TV › JOIN THE CLUB FOR SAVINGS ›
 
Just Married
How to guide · 6 steps

Just Married

24 July 2024✦ Toni Darroch✦ Carley DuffStamping TechniquesStencils
6steps
1products to shop now
Step 1 of 6

Everything you need

0 of 14 ready· 1 to buy
Shop the list
From your craft stash
Tick what you have - this device remembers.

Step by step

tap a picture to see it big · tap DONE as you go - this device remembers
Step 1 of 6

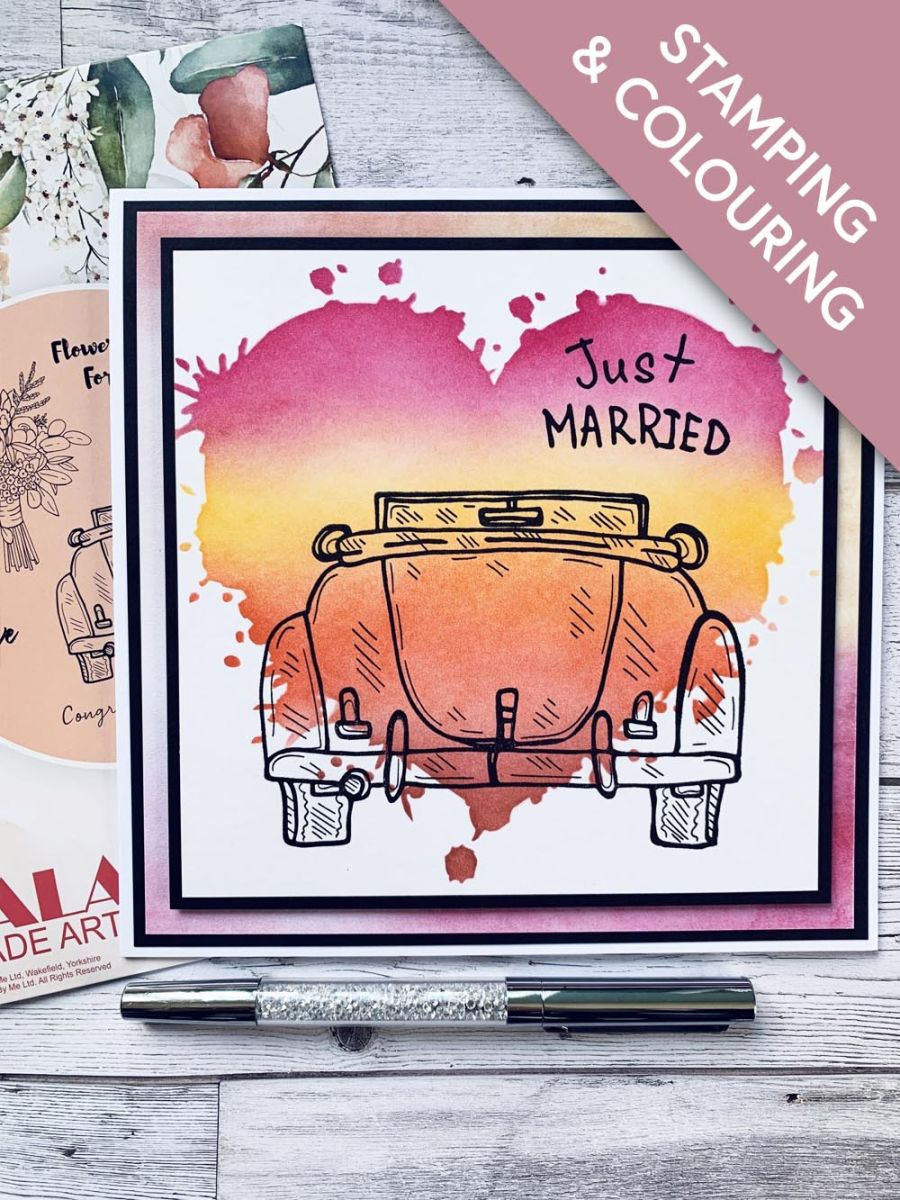
Take a piece of white stamping card and secure the stencil using a piece of low tack tape and the magnets on your glass mat. 

Using the blending brushes add your coloured inks. I started from the bottom using Redwood first, then Bittersweet, Sherbet and finally Magenta.  

Step 2 of 6

Trim your stencilled card to measure 5 3/4’ x 5 3/4’

Step 3 of 6

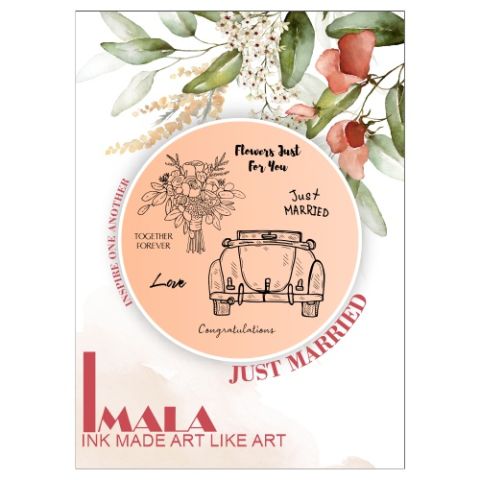
Using the Midnight ink, stamp the car onto the lower part of the card. Then stamp the sentiment Just Married on the right side, just inside the heart. 

Step 4 of 6

Adhere a piece of black card measuring 6 3/4’ x 6 3/4’ card to the front of the card blank followed by a 

6 1/2’ x 6 1/2’ sheet of the Funky Fossil Watercolour Rainbow paper 

Step 5 of 6

Adhere your stamped image to black card measuring 6’ x 6’. 

Step 6 of 6

Finally adhere your stamped image using foam pads to the card base already prepped.


You made it!

Share your make with the Stamps By Me community - and keep this guide for next time.

More stamping techniques guides

all the guides ›

Prefer the previous layout? Open the old page.