


Step 1 of 9
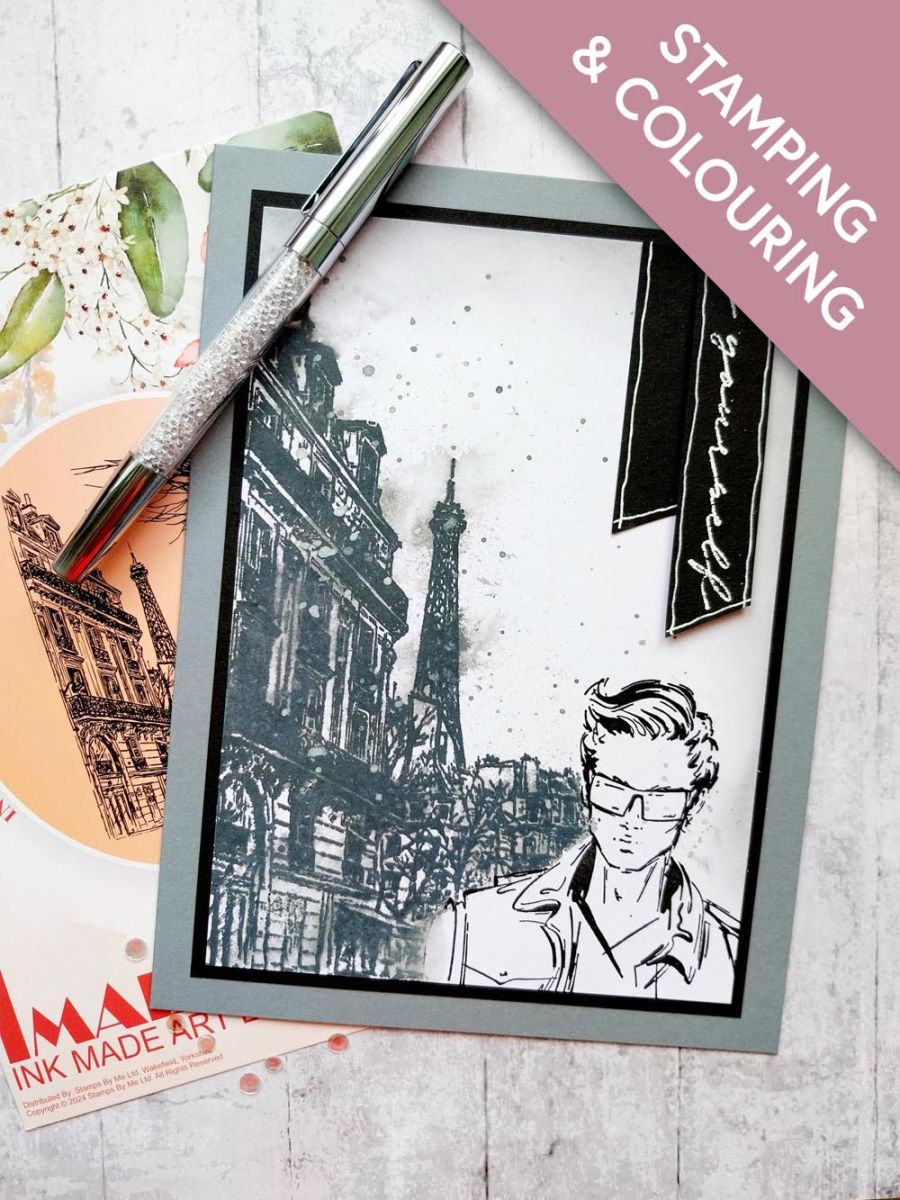
Stamp our dapper man from Forever Yours, on to a masking sheet or copy paper and fussy cut to create a "mask". Place in the bottom right corner of white card measuring 5 x 7".








Prices change straight away. Every language is our own translation, not Google.
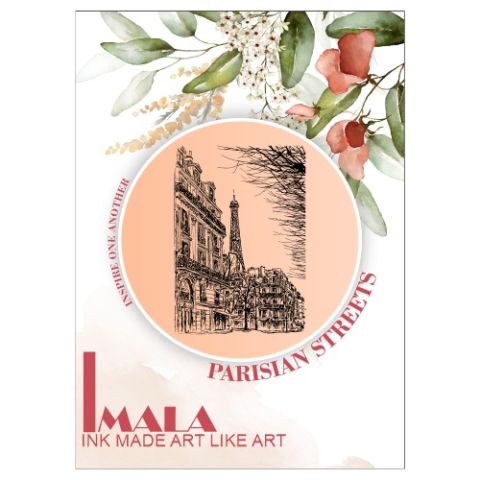 Imala - A5 Stamp - Parisian StreetsIMALA Parisian streets A5 Stamp£17.99BUY✓ ADDED
 Imala - A5 Stamp - Feel Beautiful£17.99BUY✓ ADDED
Stamp our dapper man from Forever Yours, on to a masking sheet or copy paper and fussy cut to create a "mask". Place in the bottom right corner of white card measuring 5 x 7".
Ink up the Parisian Streets with the Lost Shadow, spritz with water and stamp over your "mask", going off the left edge of the card. DO NOT MOVE the stamp, card or mask but spritz the stamped image with water, allowing the ink to move. This is known as the "bleeding" technique. Whilst everything is still in-situ, dry off with your heat tool.
Randomly re-ink the stamp with Black Soot and stamp back over your image, thus re-defining detail where the ink has bled. Blast dry with your heat tool.
Splatter with watered down Black Soot and White Lace Confetti ink and remove mask.
Stamp our young man back in with Midnight.
Blend around the edges of the card with your Lost Shadow.
Mat on to black cardstock measuring 7 1/4 x 5 1/4" and then on to your grey card blank. Pop to one side.
Wipe over a piece of black card with your anti-static bag before stamping the sentiment with the WOW sticky ink. Sprinkle the white embossing powder over the top, decanting the excess back in the pot. Get your heat tool hot before heat setting the powder. Trim the sentiment to size, with a tapered end and draw around the edges with your white gel pen. Cut another tapered tab smaller than the first and edge with the gel pen.
Adhere the shorter tab flat, coming down the top right corner and the longer tab, with foam pads, slightly overlapping the first.
Share your make with the Stamps By Me community - and keep this guide for next time.
Prefer the previous layout? Open the old page.



