


Step 1 of 10
Trim a piece of white card to roughly 6 x 5".
Randomly ink both sides of the folder with the Heather ink pad and lightly spritz with water. Place the card inside and run it through your machine.








Prices change straight away. Every language is our own translation, not Google.
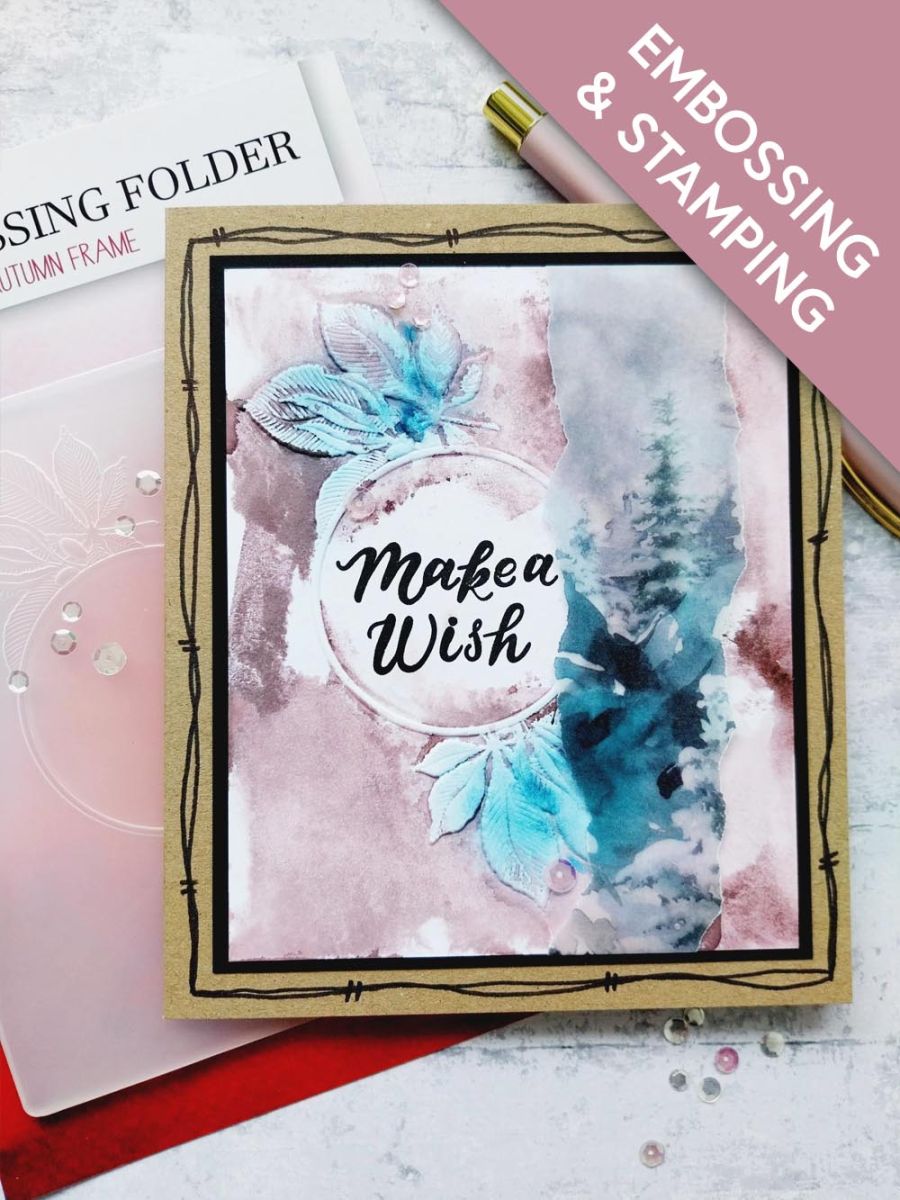
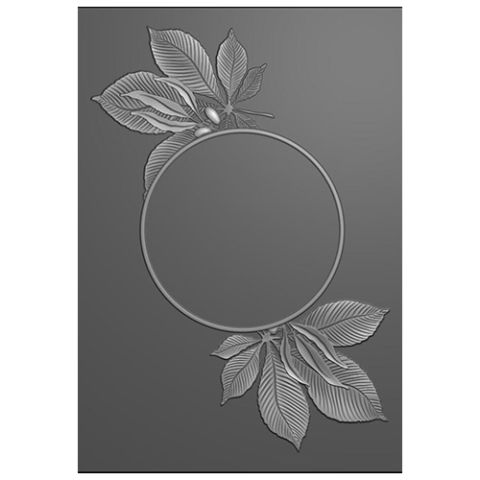 Stamps By Me - Embossing Folder - Autumn FrameAutumn Frame Embossing Folder£9.99BUY✓ ADDED
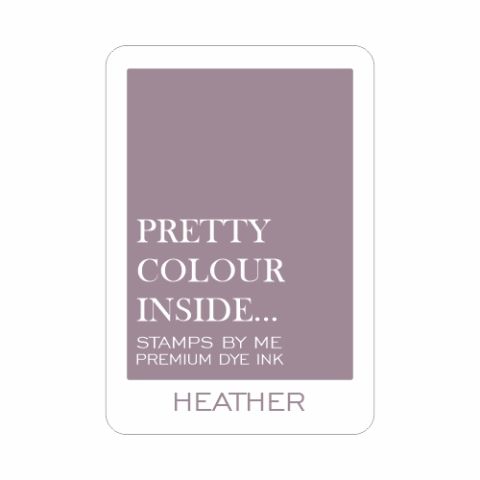 Stamps By Me - Premium Dye Ink Pad - HeatherSBM Dye Ink Pad: Heather, Tiffany
Trim a piece of white card to roughly 6 x 5".
Randomly ink both sides of the folder with the Heather ink pad and lightly spritz with water. Place the card inside and run it through your machine.
Having inked both sides, you have the option to choose which side you prefer...for this project I chose to use the embossed image.
Trim your embossed artwork down to 5 1/2 x 4 1/2".
Use your blending brush to apply Heather around the edges, randomly swiping the ink pad in from the edge of the card, thus creating texture to your artwork.
Use your blending brush to apply Tiffany over the embossed leafy aspects, of the Autumn frame. Set to one side to dry.
Tear a panel of vellum from A Winter Story roughly 6" in length and as wide as required, ensuring you leave the centre of the frame uncovered, as you will be stamping a sentiment here. I chose to include the printed Fir Trees within my torn panel.
Lay your torn panel down the right side of your embossed card. Tuck the ends over the top and bottom and secure on the reverse of the card with double-sided tape.
Stamp your chosen sentiment in the centre of the Autumn frame.
Mat your embossed artwork on to black cardstock trimmed to 5 3/4 x 4 3/4" and then on to your kraft card blank.
Use a black pen to draw your own decorative frame around the black card "mat".
Randomly add a few sequins to your artwork, to complete your card.
Share your make with the Stamps By Me community - and keep this guide for next time.
Prefer the previous layout? Open the old page.



