


Step 1 of 9
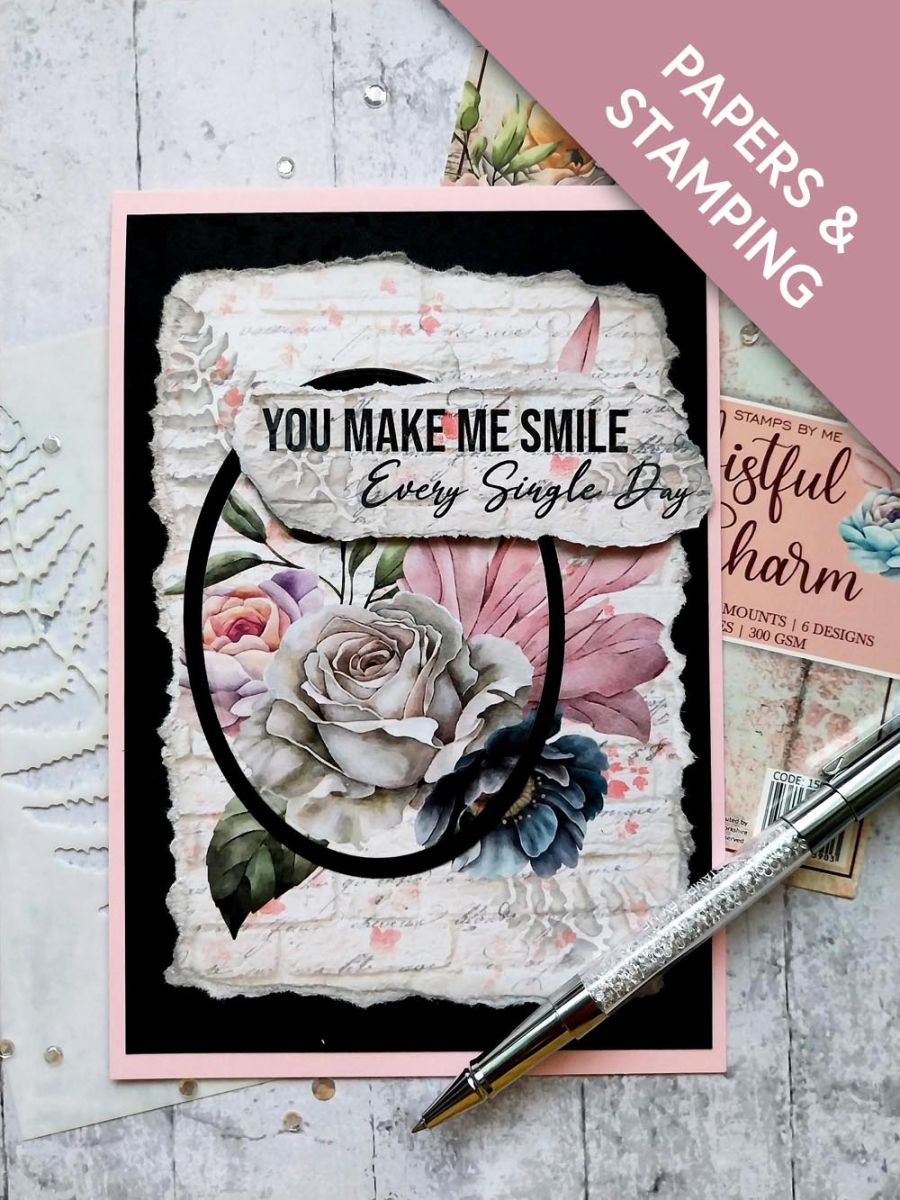
Remove TWO of this painted mount from the Wistful Charm pack.








Prices change straight away. Every language is our own translation, not Google.
 Cardstock BlackBlack cardstock£4.25BUY✓ ADDED
 STAMPS BY ME - ALL SURFACES - SHADES OF PINK - 8 x 8 PAPER PAD£12.99BUY✓ ADDED
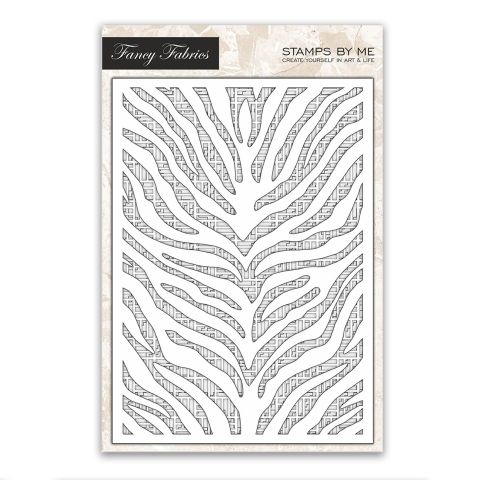 Stamps By Me Stencil Bundle - Fancy Fabrics£16.99BUY✓ ADDED
 Tim Holtz - Distress - Oxide Pad Hickory SmokeDistress Oxide Ink Pad: Hickory Smoke
Remove TWO of this painted mount from the Wistful Charm pack.
Die cut an oval around the focal Rose from ONE of the mounts.
Mat on to a die cut black oval and pop to one side.
Tear around the second mount and distress the torn edges with Hickory Smoke.
Using Hickory Smoke and a blending brush, randomly stencil the Fern around your artwork.
Line up and adhere your oval topper on to the inked mount, using foam pads. This is known as the "Spotlight" technique. .
Adhere your artwork on to black card measuring 7 1/2 x 5 1/4" and then on to your pink card blank.
Stamp the sentiment from the Advent calendar, in Midnight, on to a coordinating piece of torn paper from the Wistful Charm paper pad. Again, randomly blend Hickory Smoke through the Fern stencil, to tie the sentiment in with the rest of your artwork.
To finish, adhere to the top right of your card.
Share your make with the Stamps By Me community - and keep this guide for next time.
Prefer the previous layout? Open the old page.



