tap a picture to see it big · tap DONE as you go - this device remembers
Step 1 of 6
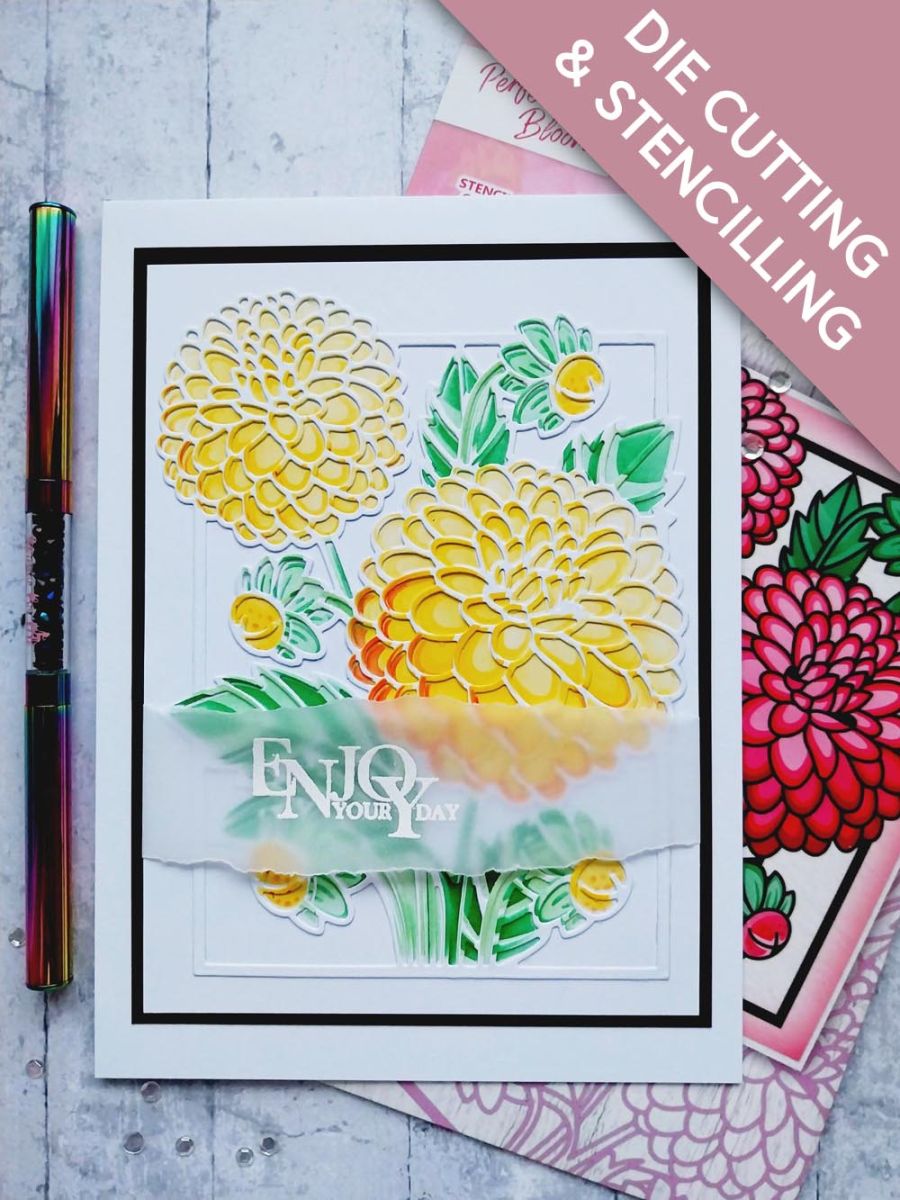
Cut TWO pieces of white card 5 x 6 3/4".
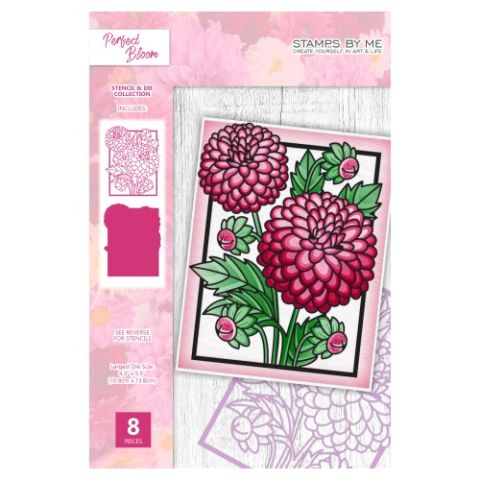
Each layering stencil is numbered so lining up each one in numerical order, blend as follows, on BOTH pieces of card.
Stencil 1 Sherbet for floral areas, Limeade for foliage
Stencil 2 Repeat as per step 1 but with more colour and intensity
Stencil 3 Sherbet
Stencil 4 Bittersweet
Stencil 5 Limeade
Stencil 6 Hedgerow
Step 2 of 6
Use the coordinating die, die cut ONE of the stencilled images.
Step 3 of 6
Adhere the die cut frame over the second stencilled image.
Step 4 of 6
Tear a panel of vellum slightly wider than the frame and deep enough for the sentiment to fit.
Wipe over the panel with your anti-static bag before stamping the sentiment in the WOW embossing ink. Sprinkle the white embossing powder over the sentiment, decanting the excess powder back in the pot. Once your heat tool is hot, heat set the powder, moving your gun as soon as it starts to turn.
Step 5 of 6
Place the embossed vellum across the bottom half of the artwork, tuck the edges over and secure on the reverse of the card with your double-sided tape.
Step 6 of 6
Adhere your artwork on to black card, trimmed to 7 x 5 1/4" and then to the front of your white card blank.
You made it!
Share your make with the Stamps By Me community - and keep this guide for next time.
Hello! I'm Toni's AI craft helper - I know the projects from Toni's shows, our guides and everything in the shop. Ask me anything, like "which dies go with this stamp set?" or "what do I need to start ink blending?"
An AI helper (not Toni herself), answering from Toni's shows and our shop - please check the product page before you buy.