


Step 1 of 6
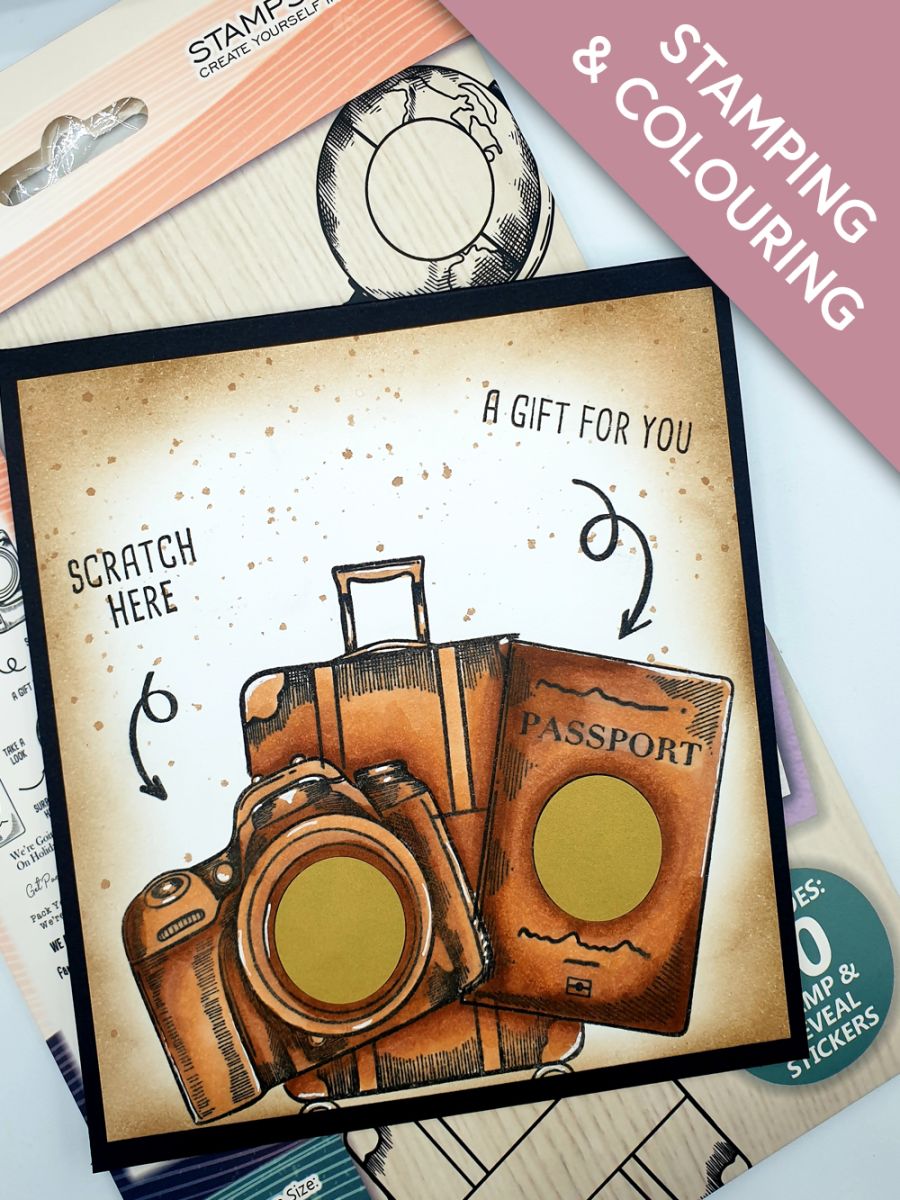
Stamp the passport and camera on to copy paper and fussy cut, to create "masks".
Lay out the masks as required, on to white card cut to 5 1/2" square. Stamp the suitcase centrally, over the masks, in the Memento, as shown here.








Prices change straight away. Every language is our own translation, not Google.
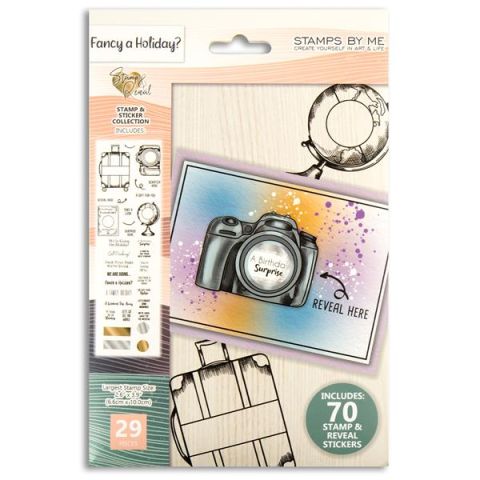 Stamp & Reveal - Fancy A HolidayStamp & Reveal Fancy A Holiday£34.99BUY✓ ADDED
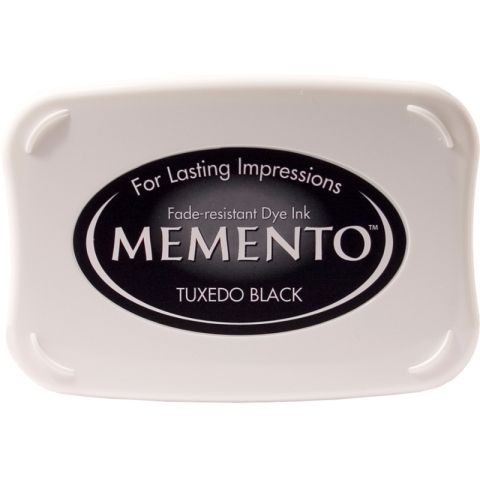 Tuxedo Black Memento Ink PadMemento Ink Pad: Black
Stamp the passport and camera on to copy paper and fussy cut, to create "masks".
Lay out the masks as required, on to white card cut to 5 1/2" square. Stamp the suitcase centrally, over the masks, in the Memento, as shown here.
Remove the passport "mask" and stamp it in position.
Remove the camera "mask" and stamp that in position.
Colour in your stamped image, using your alcohol pens, with more depth and darker shading at the back.
Blend around the edges with the Seal Brown. Smoosh a little ink on to your glass mat, add water and splatter on to your artwork.
Stamp the arrows and add-on sentiments around your images, with the Memento, as required.
Stamp the sentiments in the panels provided on the camera and passport.
Add the stickers provided, over the top of the stamped sentiments.
Mat your artwork on to the black card blank, to finish.
Share your make with the Stamps By Me community - and keep this guide for next time.
Prefer the previous layout? Open the old page.



