


Step 1 of 11
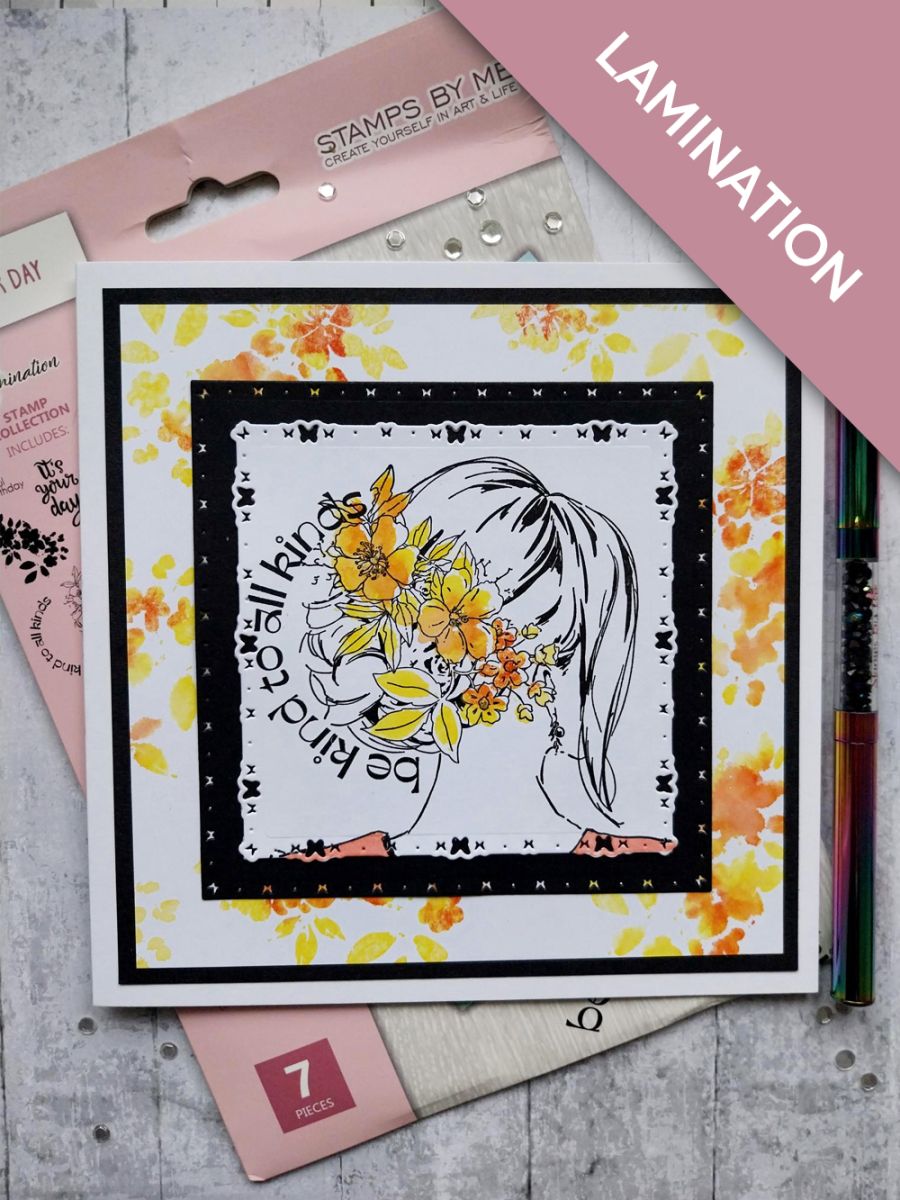
Use the Butterfly nesting die to cut a square approximately 5 x 5", from white cardstock.








Prices change straight away. Every language is our own translation, not Google.
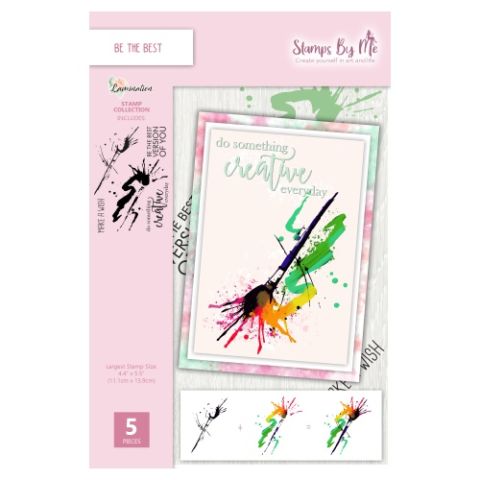 840267 - Tv - A5 Stamp - Lamination - Be The Best
Use the Butterfly nesting die to cut a square approximately 5 x 5", from white cardstock.
Ink up the solid stamp from It's Your Day, with the Sherbet and Bittersweet inks. Spritz the stamp with water and using the detailed stamp as a positional guide, stamp the florals on to the die cut square.
Stamp the detailed lamination stamp, in Midnight, on top of your stamped florals.
TIP: If you do not feel confident enough, to position the florals correctly, stamp the detailed image first and then line up and stamp the florals on top.
Use inks to paint her top, in your preferred colour.
Stamp the sentiment in Midnight, so it curves around her hair, as seen here.
Die cut a black card mat, using the next die up, in the nesting die set.
Mat your artwork on to the black mat and pop to one side.
Trim a piece of white card measuring 6 1/4" square.
Using the same technique as above, create a background around the edges of the card, using the Sherbet and Bittersweet inks with the solid lamination stamp.
Mat your background on to black card cut to 6 1/2" square and then on to the front of your 7 x 7" white card blank.
Affix your layered artwork to the front of your card.
Finally, use the Stickles to add a touch of sparkle in her hair.
Share your make with the Stamps By Me community - and keep this guide for next time.
Prefer the previous layout? Open the old page.



