


Step 1 of 9
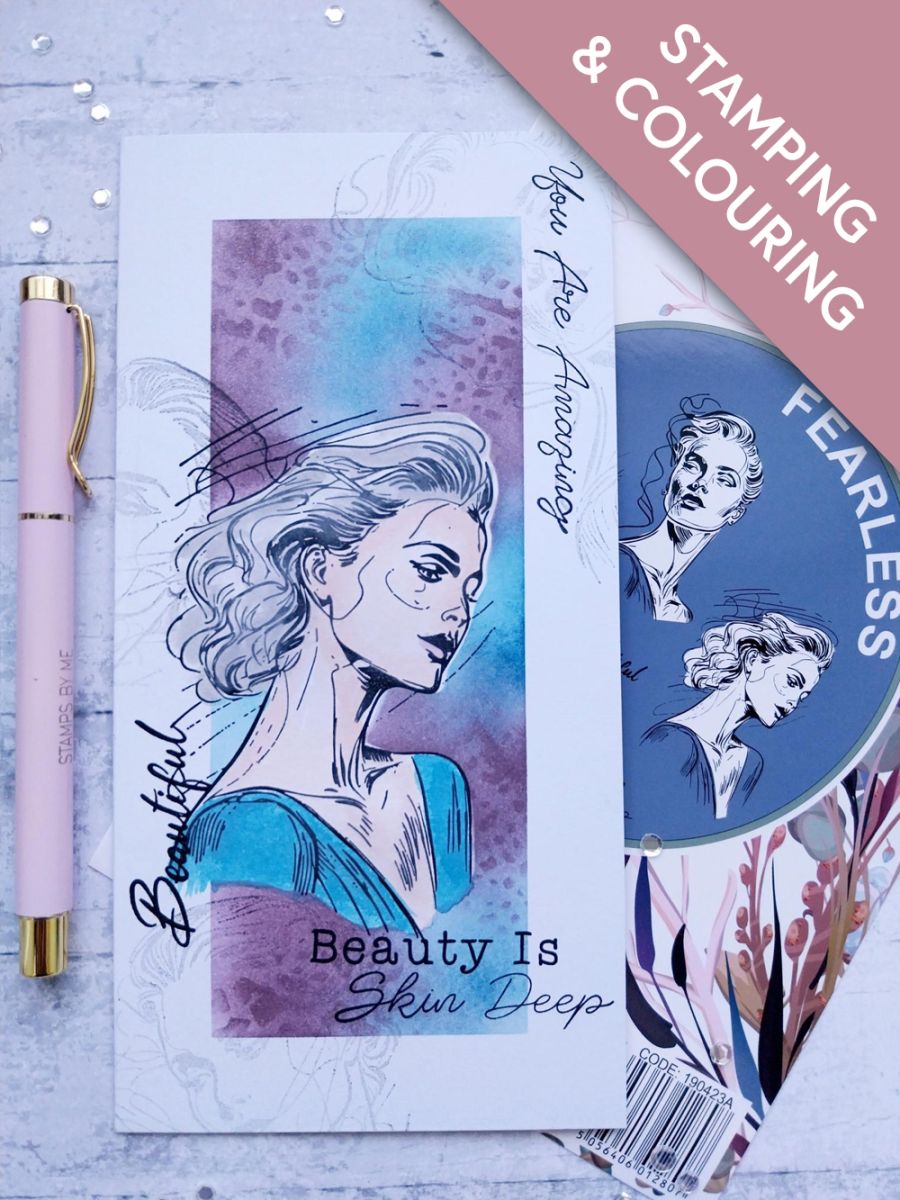
Adhere a strip of low tack masking tape down all 4 sides of your DL card blank, leaving you with a panel down the centre of your card.








Prices change straight away. Every language is our own translation, not Google.
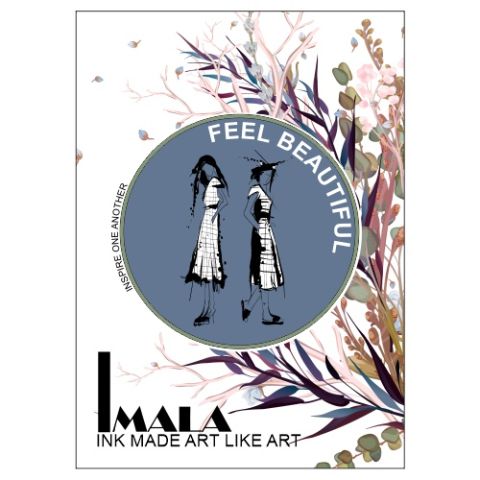 Imala - A5 Stamp - Feel Beautiful£17.99BUY✓ ADDED
Adhere a strip of low tack masking tape down all 4 sides of your DL card blank, leaving you with a panel down the centre of your card.
Stamp your beautiful lady on to a masking sheet or copy paper and fussy cut around the main outline only.
Place your "mask" so the left edge of your final image, will lay just outside the left edge of the masked-off panel.
Using your blending brushes, randomly blend the Tiffany and Heather within your masked-off panel.
Randomly add ink through the Grunge Texture stencil to create extra texture to your inked background panel.
Carefully peel away your "mask" and masking tape and dry the inks thoroughly.
Replace the "mask" and using the Midnight ink, you are going to randomly stamp all 3 ladies, from the Fearless set, using "second generation stamping" only. This means that after inking up the stamp, stamp it on to a piece of scrap card first and then stamp on to your card WITHOUT re-inking! This gives you a subtle, lighter, watermark image, that remains in the background and doesn't detract from your focal image.
Remove the " mask" before stamping your focal image within the masked-off area, in the Midnight ink. You can now see the difference using the first (focal image) and second generation stamping technique.
Using your inks and oxides and a paint brush, watercolour your beautiful lady, as required.
To finish your card, stamp "Beauty Is Skin Deep" in Midnight, across the bottom right of your focal image, then stamp the other 2 sentiments in the set, down the left and right sides, adjacent to the inked panel.
Share your make with the Stamps By Me community - and keep this guide for next time.
Prefer the previous layout? Open the old page.



