


Step 1 of 10
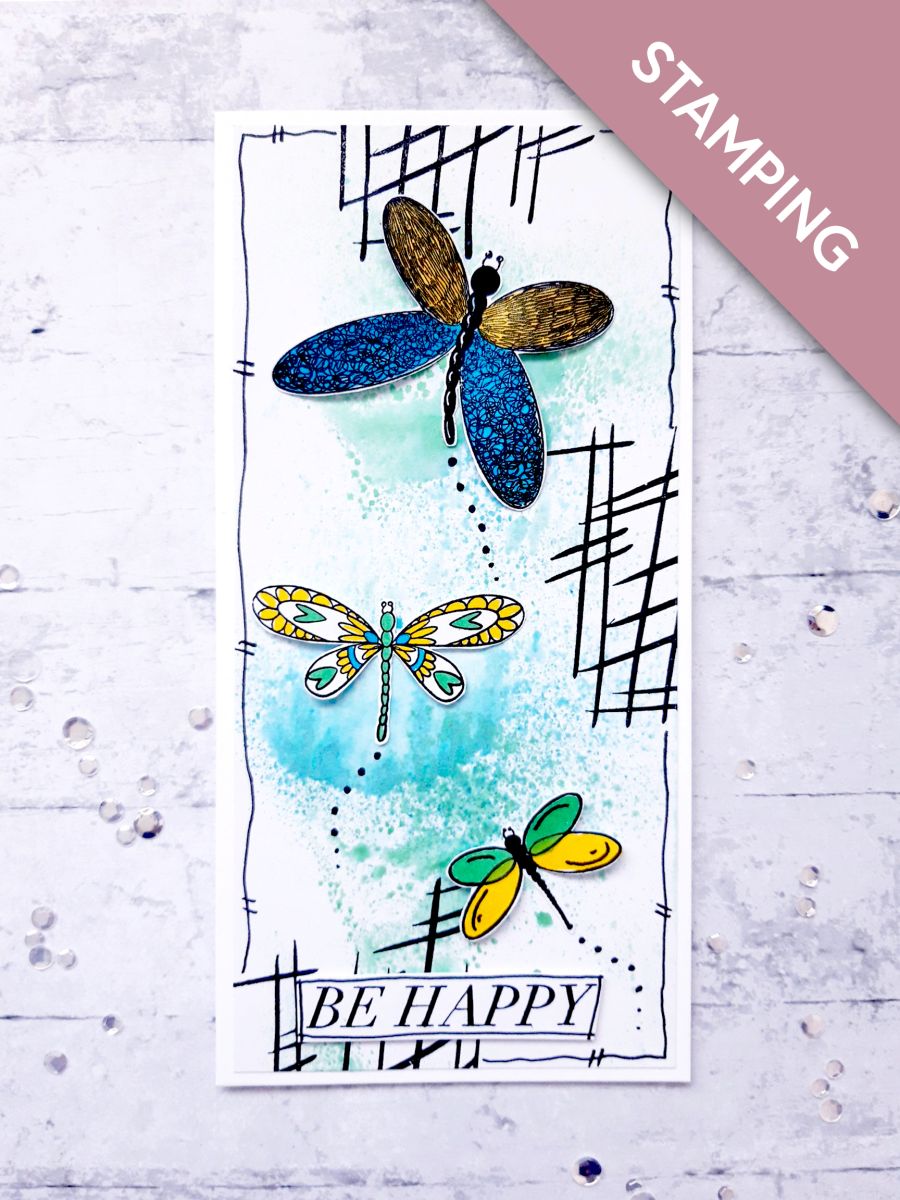
Spray a little of the Izink Shiny Bleu Clair spray on to a craft or glass mat.
Spritz with a little water, then pick up the ink on the white cardstock (8 x 3 3/4")








Prices change straight away. Every language is our own translation, not Google.
 Cardstock WhiteWhite cardstock (8 x 3 3/4")£4.25BUY✓ ADDED
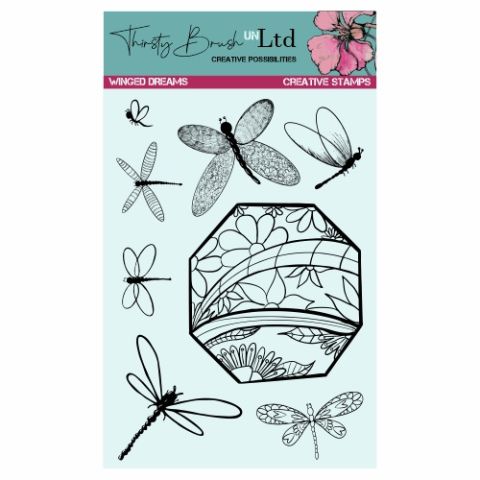 Tv - Thirsty Brush Unltd - A5 Stamp - Winged DreamsStamps from Thirsty Brush UnLtd Winged Dreams Creative Stamps£17.99BUY✓ ADDED
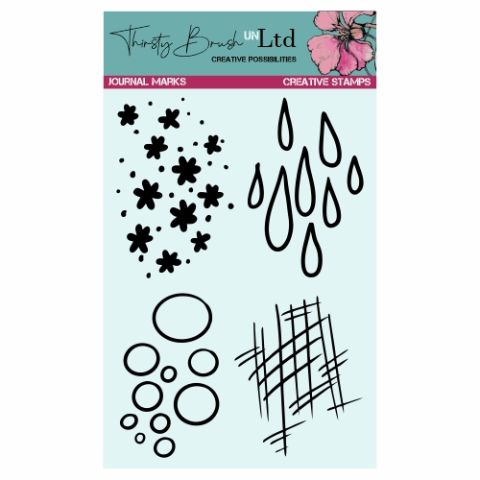 100308 - Htcn - Tv - Thirsty Brush Unltd - A5 Stamp - Journal MarksStamps from Thirsty Brush UnLtd Journal Marks Creative Stamps£17.99BUY✓ ADDED
 Eureka 101 Replacement Bar MagnetsEureka 101£10.99BUY✓ ADDED
Spray a little of the Izink Shiny Bleu Clair spray on to a craft or glass mat.
Spritz with a little water, then pick up the ink on the white cardstock (8 x 3 3/4")
Spray a little of the Izink Shiny Vert D'Eau spray on to your mat.
Spritz with a little water and pick up the ink, to create your background.
Dry off the ink before moving on to the next step.
Ink up the texture stamp, from the Thirsty Brush UnLtd Journal Marks Creative Stamps, with the Onyx Black Versafine.
Stamp randomly on to your background, ensuring you stamp some off the edges of your cardstock.
Use a black pen to draw a decorative, wiggly frame, around your background.
Once all the ink is dry, glue your background on to your card blank.
Set to one side.
Ink up 3 of the butterflies, from the Thirsty Brush UnLtd Winged Dreams Creative Stamps, with the Versafine.
Stamp on to the white cardstock (6x6"). Keep the remaining card to one side for later.
Once ink is dry, cut them out.
Colour in your butterflies using the Gossip Glitter Colouring pens.
Glue the 3 butterflies on to your background, applying glue down the bodies only, so the wings can be lifted, adding dimension to your artwork.
Use a black pen to draw dots coming from each butterfly, thus creating butterfly trails.
Ink up the sentiment stamp, from There For You Stamp Collection, with the Versafine.
Stamp on to the white cardstock you set aside earlier.
Cut out the words Be Happy, from the stamped sentiment (You can keep the rest of the sentiment for another card).
Use a black pen to draw a frame around your strip sentiment.
Adhere your sentiment strip to the bottom centre of your artwork, using foam pads to add dimension.
Share your make with the Stamps By Me community - and keep this guide for next time.
Prefer the previous layout? Open the old page.



