


Step 1 of 12
Carefully peel away the protective film on the 12" square, black dotted acetate.








Prices change straight away. Every language is our own translation, not Google.
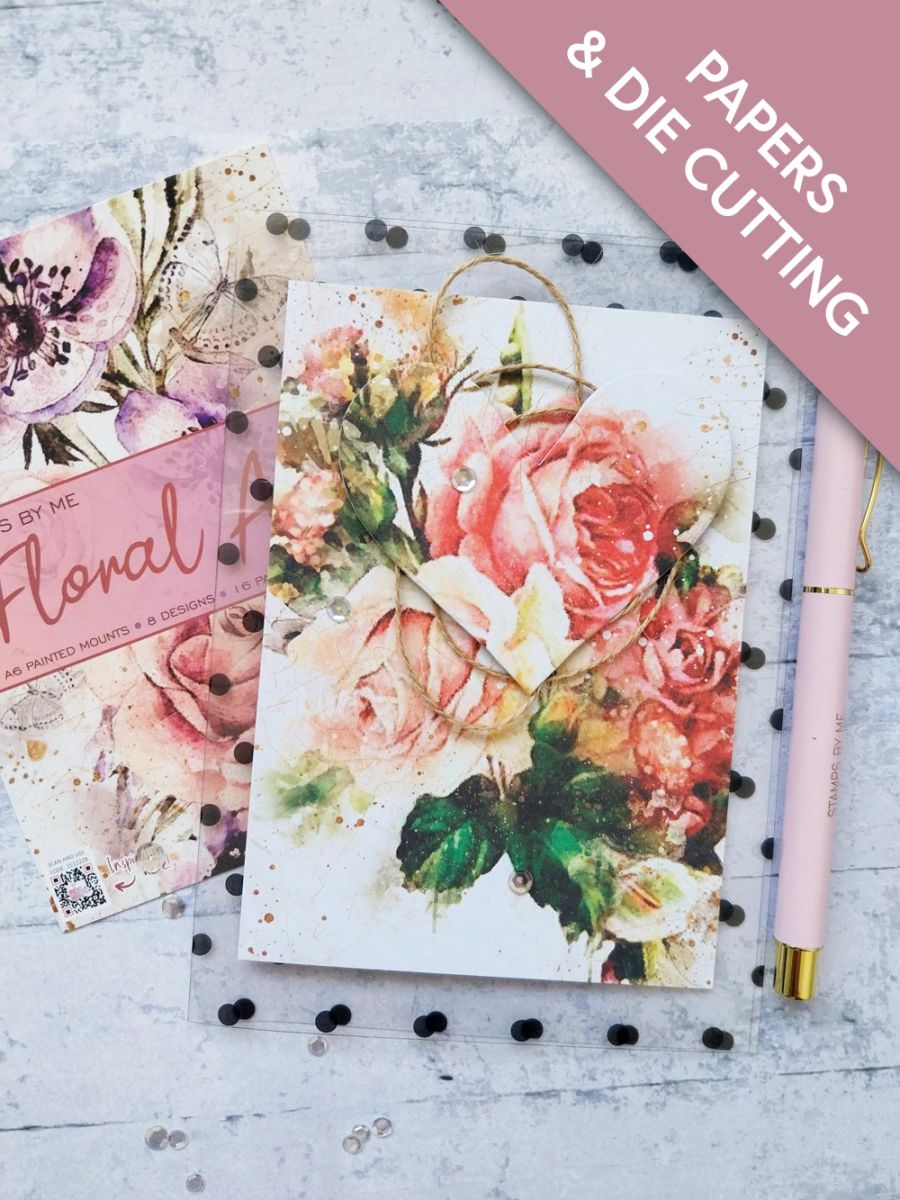
Carefully peel away the protective film on the 12" square, black dotted acetate.
Use your scoreboard and bone folder to fold the acetate in half, to create your card blank.
Choose FOUR different designs from the Floral Art painted mounts. You will need TWO sheets of one of the designs, this being the front design on your card. One needs to be a slighter "lighter" design, as you will be stamping your sentiment on to this one.
Adhere ONE of the two front cover mounts, on to the front of your acetate card blank, using red liner tape. Set the secound mount to one side for now.
Adhere a different mount on to the inner left page of your card blank, lining it up with the one on the front, thus covering up all the "workings".
Adhere the "lighter" design mount, on to the inner right page.
Adhere your fourth design on to the back of your card blank, again lining it up with the one on the inside.
Stamp the sentiment in the Midnight ink, on to the inner right page, before setting your card to one side.
Taking the other front cover painted mount you set aside earlier, die cut a heart. The size and position of the die cut heart is up to you.
Cut a piece of twine and twirl in to a rough circle shape, as seen here. Use your die cut heart as a guide, as you will want the twine to extend out, from behind.
Adhere foam pads or a heart cut from a foam sheet, on to the back of your die cut heart. Peel off the backing, arrange your twine and adhere to your card, ensuring you line up the floral design.
Finish with a few sequins, to add sparkle to your project.
Share your make with the Stamps By Me community - and keep this guide for next time.
Prefer the previous layout? Open the old page.



