


Step 1 of 13
Place the stencil on top of your white card, cut to 6 1/2 x 4 1/2" and use your blending tool to randomly blend with the Limeade, Hedgerow and Magenta inks.








Prices change straight away. Every language is our own translation, not Google.
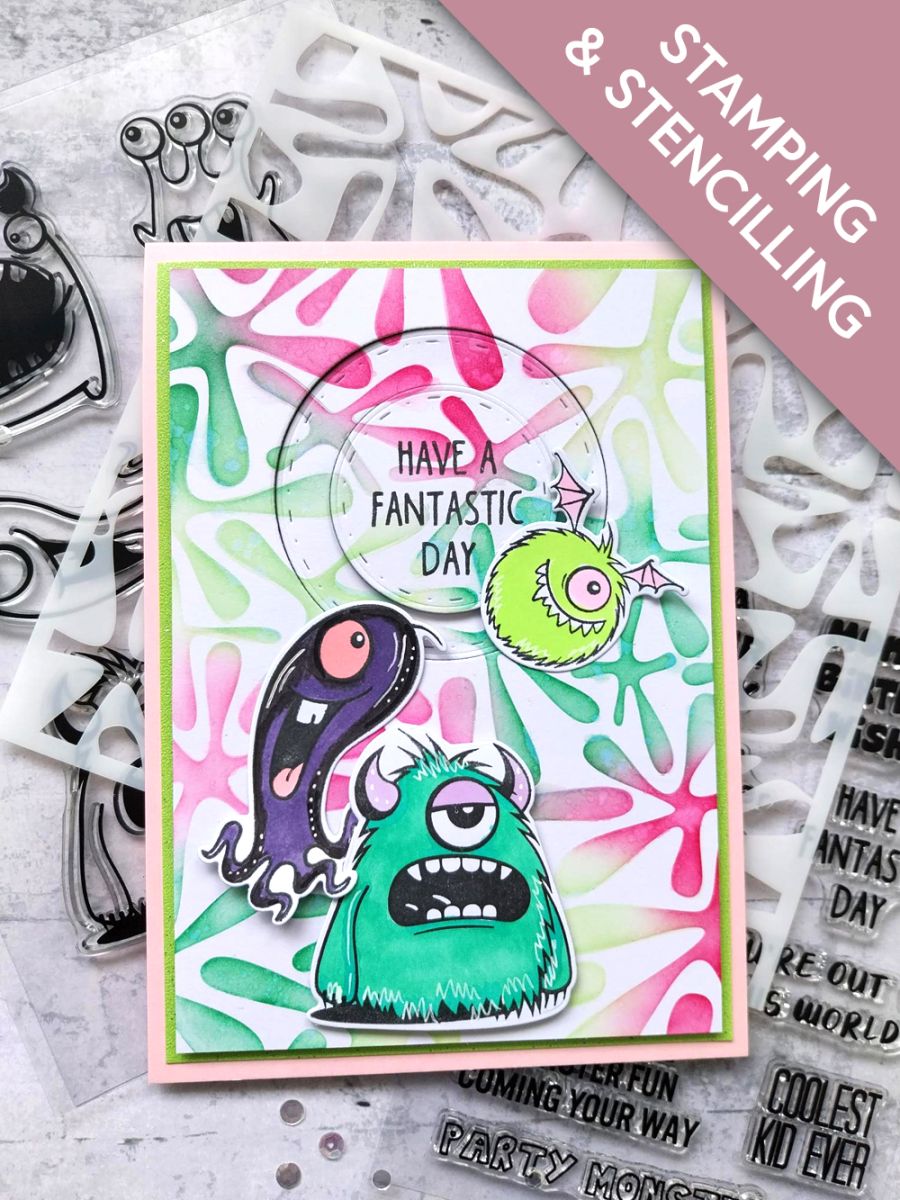
Place the stencil on top of your white card, cut to 6 1/2 x 4 1/2" and use your blending tool to randomly blend with the Limeade, Hedgerow and Magenta inks.
Whilst the stencil is still in place, splatter water over the ink, wait a few seconds then mop up with a paper towel.
Placing the 2" and 2 3/4" circle nesting dies where you want them to be, position the sentiment stamp in the middle.
Stamp the sentiment in position, in the Midnight ink.
Place the 2 dies back in position, around your sentiment and run them through your die cutting machine.
Adhere foam pads to the reverse of the stencilled card and on the stencilled circle die cut. Apply red liner tape or wet glue, on the reverse of the die cut circle frame, as seen here.
Adhere the stencilled aperture background on to glitter card, cut to 6 3/4 x 4 3/4".
Adhere the stencilled frame flat, within the aperture, ensuring you line up the stencilled pattern.
Adhere your stencilled sentiment in the centre, again ensuring you line up the stencilled design.
Adhere this to the front of your 7 x 5" pink card blank, then pop to one side.
Stamp these cheeky monsters in the Midnight ink, on to a piece of white card. Use the coordinating die to cut them out.
Use your Gossip alcohol pens to colour them in.
Tip: Place a sheet of copy paper underneath, to protect your work surface from the alcohol ink that will bleed through the card.
Use your white gel pen to add accents and highlights to your characters.
Adhere your monsters with foam pads where required and voila!!
Share your make with the Stamps By Me community - and keep this guide for next time.
Prefer the previous layout? Open the old page.



