


Step 1 of 11
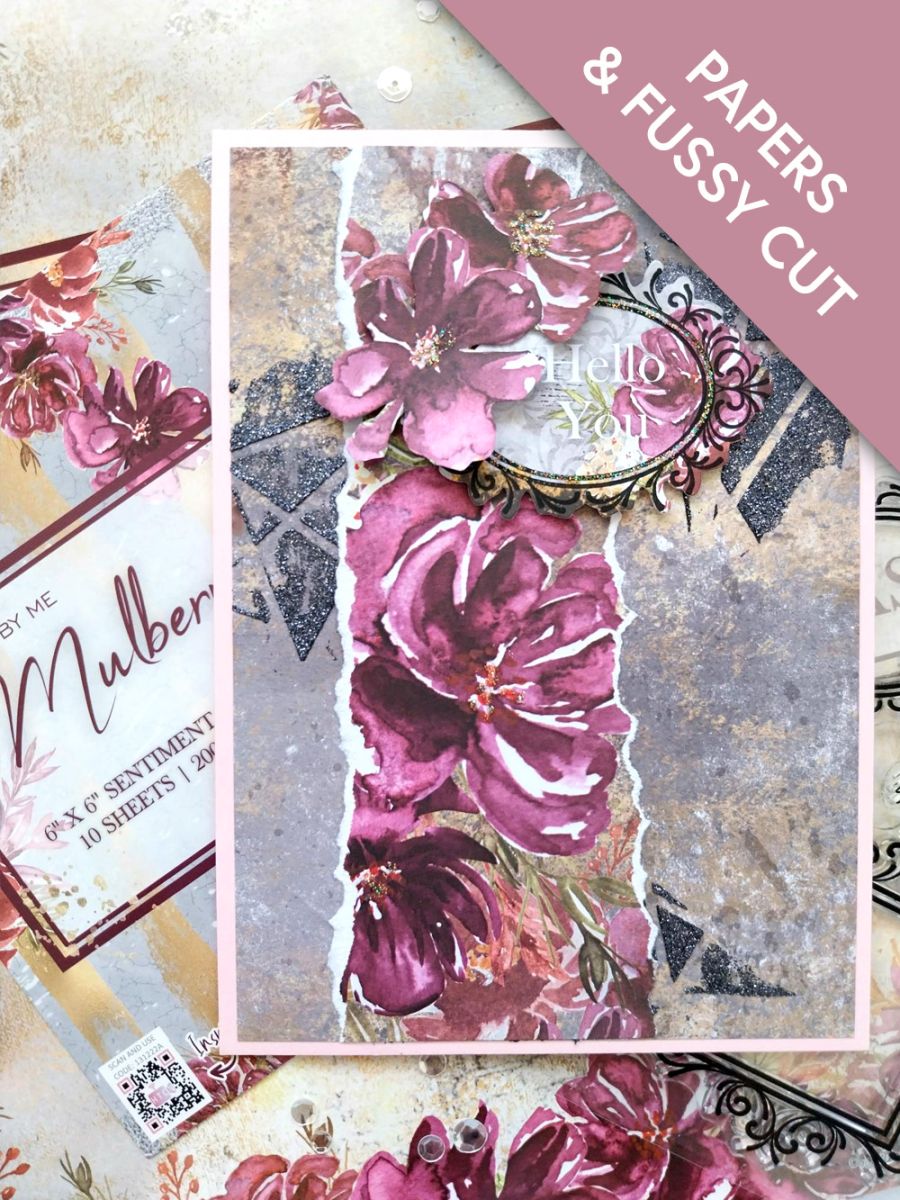
We will be using this beautiful sheet from the Mulberry & Gold Damask 12 x 12" paper pack.








Prices change straight away. Every language is our own translation, not Google.
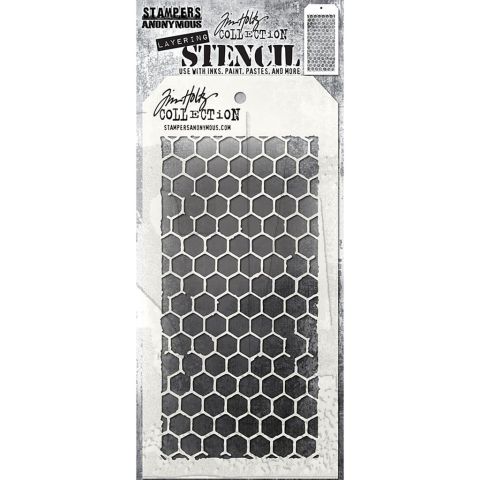 Tim Holtz Stampers Anonymous - Layering Stencil - HoneycombHoneycomb 7 x 7" Stencil
We will be using this beautiful sheet from the Mulberry & Gold Damask 12 x 12" paper pack.
You need to cut a panel 6 3/4 x 4 3/4, from the top, centre area of the paper, with no Mulberry florals on it. If you can't bear to cut up this beautiful sheet in this way, cut the same size panel from one of the sides!!
Randomly apply the Noir Izink Diamond Paint through the Honeycomb stencil, over your decorative panel.
Allow to dry or give it a quick blast with a heat tool.
Once dry, adhere to your pink card blank.
Trim a panel 6 3/4" in length and tear it as wide as you want, from the Mulberry paper you have left over.
Adhere down the left side of your stencilled paper, then pop your card to one side.
Remove this beautiful sentiment sheet, from the Mulberry & Gold Damask Sentiment Pack.
Stamp the oval frame, from the Mulberry Frame Stamp And Die set, in the Midnight ink, around the printed "Hello You" sentiment.
Use the coordinating die to cut it out.
Adhere to the top right of the torn panel.
Fussy cut some of the Mulberry florals, from the decorative papers left to one side. Adhere these around the left side of your die cut frame, using a combination of wet glue and foam pads, to give dimension to your artwork.
Use your Stickles to add a touch of sparkle and glitter to your floral elements and printed images and voila!!
Share your make with the Stamps By Me community - and keep this guide for next time.
Prefer the previous layout? Open the old page.



